Showing posts with label card Making. Show all posts

Wednesday, 4 March 2020

Be Brave and Bloom Card with Suzi


Good Day All, It's my pleasure to share my latest creation with you all today; I've created a fun card for you all today showcasing Brusho Crystal Colour Powders, Acrylic Wax and Wax Sticks.

Our theme this month is 'Spring or Easter' and I'm celebrating Spring with my project today.  I've used some lovely stamps from Crafty Roo Designs to help create my Spring time scene;

Here's how I created my project;

Firstly I started off by creating my background papers.  I took a sheet of paper and sprinkled on Turquoise Brusho Crystal Colour Powder and sprayed with water, I dabbed off the excess water and left it to dry.  For my second paper I used a Grass Texture Plate along with the Wax Sticks placing my paper over the texture plate and rubbing over with the Wax Stick; I then sprinkled on some Lime Green Brusho Crystal Colour Powder.  Once that was dry I mixed up some Turquoise Brusho Crystal Colour Powder with water and dabbed my paper into it to add a sky at the top.


I trimmed the Turquoise paper down to fit my card blank ( an A4 sheet of white card folded in half) and tore the Green and Turquoise paper on both sides before adhering to the Turquoise paper.


It was then time to start creating my focal point. For this I used the Bulb Stamp and Beauty always Blooms insert stamp from Crafty Roo Designs.  I stamped these onto white card, I stamped two, so I would have a choice once coloured.  I painted the flowers with Brusho Crystal Colours and once dry added a layer of Acrylic Wax over the flowers and a few areas I wanted highlights to show on my bulbs.


I then took Turquoise and Lime Green Brusho Crystal Colours and sprinkled them over the Bulbs and activated with water.

I left these to dry and then added a little Pearl SprinkleIT powder to the Blubs.

At this point I decided to add some more stamping to my background papers, using the Be Brave Enough to Bloom stamp set from Crafty Roo Designs


To colour the flowers on the background paper I mixed Orange and Crimson Brusho Crystal Colour Powders with some of the Acrylic Wax to create a paint.  I used Acrylic Wax rather than water as I would be going over areas of Wax and Brusho Crystal Colour Powders already on the paper.  The Wax on the paper would resist the colours I was adding and my flowers would be patchy, by using the Acrylic Wax there is no resistance so I get full coloured flowers. I used a Bamboo Pen to add my coloured Wax to my project.


I added layer of the coloured wax over the flowers on my bulb to strengthen the colours. At this point I decide I wanted to add some green to the stems and leaves, so I mixed up some Leaf Green Brusho Crystal Powder with the Acrylic Wax.

Here's the finished Bulb;

To finish my background I added some dots of the Orange and Crimson Wax into the background to represent flowers in the background.  I added some Leaf Green Wax to the stamped flowers on the stems and leaves, I also added some to the grassline at the bottom of the flowers for extra shading, to blend this I used my finger.
 
I added a little red netting and some staples just for a extra bit of texture, I then added my background to my card blank, and finally I added my Bulb using some foam pads for dimension.


That's my project for this week, I hope you've enjoyed seeing how I created it. If you've not got any of the Acrylic Wax then you really should add some to you crafty stash, it's lots of fun to work with, very versatile, and lets you create layers of Brusho colour without the colours blending. 
I had lots of fun creating this project, it's so nice to be welcoming Spring, lovely to see the trees getting their new leaves and flowers starting to bloom.

Thank You for visiting with us today, 
Bye for now
Suzi
xxx

Monday, 30 December 2019

Back to Basics - quick Brusho card

I know that for most crafters, the period between Christmas and New Year is THE TIME OF THE YEAR when they can craft as much as they want. Well, I am not that lucky and have to go to work every single day :(


However, I am not allowing that to stop me having colourful fun!!! 
Hence the card! ;)


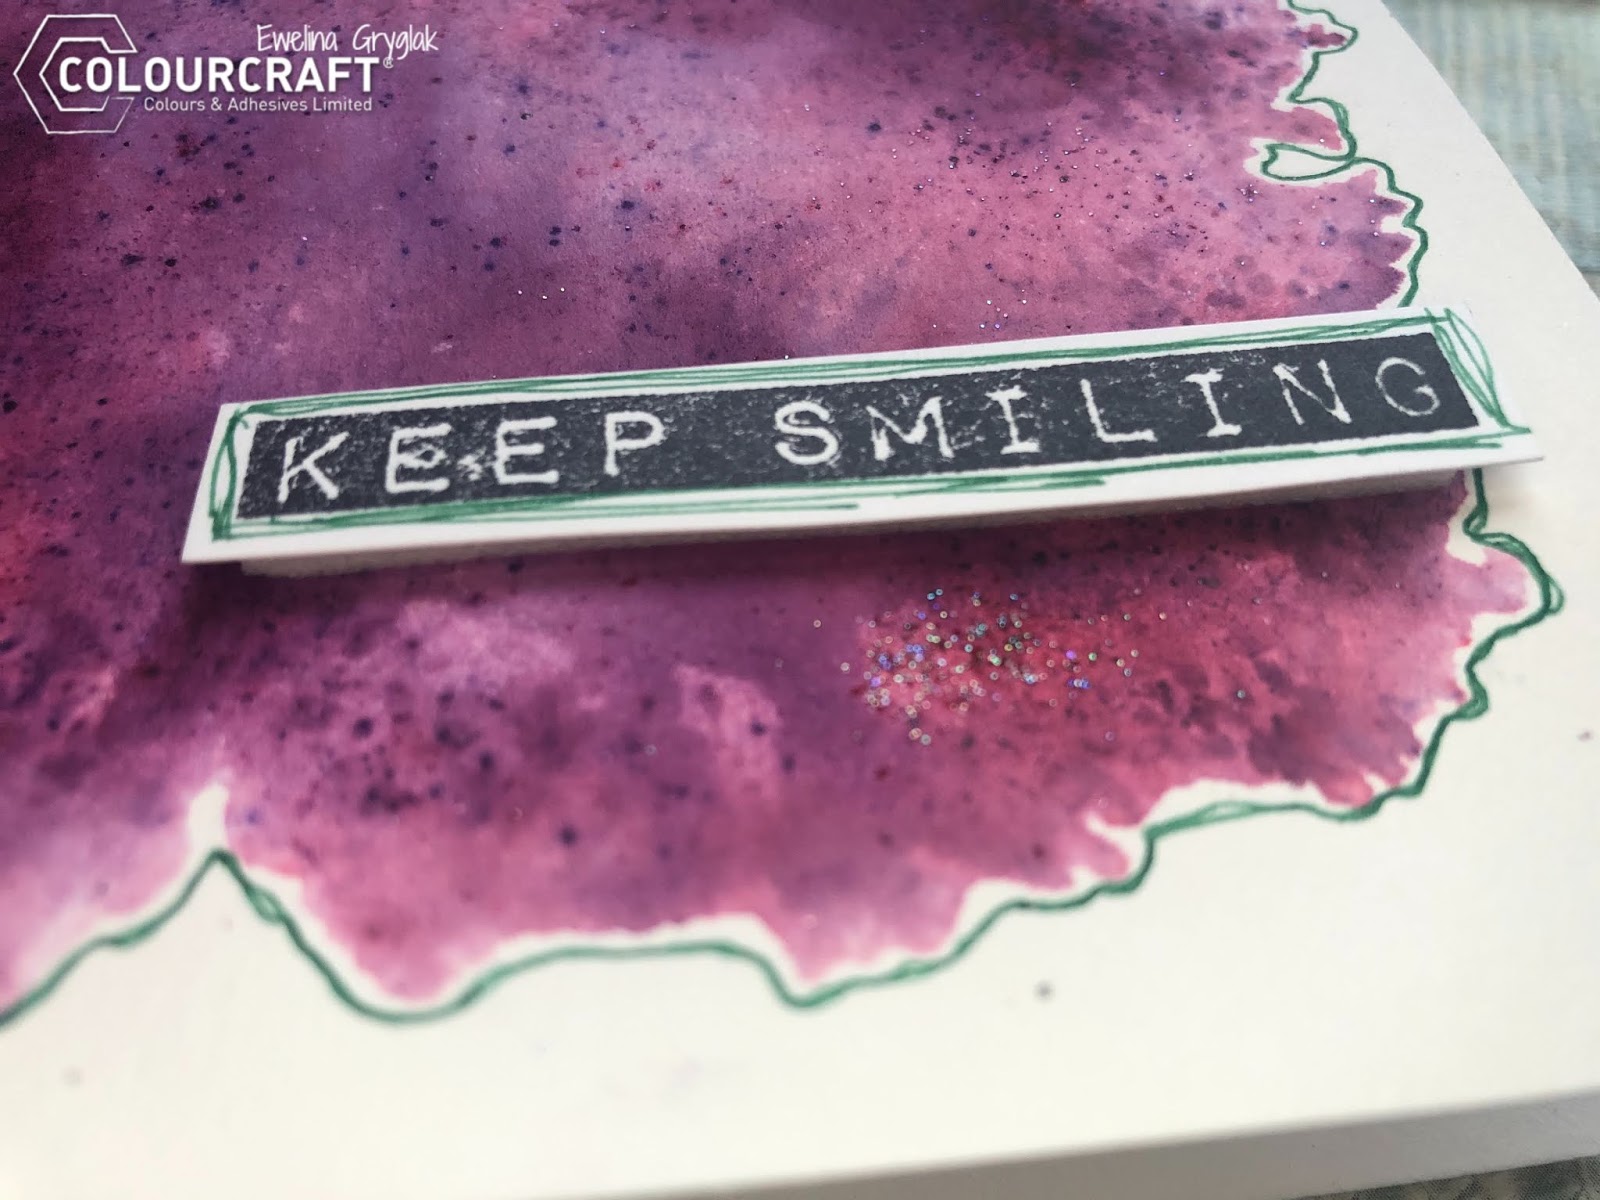
I started by sprinkling a Distressed Rectangle Polyplate with purple Brusho and iridescent SprinkleIt. Then misting it with a bit of water and... STAMP on watercolour card. 
While it was still wet, I added a little more SprinkleIt.


Once dry, I folded the A4 card and cut to shape to create a card.


As contract, I used a green gel pen to outline the shape - I have done the outline twice purely because I like my lines irregular and wonky.


I also outlined a stamped sentiment - you can see here what I mean by 'wonky lines'!


The last step was to mount the sentiment on the card.
Can you see the SprinkleIt sparkling??? I love it!


There you go - nice and easy and... preeeeeeetty!

See you next time!


Monday, 16 December 2019

Christmas Art Journal becomes an emergency Christmas Card

Hey everyone! Are you ready for Christmas? Are all your cards posted? 
I thought mine were ... until it turned out they weren't ... let me talk you through it...
It started with an art journal...


Here's how the Art Journal page came together:


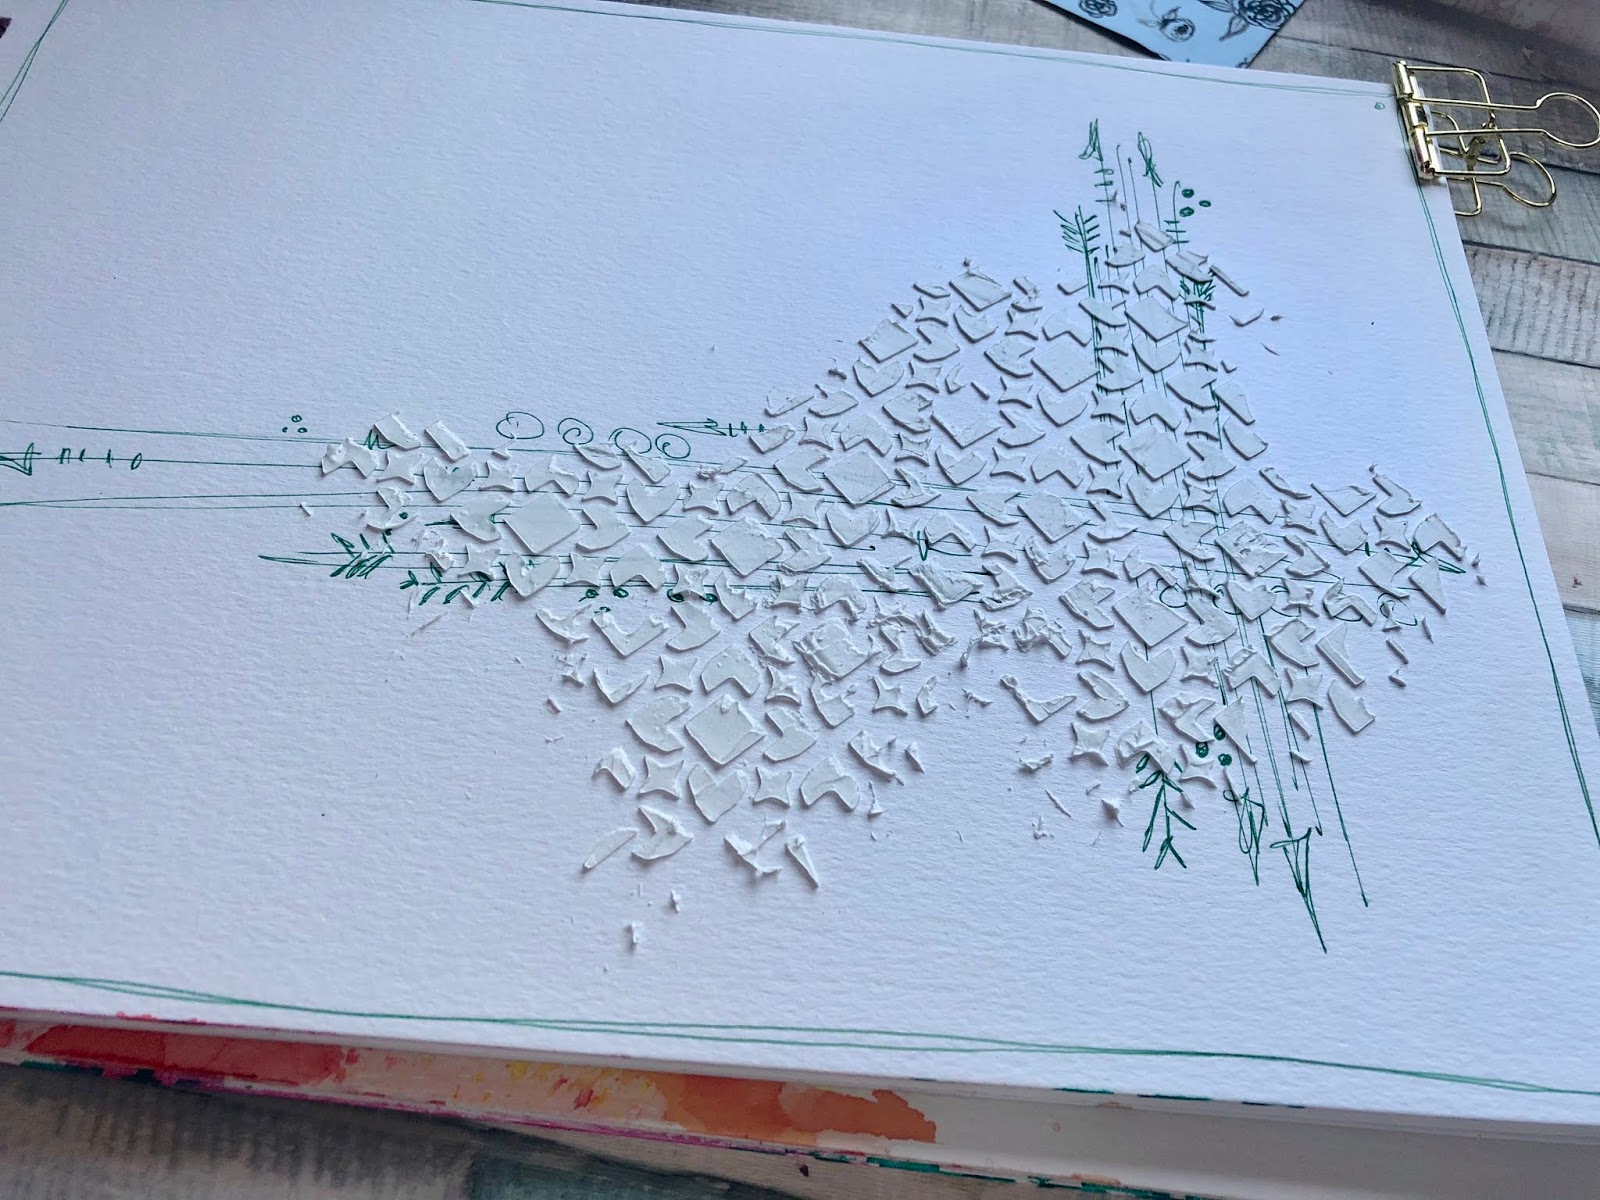
I started by scribbling a frame and some doodles with a green pen to create the first layer of background design.


Add a layer of texture paste - I like mine to be irregular and grungy.


Choose two Brusho colours you want to use and sprinkle them delicately on the textured area; then lightly spray with water avoiding making puddles. 


For additional effect, water down one of the colours and flick it off a paint brush creating splashes.


Now it's time to create a cluster to become a base of your main feature.
I used strips of various Christmas papers from ABStudio. 


I also cut out various elements from the same papers to use as embellishments which I layered in between the cluster strips.


You can stick te elements under, in between and on top of the cluster - just have fun with it!
You can add some more paint splashes now to make the elements blend nicely not the page.


Top up the finished cluster with your chosen element - I decided to use a reindeer.


TA DAH! My Christmassy Art journal page is ready!


And just as I thought that I will be able to display it nicely in my craft room, it turned out that I needed an additional Christmas card (guess counting is not my strong suit!).
In a moment of genius, I took the page out of the journal, folded in half and... the day was saved!!!


Have a great Christmas!
See you in the new year!


Friday, 13 December 2019

Winter Sparkle Card


This month on the Colourcraft blog, the theme is "Let It Snow". Have you had any snow yet or just frost?
The few clear yet frosty nights have been a welcome break from all the rain, and have inspired this Winter Sparkle card. The techniques could equally be used on a canvas or on tags, either for gifts or journalling.


I started with two pieces of dark A4 card, one purple, and one black. They actually ended up being almost identical!
Once the card was folded I masked the back but this was only partially successful, so I recommend making the design on card and then mounting it on another folded card when complete.

I sprinkled the card with a selection of Brusho colours: Prussian Blue. Purple, White & Grey. I also sprinkled on some Brusho SprinkleIT: Irredescent Flash & Pearl


This was then sprayed with spray starch and covered with cling film before leaving it the dry. This created a lovely background effect like frosty foliage


While this was drying, I drew and cut out a template on the matt side of freezer paper


I then ironed the gloss side of the freezer paper template onto the lower part of the card. This helps get a clean edge when sponging acrylic paint on. I made a mix of yellow, gold and bronze paint to get the colour I wanted, but the choice is yours!


Once the paint is touch dry, peel off the freezer paper stencil.

Now it's time to add some more sparkle! First I used a round ponge and embossing pad with silver embossing powder to create a moon


and the small snowflake polymer stamp on an acrylic block 


A heat tool will melt the embossing powder to give a lovely sparkle 3D finish.

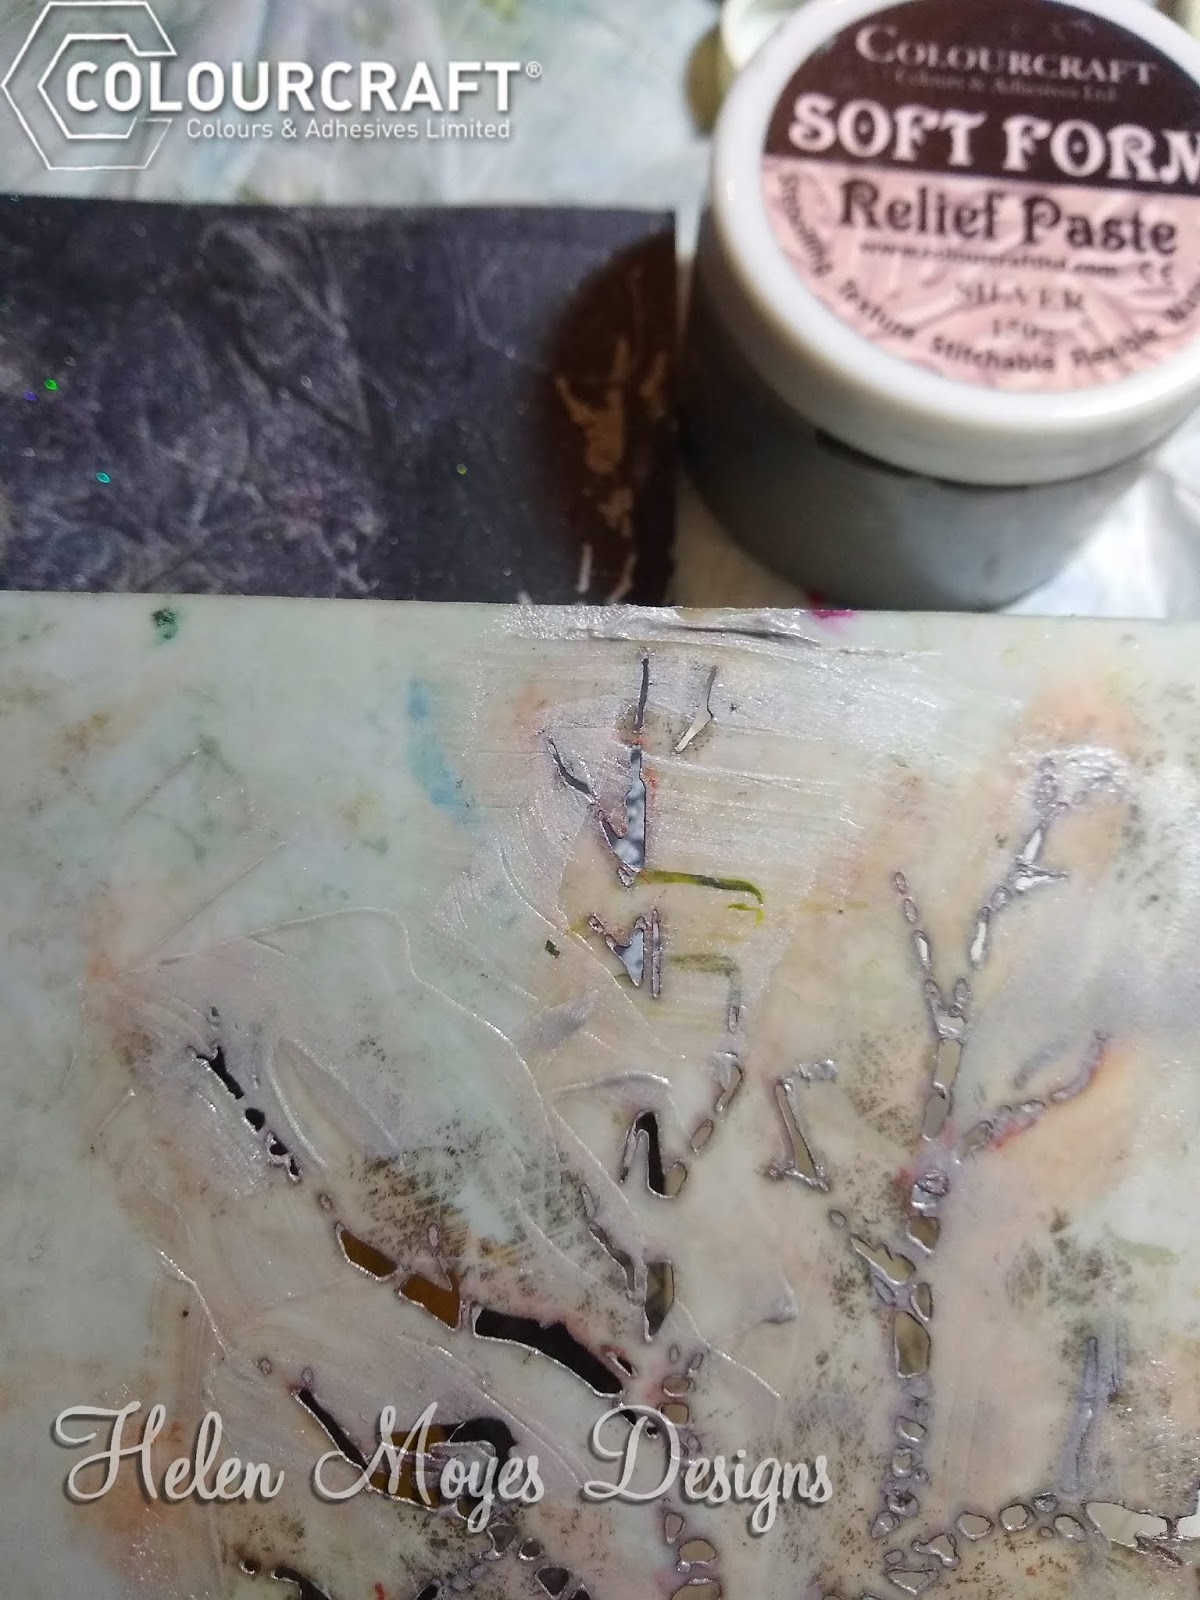
I then added some trees to the sides of my design using silver DesignIT relief paste, applying the paste through the secured tree stencil using an old credit card. Lift the stencil away carefully upwards to avoid smudging the paste and allow it to dry.


I then used the same technique for the bottom of the card but with the pearl DesignIT relief paste and  TCW "Jungle Vines" mylar stencil.  Colourcraft does stock this so give them a phone call (01142421431) if you would like one as they are not all listed on the website.


Adding an eye and mouth to the stag finished this winter scene.


I hope you are keeping warm.

I would love to see your Christmas card designs, so please do share them with me.

Wednesday, 11 December 2019

Silent Night Christmas Cards with Suzi

Good Day All, Can you believe it's only 2 weeks until Christmas! Have you finished making all your Christmas Cards yet?  I haven't, so for today's project I'd like to share with you a set of four Christmas Cards I've created using ExpandIt Paste and DesignIt Paste on Vellum along with some Metallic Acrylic Paints in Blue and Silver.

The first thing I did was grab a couple of Festive stencils from my craft stash along with some Blue Vellum.  Then using a palette knife I applied a layer of ExpandIt Paste through my stencils, whilst that was drying I took another sheet of Blue Vellum and applied a layer of White DesignIt Paste through my stencils.  I also used the DesignIt Paste straight out of the tub to create the impression of a snowy bank using the same palette knife.

I heat set both the ExpandIt and DesignIt Pastes, You get a lovely fluffy texture with the ExpandIt and a rougher bubbly texture with the DesignIt Paste.

I then used my brayer to add a layer of Blue Metallic Acrylic paint over the pastes.


My next step was to add some colour to my card blank, using the same brayer I added the Blue Metallic Acrylic Paint. At the same time I created two A4 background papers using the same technique using Blue and Silver Metallic Acrylic Paint; I'd use some of this to back my sentiments.


I then tore the patterned vellum's I'd created and added a strip to my card, using blue staples to attach it.  I stamped a sentiment onto some of the plain blue vellum, heat embossed it with clear powder, then tore around it and layered it onto a piece of my background paper, before adding to my card.  I used foam pads to give the sentiment some extra dimension.


For my third card I just used one large piece of the patterned vellum, and attached it to a card blank.


For my final card I took a plain card blank and cut a strip out of the front, I then used a piece of my patterned vellum to bridge the gap.  The main piece of vellum on this card was stencilled with the DesighIt paste, onto this piece of vellum I'd layered a section from the vellum stencilled with the ExpandIt paste, You should be able to see this layered effect more clearly in the second picture.


I love all the different textures I managed to get on these cards using the different pastes and the metallic acrylic paint. I love the contrast between the beautiful shimmer of the metallic paint and the textures of the pastes. Not only were these cards great fun to create, but they were pretty quick too.

That's all from me for today, I hope I've inspired you to have a play with our wonderful pastes and paints.  Thanks for visiting with us today.
Bye for now
Suzi
xxx
Related Posts Plugin for WordPress, Blogger...