Showing posts with label snowflake. Show all posts

Friday, 13 December 2019

Winter Sparkle Card


This month on the Colourcraft blog, the theme is "Let It Snow". Have you had any snow yet or just frost?
The few clear yet frosty nights have been a welcome break from all the rain, and have inspired this Winter Sparkle card. The techniques could equally be used on a canvas or on tags, either for gifts or journalling.


I started with two pieces of dark A4 card, one purple, and one black. They actually ended up being almost identical!
Once the card was folded I masked the back but this was only partially successful, so I recommend making the design on card and then mounting it on another folded card when complete.

I sprinkled the card with a selection of Brusho colours: Prussian Blue. Purple, White & Grey. I also sprinkled on some Brusho SprinkleIT: Irredescent Flash & Pearl


This was then sprayed with spray starch and covered with cling film before leaving it the dry. This created a lovely background effect like frosty foliage


While this was drying, I drew and cut out a template on the matt side of freezer paper


I then ironed the gloss side of the freezer paper template onto the lower part of the card. This helps get a clean edge when sponging acrylic paint on. I made a mix of yellow, gold and bronze paint to get the colour I wanted, but the choice is yours!


Once the paint is touch dry, peel off the freezer paper stencil.

Now it's time to add some more sparkle! First I used a round ponge and embossing pad with silver embossing powder to create a moon


and the small snowflake polymer stamp on an acrylic block 


A heat tool will melt the embossing powder to give a lovely sparkle 3D finish.

I then added some trees to the sides of my design using silver DesignIT relief paste, applying the paste through the secured tree stencil using an old credit card. Lift the stencil away carefully upwards to avoid smudging the paste and allow it to dry.
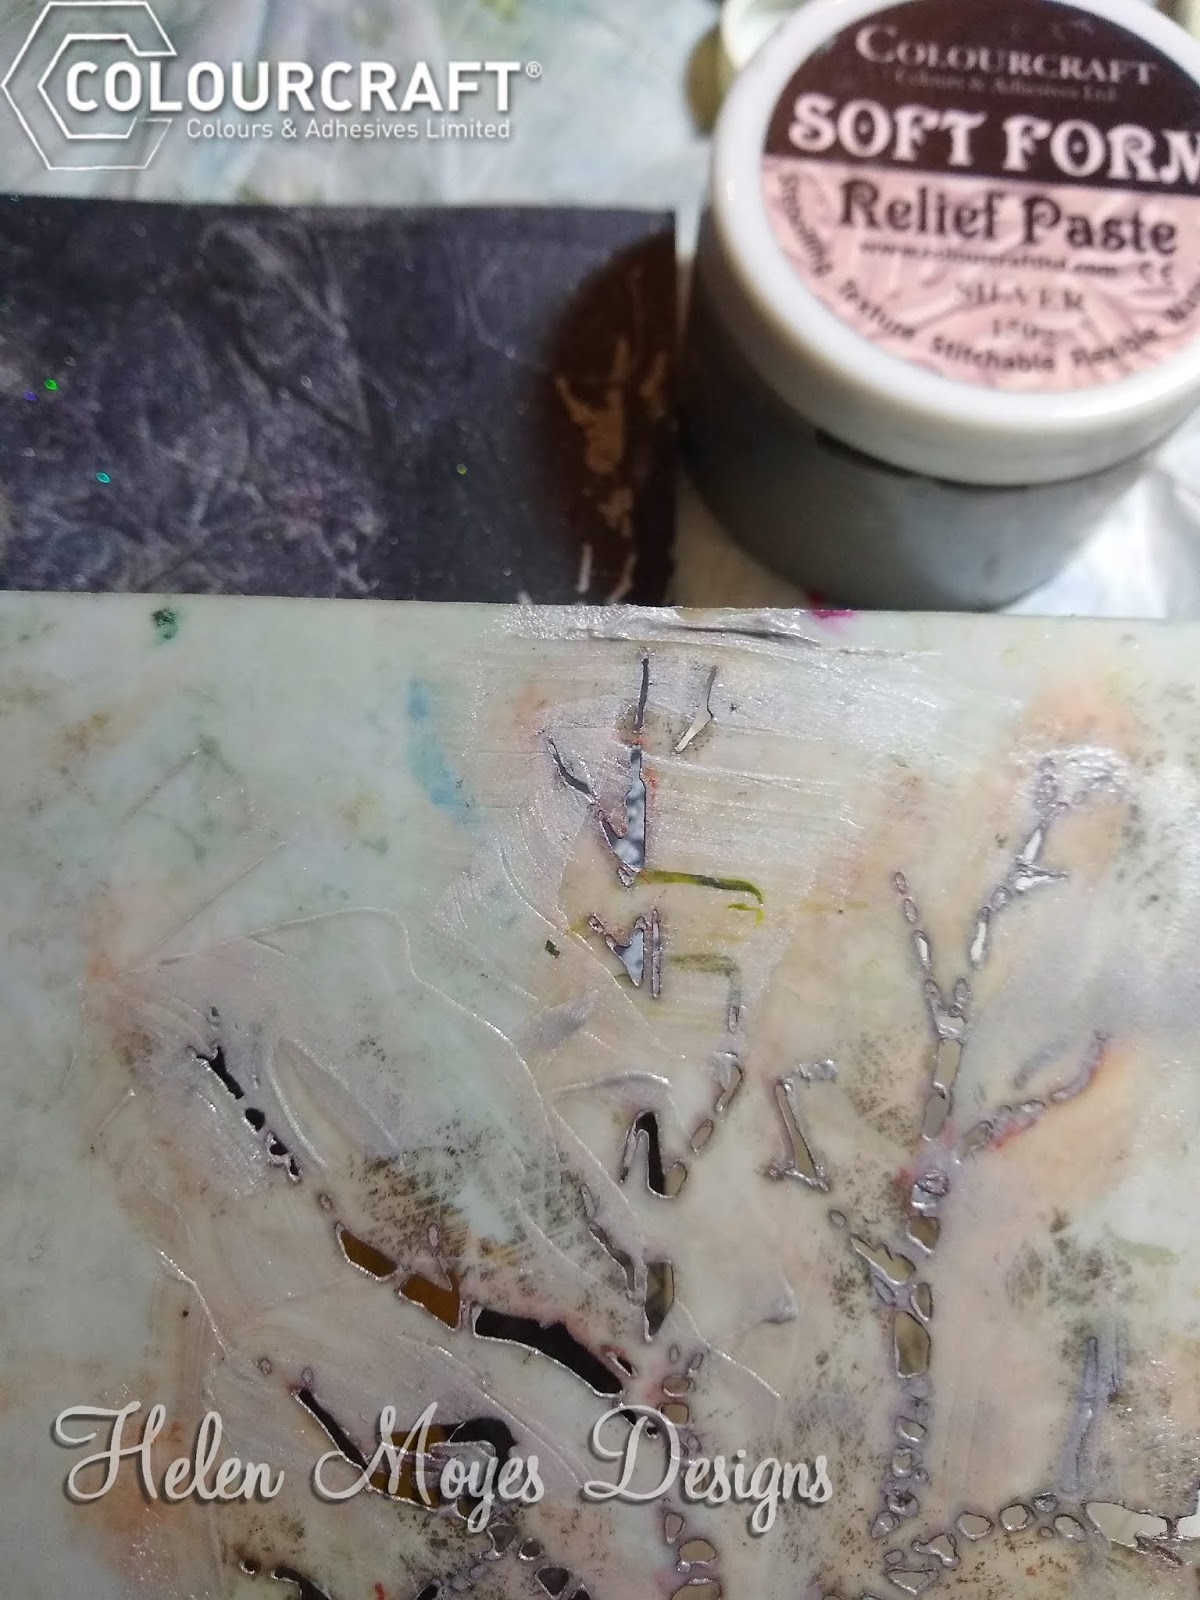


I then used the same technique for the bottom of the card but with the pearl DesignIT relief paste and  TCW "Jungle Vines" mylar stencil.  Colourcraft does stock this so give them a phone call (01142421431) if you would like one as they are not all listed on the website.


Adding an eye and mouth to the stag finished this winter scene.


I hope you are keeping warm.

I would love to see your Christmas card designs, so please do share them with me.

Saturday, 30 November 2019

A Snowy Christmas card


It's only three weeks until Christmas! and the Christmas spirit is in full swing at my house! Here is one of my favourites and super easy...


I used three colours of paint to create the background.  I painted the darker colour around the edges first.  I then painted a lighter colour in the middle ensuring that there were no harsh lines between the two. To achieve this, I had only a little paint on the brush whilst I brushed it backwards to blend the dark and light colours together seamlessly!  

I then stenciled with several stencils using paint and stencil brushes. The trick for success is to use a little paint otherwise it oozes out  through the bottom of the stencil and you get a sloppy mess with no clear lines!


Now for the best part....Creating the snow! I can hear jingle bells now!

Expandit is honestly one of my favourite products by Colourcraft, especially for snowflurries and snowflakes. I did this by smearing a thin layer of Expandit onto my work surface with a palette knife, then stamping lightly into it with a stamp on an acrylic block and then onto my card. I then heat it with a heat gun and voila; puffy puffy fun!

It only takes a few moments. Take care not to heat it for too long otherwise it can burn

Next I created the snowflakes by dipping a pointy tool into the Expandit and lightly tapping it onto my card at random intervals. Again a light blast with my heat makes the little circles puff. 


For this card, I added some die images which I had painted with glitter glue and mounted onto the card!

Would love to see what you make with Expandit, you are not limited to just snow!! 

Happy playing!

Friday, 18 October 2019

Snowflake Stitching on Soluble Film


We are down to single figures for daytime UK temperatures now, no snow yet but definitely chilly. I had better hurry up and finish knitting my fingerless gloves!


This week I’m making a stitched bowl, one made up almost entirely of my stitches, but using soluble film as a base. At the end of the process, leaving a little of the film in the stitches (but not to show) will give the stiffening for a bowl shape.


I am going to use a snowflake stamp to create an image in Angelina fibres to inform my stitches on soluble film. You could use any other stamp or even go straight to the stitching!


Stamps are best mounted on a stamp block. They just stick on their own but can be peeled back off again.
I selected a couple of the Angelina fibres from the cool assortment and heated the iron to medium heat. I placed the stamp block on my ironing board with the snowflake stamp uppermost and inked it using an ink pad. Before the ink dries I laid the Angelina fibres over the inked stamp. Making sure to cover it with baking parchment first, I then pressed the fibres onto the inked stamp, counting to 10.


It's hard to show you the effect from my photos 


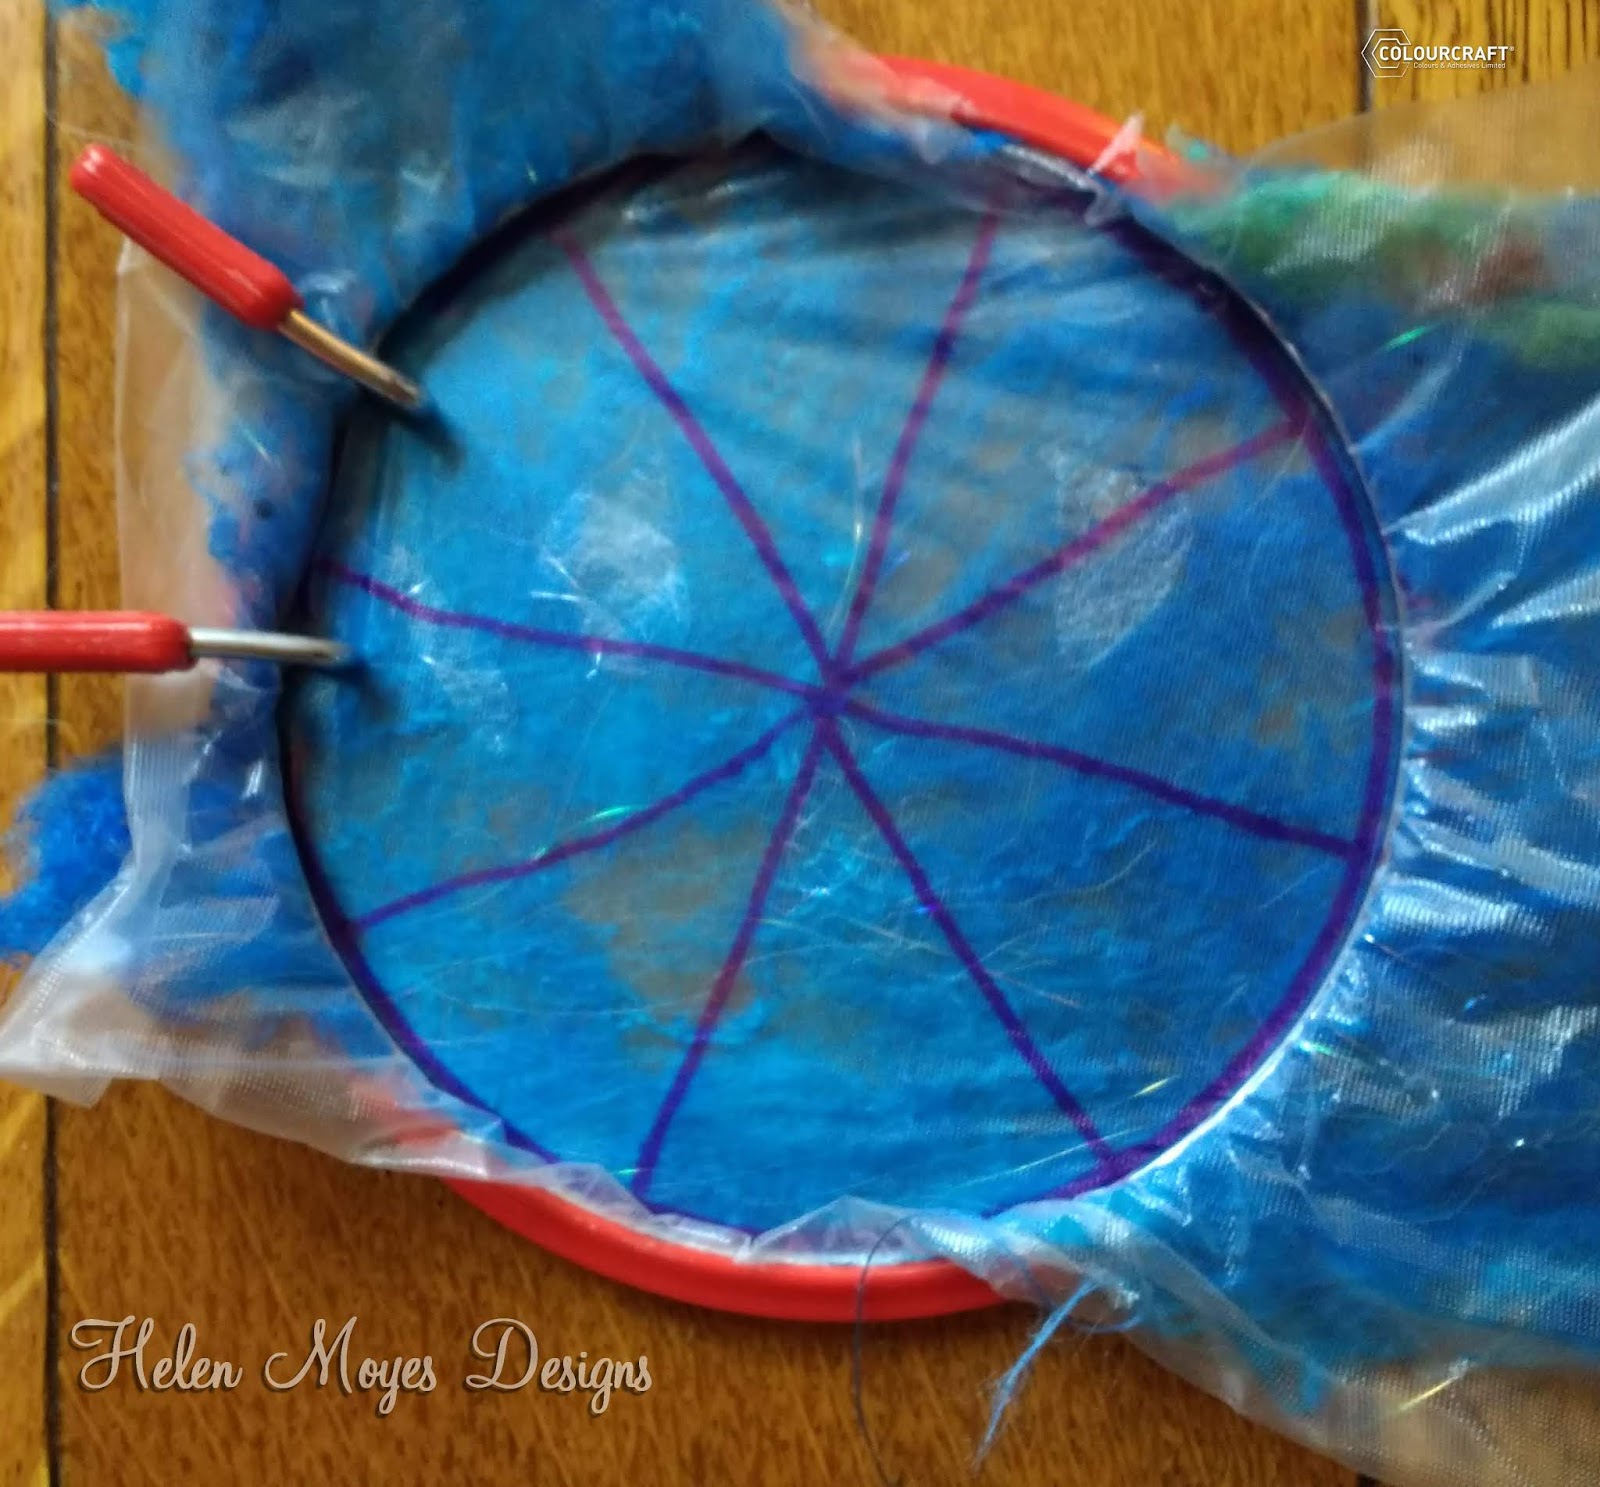
I then cut out the stamped snowflake in the Angelina. This was placed within the centre of a folded piece of soluble film with a fine layer of turquoise mulberry silk hankie. I snipped a few further bits of the Angelina into the soluble film “sandwich” before placing it in an embroidery hoop.

I used a marker to draw outwards from the snowflake points to further guide my stitching.


 Free machine embroidery stitching using satin and metallic threads outlined the snowflake and then filled in the circle. If you’d like to come to a workshop to learn free machine embroidery stitching get in touch.


Once I was happy there was sufficient stitching to make a complete bowl, I released it from the hoop and cut away the excess soluble film from the outside of the circle.
T
ip: save scraps of soluble film, you may try to mend pieces of the water soluble film with an iron (changing its thickness by gluing layers together, and as a possibility of using the leftovers by joining the pieces until the resulting piece will be big enough to be hooped again). Overlap pieces of film inside a sandwich of baking parchment. Use a warm iron and a little steam for a few seconds only.


This is what the stitching looked like before dissolving the film.


Dissolve the film by swishing the stitching in warm water. Remember for a bowl you want to leave a little film still in the stitching.
And this is what the stitching looked like after dissolving the film. 


I left it spread out over a plastic bowl overnight to dry.


This is what the stitched bowl looked like after drying and with some light showing through to show you the detail.


These bowls are great for storing jewellery and are very lightweight gifts to post.
As well as bowls, this method makes great brooches.
I would love to see your creations.


Helen x


Related Posts Plugin for WordPress, Blogger...