Happy Monday everyone, today I am going to be giving you another instalment in my screen printing series. I am going to be focusing on what surfaces you can print onto and some of the possible pitfalls you may come across, in the hope that I can save you from making the same mistake I did when starting out.
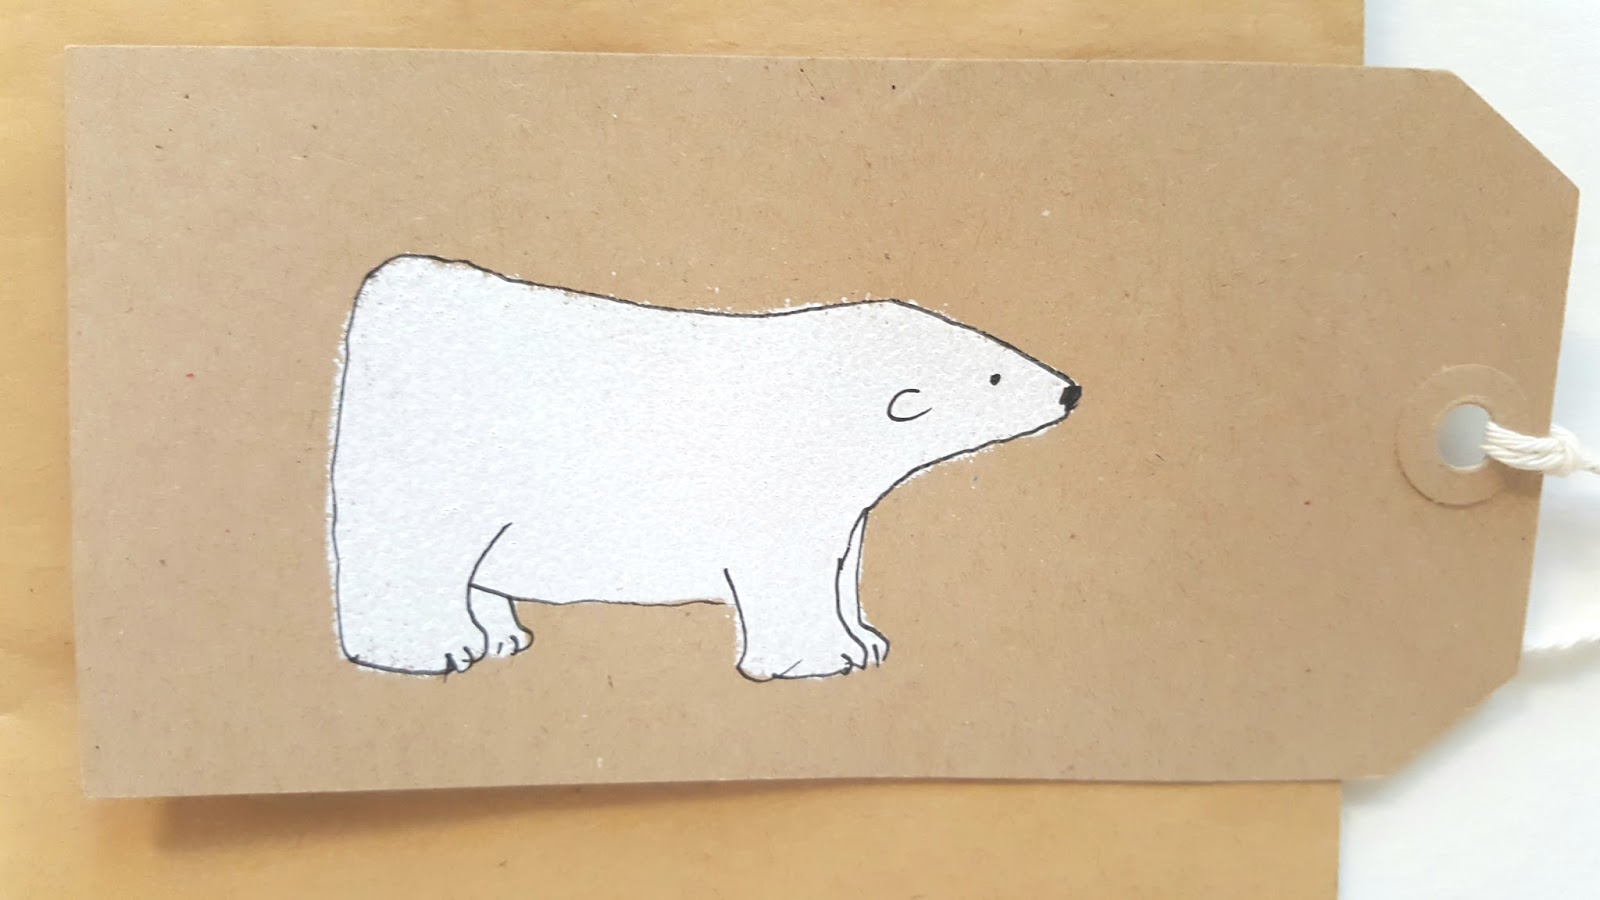
Paper, card and tissue paper
Paper is an easy surface to print onto. You can print on to any colour, most textures and of course dont forget that you can print over a pattern. I love printing onto old book pages. If you leave the pages on a windowsill for a day or two they will yellow a bit giving an aged look.
Natural textures surfaces, cork, slate and wood
Cork is a lovely surface to print onto, you can still see the natural texture of the surface through the ink. Slate and wood are also bases for printing.
Craft Foam
Craft foam or funky foam as you may have heard t called is another cool material to use. The thing to remember here is that it isn't porous like paper so will require a longer drying time.
Shiny smooth surfaces; mirror, glass and tile.
Glass and mirror are both great surface to print onto and both can be purchase relatively cheaply. An old mirror can be given a new lease of life with a simple screen design.
Mirror card with a linen weave
Printing over mirror card gives a really nice effect and is easy to do.
Acetate
Printing on to acetate is fun but can be tricky if you're not careful, see below for pitfalls.
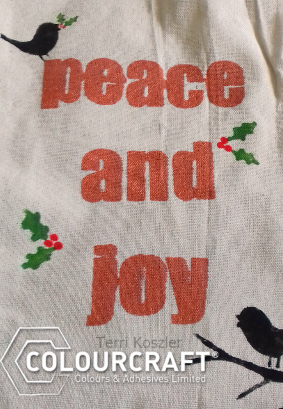
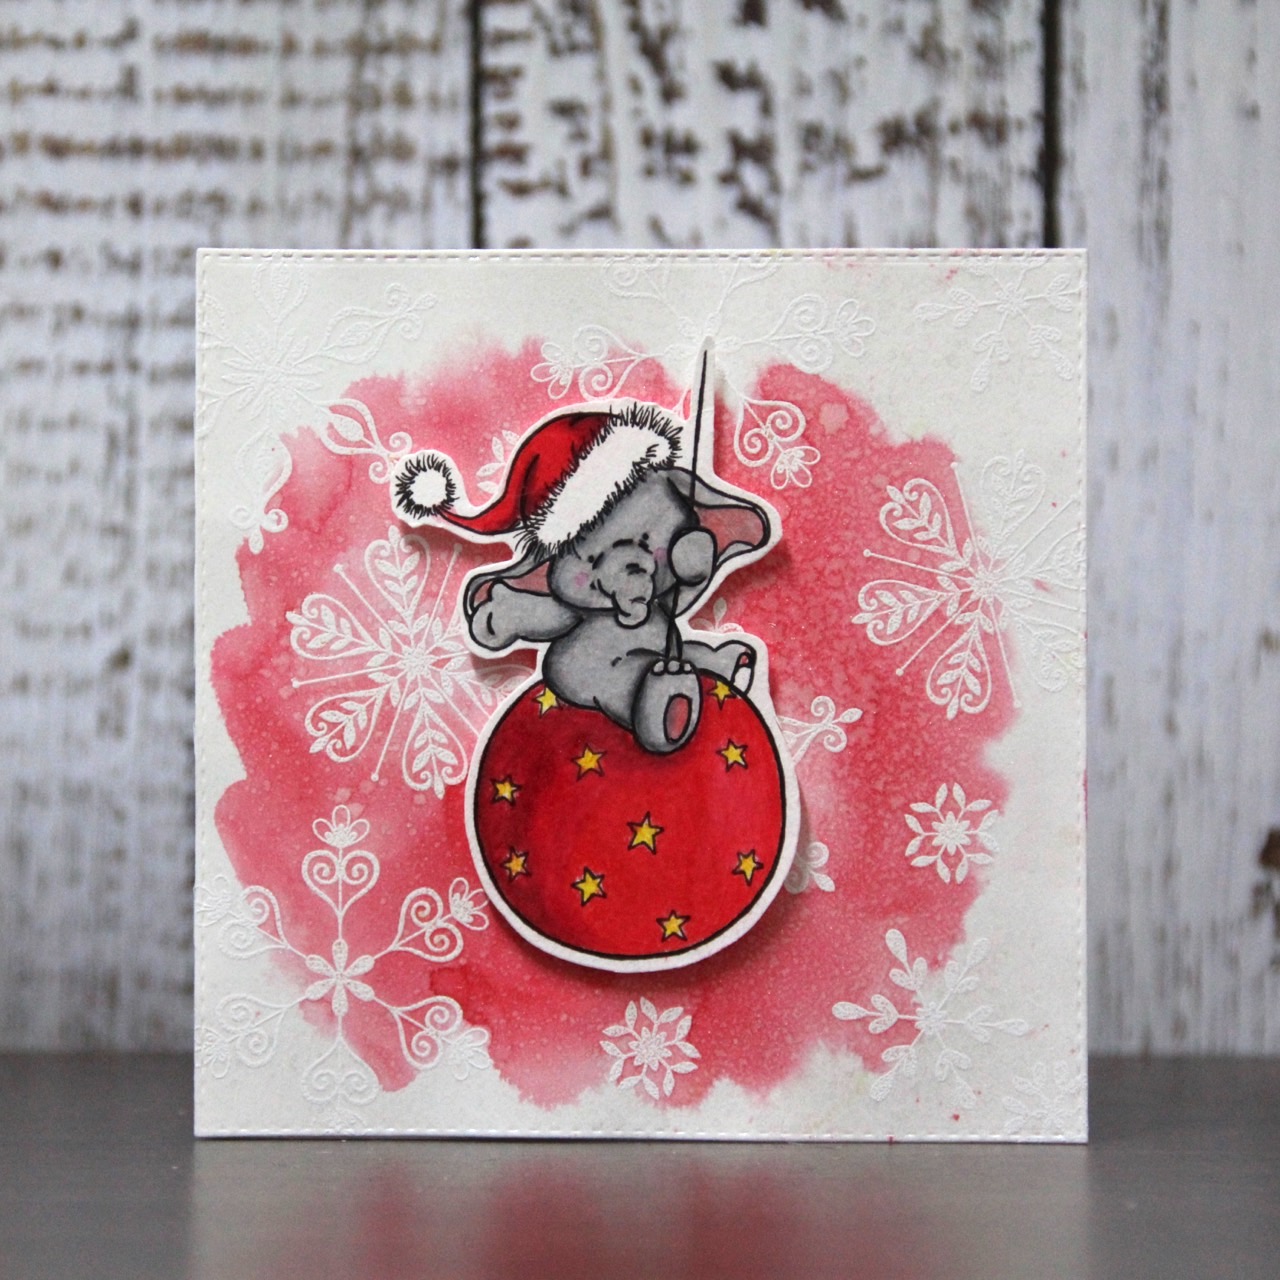
Fabric
You may remember this project from one of my previous posts
(click here) Fabric is the material that most of us think of when talking about screen printing, there are so many fabrics you could use; calico, leather, denim and felt are all good choices.
Ok so on to possible pitfalls;
Open weave fabrics = ink bleed!!!
If using a fabric thats open/loose weave place a piece of card inside or underneath the first layer or you'll end up with a mess on the reverse.........I wont make that mistake again!
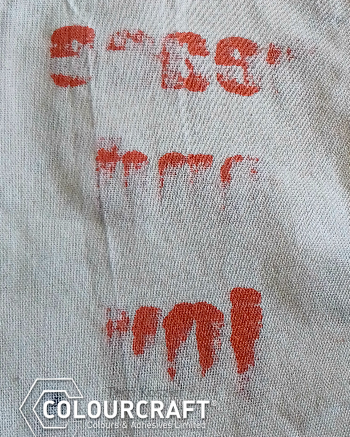
A baggy screen = smudges and halos!
If you've printed onto a surface that is raised in places or was thick yet smaller than the size of your screen you may end up with a baggy screen as when you pull the ink and squeegy over the bulk it can stretch the screen or leave a build up off ink in place. This will effect your net print, in the picture above you can see a circle from where I printed onto the mirror and then onto card.
I should have tightened my screen to avoid this problem.
Failing to tape down smooth shiny materials = vacuum effect and smudges!!!
When you print onto things like paper, card and acetate you should always tape them down. Failure to do so results in your chosen material sticking to the screen and smudging when you try to remove it. I didn't tape down my acetate in the picture above and when I tried to remove it it slipped and caused smudging.........
Here's a quick project showing how to add screen printed details to candles.
You will need to screen print onto tissue, if your tissue is double or triple ply separate to single ply after printing.
Tear around your image by hand, dont use scissors or you wont get a good result.
Lay you image on top of your candle and wrap with a piece of wax paper.
Gentle heat with your heat gun making sure not to get to close or stay in one position to long, you will see the paper recede into the wax leaving you with a smooth result.
I must stress that I only use the candles for display purposes once I've added screen printed images to them as fire and inks can be dangerous!
As with any new hobby there are always things to learn and mistake to be made. I hope that I have given you some tips on how to avoid some common problems so that you can have get on and have fun.
I will be back with more screen printing fun soon, I'm thinking we'll look at using multiple colours on one screen and using more than one screen on a project.
Till then have fun experimenting.
Terri