Showing posts with label Christmas Card. Show all posts

Wednesday, 25 December 2019

Merry Christmas with Suzi

Good Day Everyone and a Very Merry Christmas to you All. For Today's project I decided to create a card to capture the Christmas Spirit, using Brusho Crystal Colour Powders, Sprinkle It Powders, Foil Transfer Sheets along with a Poly Plate and sentiment stamp from Crafty Roo Designs.

Our theme this month is 'Let it Snow' so the first thing I did was to create a background giving the impression of a snowy night.  I took Brusho Crystal Colour Powders in Prussian Blue, Ultramarine and Turquoise and sprinkled them onto a large sheet of Watercolour Paper, I sprayed this with water, and added more water and pigment until I was happy with the colours and pattern. I then added a couple of layers of Iridescent Violet SprinkleIt Powder along with more water.


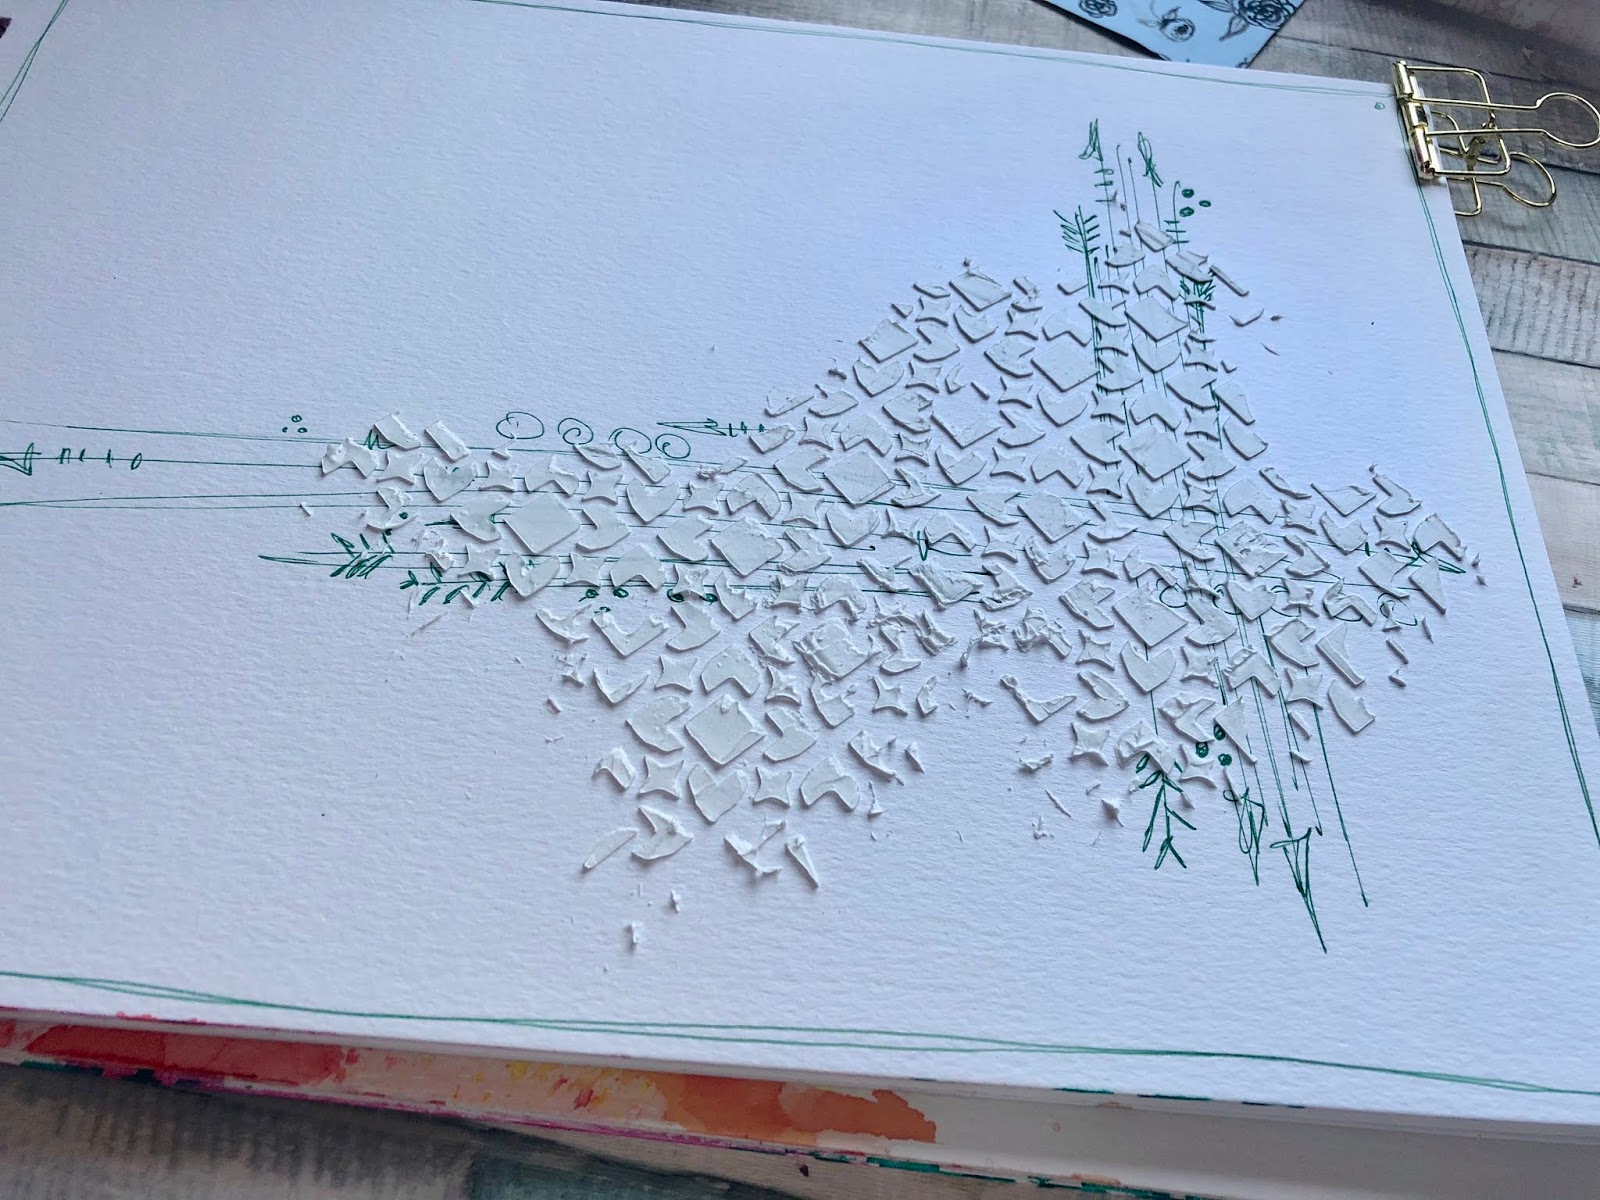
Once my background was dry I cut a piece for my card, I chose a 5 x 7 inch white card blank, so cut my background piece a little smaller.  I then took the Christmas Tree Poly Plate and using Brusho Crystal Colour Powders in Sea Green and Emerald I stamped a couple of trees onto my background.  I also stamped a Christmas Tree onto a piece of watercolour card for my focal point.


Using Clear Embossing Ink and Gold Embossing Powder I added my sentiment to the background.


It was then time to work on my focal point, I fussy cut the Christmas Tree I had stamped and then added some baubles and tinsel using Foil Transfer Sheets and my Fabric Master Heat Tool.


Finally it was time to put all my elements together.  I trimmed a piece of Gold Mirri Card to go behind my background and added this and the background to my card.  I then added my Christmas Tree using foam pads to give the tree some dimension.


I love the sentiment I've used, It's from one of my favourite Christmas films and it's sums up the true meaning of Christmas for me, the joy of sharing this special time of the year with family and friends.
I hope you all have a wonderful day today, and that Santa brought you lots of crafting goodies.

Thank You for visiting with us today,
Bye for now
Suzi
xxx

Monday, 16 December 2019

Christmas Art Journal becomes an emergency Christmas Card

Hey everyone! Are you ready for Christmas? Are all your cards posted? 
I thought mine were ... until it turned out they weren't ... let me talk you through it...
It started with an art journal...


Here's how the Art Journal page came together:


I started by scribbling a frame and some doodles with a green pen to create the first layer of background design.


Add a layer of texture paste - I like mine to be irregular and grungy.


Choose two Brusho colours you want to use and sprinkle them delicately on the textured area; then lightly spray with water avoiding making puddles. 


For additional effect, water down one of the colours and flick it off a paint brush creating splashes.


Now it's time to create a cluster to become a base of your main feature.
I used strips of various Christmas papers from ABStudio. 


I also cut out various elements from the same papers to use as embellishments which I layered in between the cluster strips.


You can stick te elements under, in between and on top of the cluster - just have fun with it!
You can add some more paint splashes now to make the elements blend nicely not the page.


Top up the finished cluster with your chosen element - I decided to use a reindeer.


TA DAH! My Christmassy Art journal page is ready!


And just as I thought that I will be able to display it nicely in my craft room, it turned out that I needed an additional Christmas card (guess counting is not my strong suit!).
In a moment of genius, I took the page out of the journal, folded in half and... the day was saved!!!


Have a great Christmas!
See you in the new year!


Saturday, 7 December 2019

3-D Mixed media Christmas Trees

Tis the season and all that! Time for me to realize I've missed all the post deadlines for international post and frantically making Christmas cards anyway!

I started by decorating normal copier paper with the Brusho Wax Resist Crayon.
I then crinkled up the paper and sprinkled on Brushos.
Add water with a spray bottle and/or foam brushes and you get some funky surfaces! Some of the pieces I added more crayon marks and more Brusho.
I made a tree shaped template and traced this onto the paper side of fusible web, I cut these out outside of my traced line and ironed them onto the RIGHT side of my decorated papers. Make sure to use something to protect your iron! (I use baking parchment).
I then cut one "base" tree out and sewed it onto a felt backing. I needed to freehand sew this as the fusible made the new paper product stick to the foot.
I then cut a second tree into strips using a zigzag scissor and sewed onto my base tree/felt sandwich.
I made sure to leave the base tree peeking through! 
There are a lot of different ways you can cut and layer your trees.


So much fun to do! And now I can glue or sew them onto cards and voila! Unique Christmas cards!

Hope you enjoy this project!

Saturday, 30 November 2019

A Snowy Christmas card


It's only three weeks until Christmas! and the Christmas spirit is in full swing at my house! Here is one of my favourites and super easy...


I used three colours of paint to create the background.  I painted the darker colour around the edges first.  I then painted a lighter colour in the middle ensuring that there were no harsh lines between the two. To achieve this, I had only a little paint on the brush whilst I brushed it backwards to blend the dark and light colours together seamlessly!  

I then stenciled with several stencils using paint and stencil brushes. The trick for success is to use a little paint otherwise it oozes out  through the bottom of the stencil and you get a sloppy mess with no clear lines!


Now for the best part....Creating the snow! I can hear jingle bells now!

Expandit is honestly one of my favourite products by Colourcraft, especially for snowflurries and snowflakes. I did this by smearing a thin layer of Expandit onto my work surface with a palette knife, then stamping lightly into it with a stamp on an acrylic block and then onto my card. I then heat it with a heat gun and voila; puffy puffy fun!

It only takes a few moments. Take care not to heat it for too long otherwise it can burn

Next I created the snowflakes by dipping a pointy tool into the Expandit and lightly tapping it onto my card at random intervals. Again a light blast with my heat makes the little circles puff. 


For this card, I added some die images which I had painted with glitter glue and mounted onto the card!

Would love to see what you make with Expandit, you are not limited to just snow!! 

Happy playing!

Wednesday, 20 November 2019

Quick Christmas cards by Karen


It is fast approaching the time when I need to be sending out Christmas cards and I have been doing 'one sheet wonder' style cards where you use every bit of one sheet of paper to make lots of cards. I applied this to these cards today by creating a colourful sheet with Brusho Crystal Colours in traditional Christmas hues of red and green and then cutting it up to make my cards.  Although there are 6 cards in the photo, I actually made seven in just a few hours.

I used a 30 x 30 cm (12" x 12") heavyweight paper and sprayed it with water before sprinkling it with Brilliant Red, Gamboge, Olive Green and Emerald Green Brusho powders. I dabbed with a paper towel anywhere that there seemed to be too much water or the colours were running together and becoming too brown.

I dried this with a heat tool before spraying and flicking Brusho Gold Shimmer spray on to it and letting this dry naturally.

I recycled a cereal packet by painting the inside with Aztec Metallics Gold Paint and used this to die cut my text and embellishments. It looks streaky in the photo but it dries to a lovely metallic sheen as you can see in the embellishments below.


I'm pleased with how the cards turned out and I just have a few die cut baubles and a small piece of gold card left over. I'm sure they will make their way on to another card: Nothing wasted!

Hope this helps you if you have lots of cards to make.
Karen


Related Posts Plugin for WordPress, Blogger...