Saturday 30 June 2018

Wax Resist with Brusho

Hi Everyone,

Sarah here with you today on the blog on this glorious last sunny Saturday in June!

I have a real easywax resist technique for you today and a great one to get the kids involved during the summer holidays, and I have created 3 really quick and easy cards.

Step 1

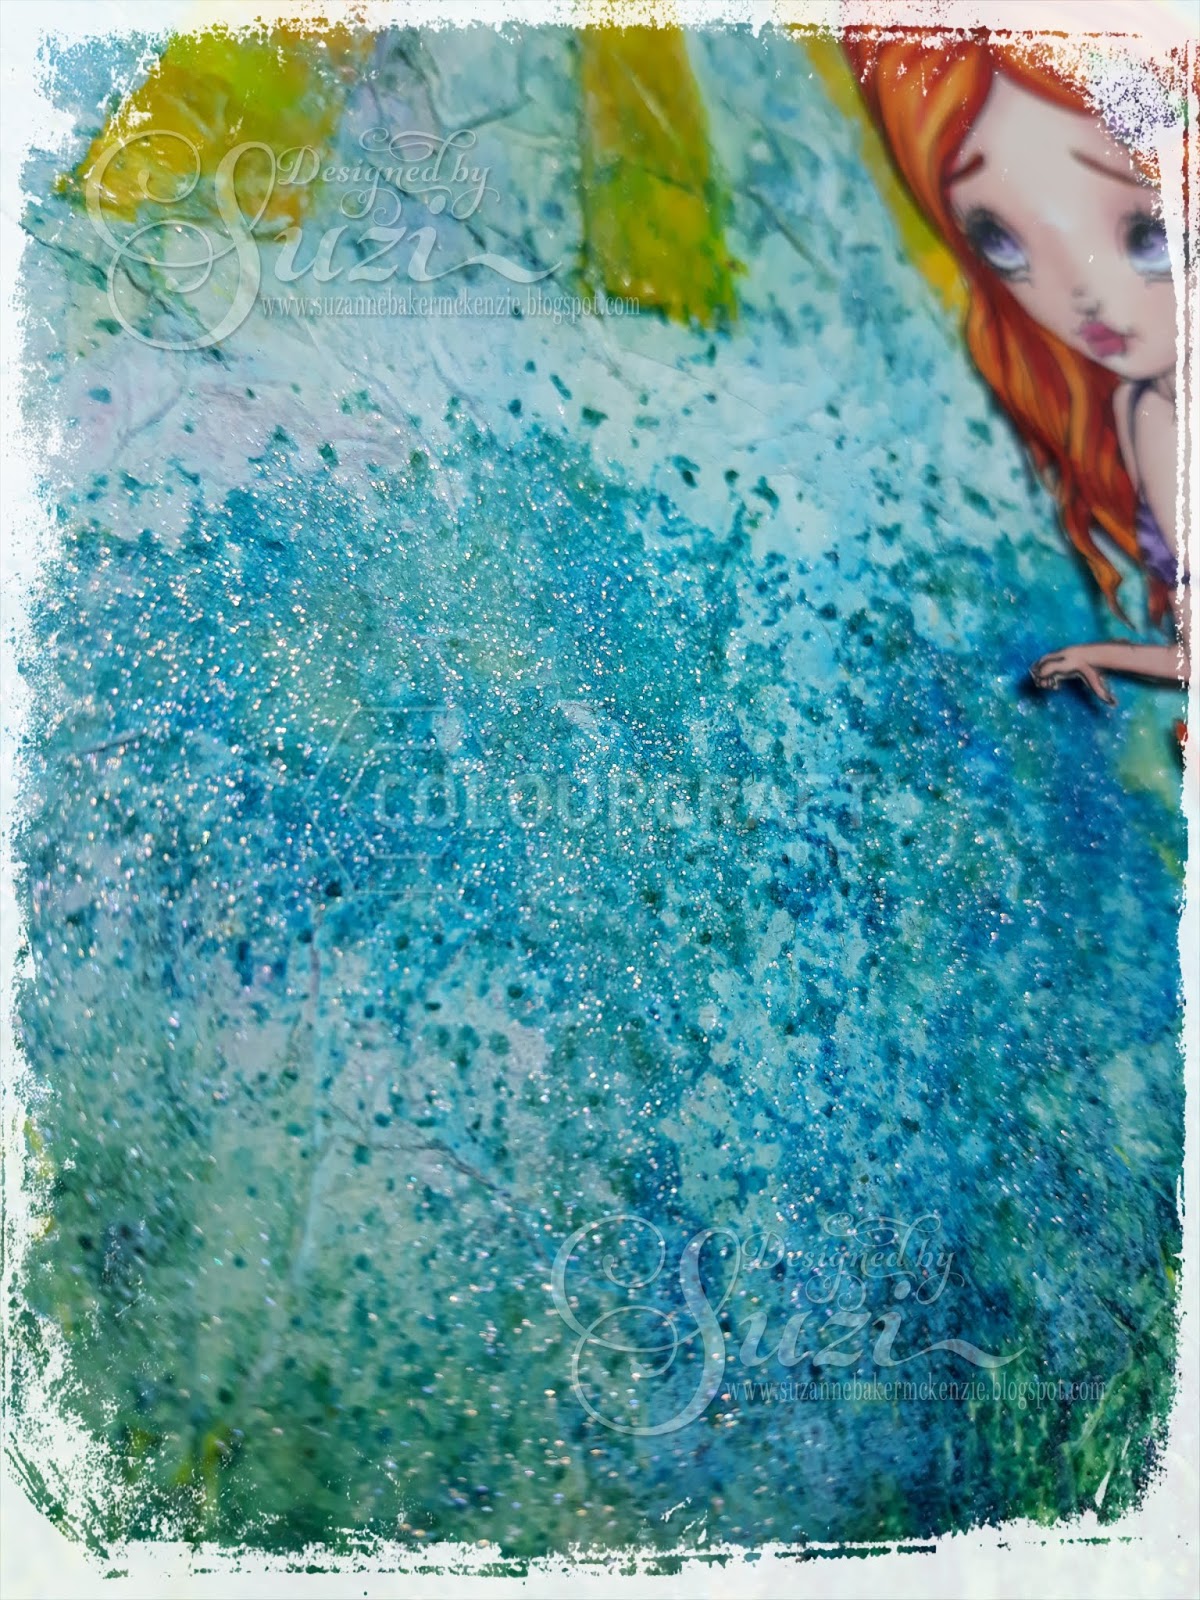
Take 3 pieces of 3.5" x 3.5" linen textured card and a Colourcraft clear wax resist stick, draw some patterns onto each piece with the wax crayon, I picked flowers, circles and squiggles


Step 2

Spritz your cardstock with water and sprinkle brusho crystal colours of your choice, I chose Crimson, Lemon, Lime Green, and Turquoise for mine, it is handy to have kitchen roll handy to mop up the excess


Step 3

Dry your cardstock either with a heat tool or allow to dry out in the sun, once dry apply double sided tape to the reverse of your cardstock, I then matted then onto black cardstock cut an 1/8th of an inch bigger and stuck together.


Step 5

I took 3 x white 5" x 5" card bases and applied my finished matted pieces to the front and die cut the word thanks and glued to the front of my card and that's the cards complete


Thank you so much for popping round and I shall see you next month with more fun projects

Sarah x


Friday 29 June 2018

Art Journal Ideas for Beginners - Video by Susanne

Hi my dear crafty friends!

It's Susanne writing today and I have another video for you with pages in my ICAD 2018 art journal. Instead of index cards I create on watercolour paper that is twice as large as an icad. I fold it in half and when I am done with all of them I will bind a little journal by adhering the backsides of each card to the other.


I used Brushos (Turquoise, Gamboge, Crimson) together with the Brusho Resist Sticks to creat the background and the ColourCraft Aztec Metallic Gold Paint to add a nice finish to each page.


Enjoy watching the video!


Thank you for stopping by today!
xx Susanne

Supplies:

Wednesday 27 June 2018

Summer Journal page with Suzi

Good Day All, Today I'd like to share with you a page in my art journal celebrating Summer.

To start my page I collaged some Kitchen Towel that i'd used to soak up excess Brushos on a previous project with some White Gesso to give me a base for my design.
I then used the leftover Yellow Gloss Gel Medium from my previous project along with a Sun Ray stencil to create my Sun; adding the remaining gel medium to the bottom and sides of the page.
Next I added Brushos in Sea Green and Turquoise along with some SprinkleIt in Iridescent Gold, I repeated this process until I was happy with the colours I'd achieved.
I then added some Brushos in Gamboge to the centre of the Sun along with more SprinkleIt in Iridescent Gold.  I also added a little White Gesso to the sea and sky for some contrast.
Before the White Gesso had dried I added some more SprinkleIt and water, which brought some of the blue through the Gesso to create a lovely sparkly sea.  I then added a Digital Stamp from Oddball Art Stamps, coloured with Alcohol Inks.
Here are some close ups of the Sun and Sea, so you can see the wonderful sparkle and texture;


The Texture and Sparkle look even better in real life. I can't wait to play with the other variations of the SprinkleIt powders.

That's all from me for today, I do hope you've enjoyed my post and project
Have a Wonderful Day
Suzi
xxx


Monday 25 June 2018

Journal cover with gel medium and Brusho

Hi, today I have for you a very interesting tutorial on how to use jelly media and Brusho powders. The latter mixed with the former are still very intense just like Colourcraft paints. The only thing is jelly media increases the volume of ... media and it's perfect solution. 

I used AB Studio napkin stencil and 3 colours of Brusho powders to make the cover which I hope will turn into hand made journal. The mixture of powders and gel is put by means of a pallet knife so that it gives rainbow effect. 

I don't put it on the whole surface. The edges are sprinkled with powders and watercolor paper is sprayed with a big amount of water so that the powders dilute and mix colours. Such effect is possible only on high quality watercolor paper which I personally work on.


VIDEO:


Have a nice day :)
Aga

I used:


Saturday 23 June 2018

Transfer dyeing- How to make bubbles and more!- A little fish art quilt

Memories of summer...make me think of BUBBLES! and water...
This week I wanted to show you how to make a bubble texture using Colourcraft Transfer Dyes. I had fun making this little quilt and used both the dyes and crayons for creating the patterns for the fish as well.
Transfer dyes can be used in a few different ways. I used them to create designs on paper which I then transferred to fabric by pressing with an iron. These dyes adhere only to fabrics with polyester content- the more the better, and are permanent!

The first texture I wanted to create was bubbles! I got the idea from watching a video of creating bubble patterns onto paper using ink...but how to get that onto fabric? Transfer dyes were perfect since you apply them to the paper first.
Below you can see where I have blended a thick liquid soap with a bit of water and some of the powdered dye. It's just to mix together, blow bubbles with a straw and then apply paper to get the image (more detail in my video).

If you are having troubles with this step- try some of the following:
  • No color in your bubbles? Try mixing the dye powder with a bit of water before blending into the soap.
  • Bubbles aren't staying up long enough to print? Try adding a bit of glycerin to the mix!
  • Don't be afraid to experiment with your soap type- dishwashing liquid, and even soap bubble mix should work- you might just have to experiment with ratios of water/dye powder and if you need glycerin or not.
Here are some bubble prints made with different colors and soap combinations:


I decorated more papers with the transfer dyes- mixing them with water first and dropping, painting, spraying with water, as well as doing some rubbings with transfer crayons. These I ironed onto different colors of polyester satin and then cut out my fish shapes.

Watch the video here  for more information:


My fish were sewn on, with a bit of extra batting behind them to give a slight trapunto effect. I then added batting and a backside and quilted everything together! 
I wanted to add a little extra something something...so brushed on Sprinkle IT onto the fins and bellies of the fish- and a wee bit in some of the bubbles. A little sequin and bead for each eye and there it is! "Plenty of Fish in the Sea".


Anyway I hope you enjoyed this project! I'd love to see what you make with bubbles! 


Wednesday 20 June 2018

Two sea-themed mixed media projects by Karen


For these two projects, which I created in tandem at each stage, I created a video (below) which explains the steps and materials used. I used Brusho colours and SprinkleIT on some surfaces which I thought would resist the colour more than they did: I was very pleased with the results and the depth of colour and sparkle obtained. I hope you enjoy the video and that it will inspire you to use these products in new ways.


SprinkleIT can be found in the Colourcraft shop <here> 

Related Posts Plugin for WordPress, Blogger...