Showing posts with label handmade card. Show all posts

Monday, 30 December 2019

Back to Basics - quick Brusho card

I know that for most crafters, the period between Christmas and New Year is THE TIME OF THE YEAR when they can craft as much as they want. Well, I am not that lucky and have to go to work every single day :(


However, I am not allowing that to stop me having colourful fun!!! 
Hence the card! ;)


I started by sprinkling a Distressed Rectangle Polyplate with purple Brusho and iridescent SprinkleIt. Then misting it with a bit of water and... STAMP on watercolour card. 
While it was still wet, I added a little more SprinkleIt.


Once dry, I folded the A4 card and cut to shape to create a card.


As contract, I used a green gel pen to outline the shape - I have done the outline twice purely because I like my lines irregular and wonky.


I also outlined a stamped sentiment - you can see here what I mean by 'wonky lines'!
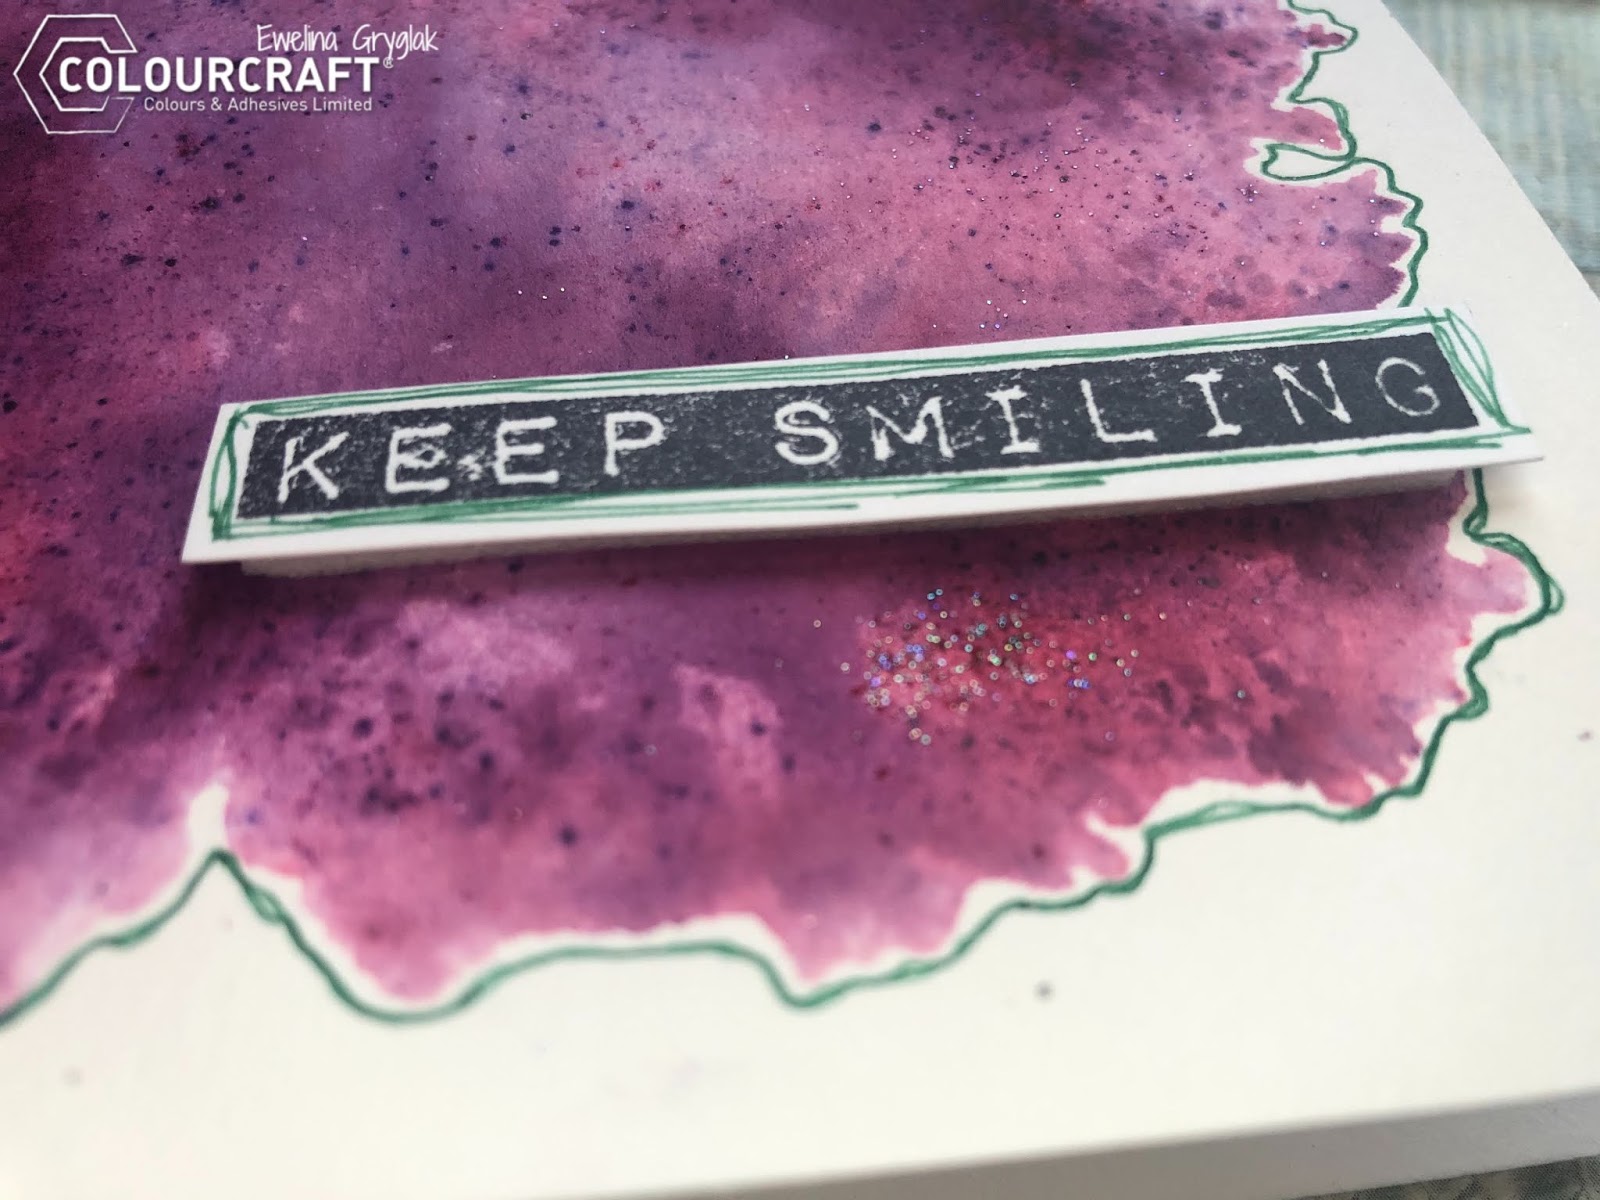

The last step was to mount the sentiment on the card.
Can you see the SprinkleIt sparkling??? I love it!


There you go - nice and easy and... preeeeeeetty!

See you next time!


Monday, 16 December 2019

Christmas Art Journal becomes an emergency Christmas Card

Hey everyone! Are you ready for Christmas? Are all your cards posted? 
I thought mine were ... until it turned out they weren't ... let me talk you through it...
It started with an art journal...


Here's how the Art Journal page came together:


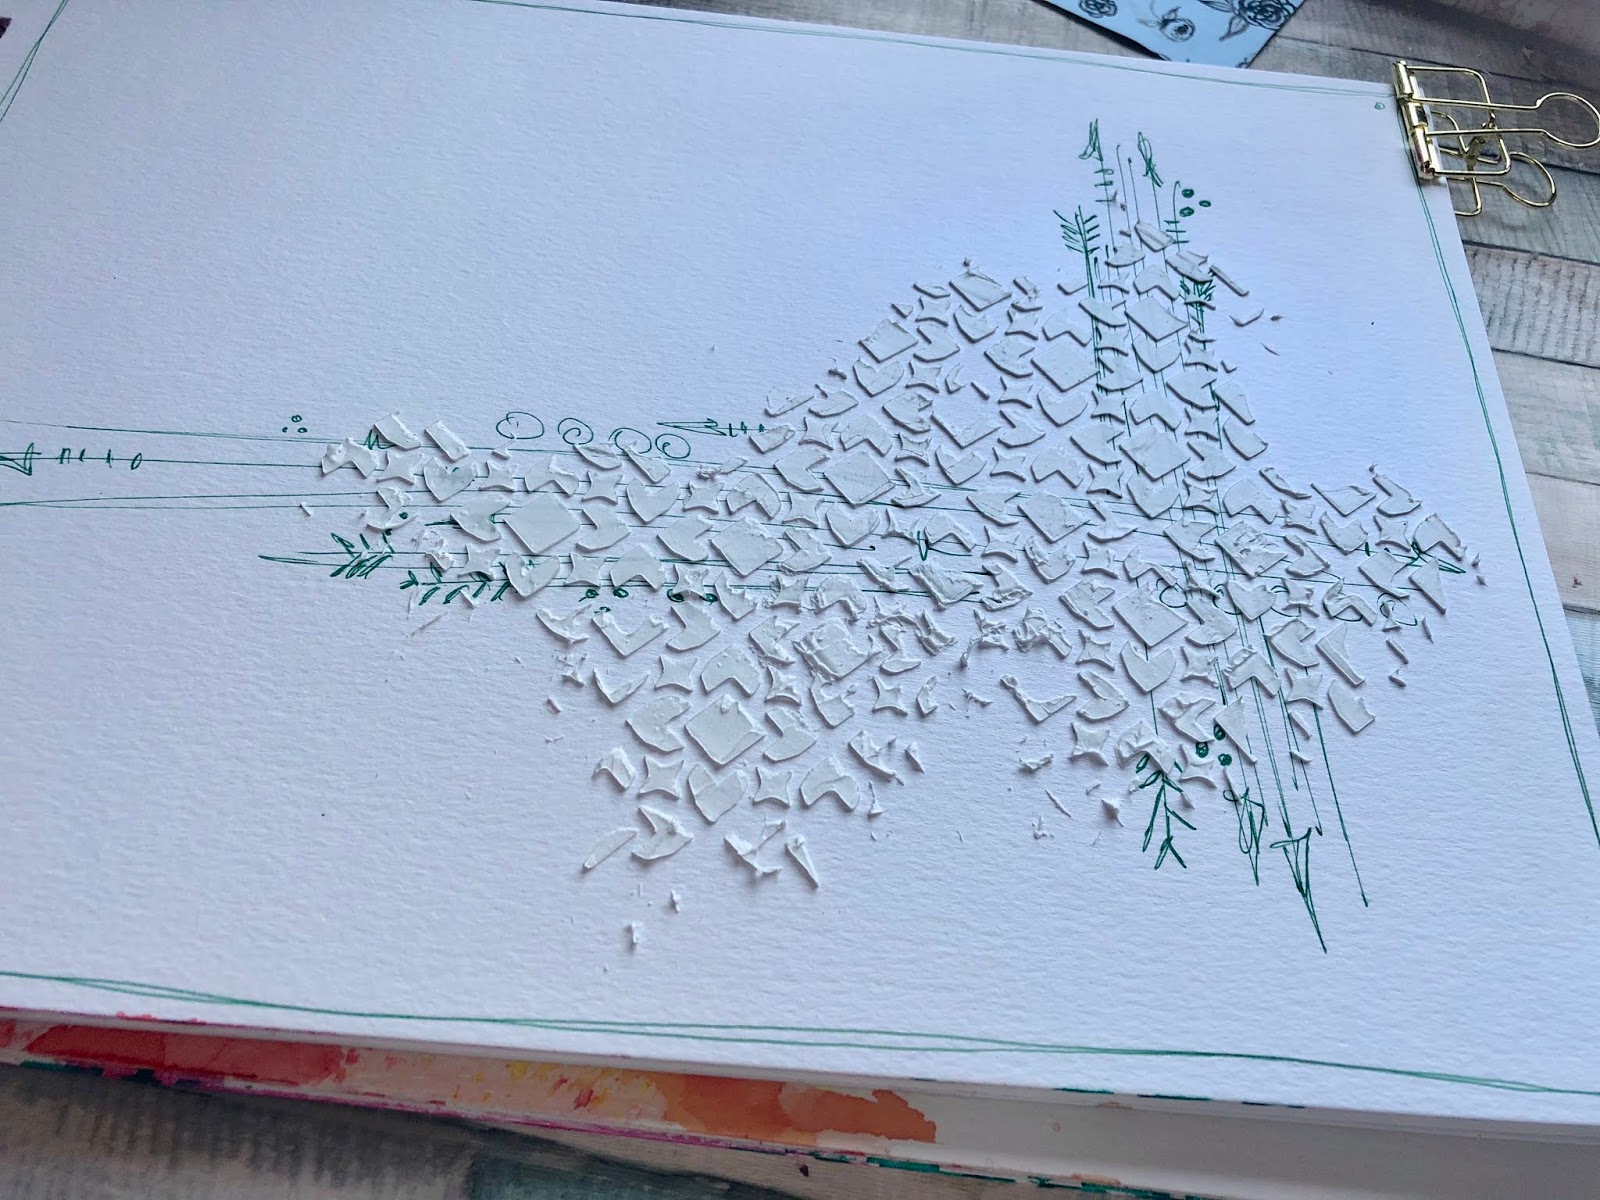
I started by scribbling a frame and some doodles with a green pen to create the first layer of background design.


Add a layer of texture paste - I like mine to be irregular and grungy.


Choose two Brusho colours you want to use and sprinkle them delicately on the textured area; then lightly spray with water avoiding making puddles. 


For additional effect, water down one of the colours and flick it off a paint brush creating splashes.


Now it's time to create a cluster to become a base of your main feature.
I used strips of various Christmas papers from ABStudio. 


I also cut out various elements from the same papers to use as embellishments which I layered in between the cluster strips.


You can stick te elements under, in between and on top of the cluster - just have fun with it!
You can add some more paint splashes now to make the elements blend nicely not the page.


Top up the finished cluster with your chosen element - I decided to use a reindeer.


TA DAH! My Christmassy Art journal page is ready!


And just as I thought that I will be able to display it nicely in my craft room, it turned out that I needed an additional Christmas card (guess counting is not my strong suit!).
In a moment of genius, I took the page out of the journal, folded in half and... the day was saved!!!


Have a great Christmas!
See you in the new year!


Monday, 23 September 2019

Xmas card with Ewelina

Is it too early to start making Christmas cards?
Well... if you have the same amount to make as me, you should have started in January!


Since I have been playing with Crafty Roo's Poly Plates, using them to make some cards was just a matter of time.


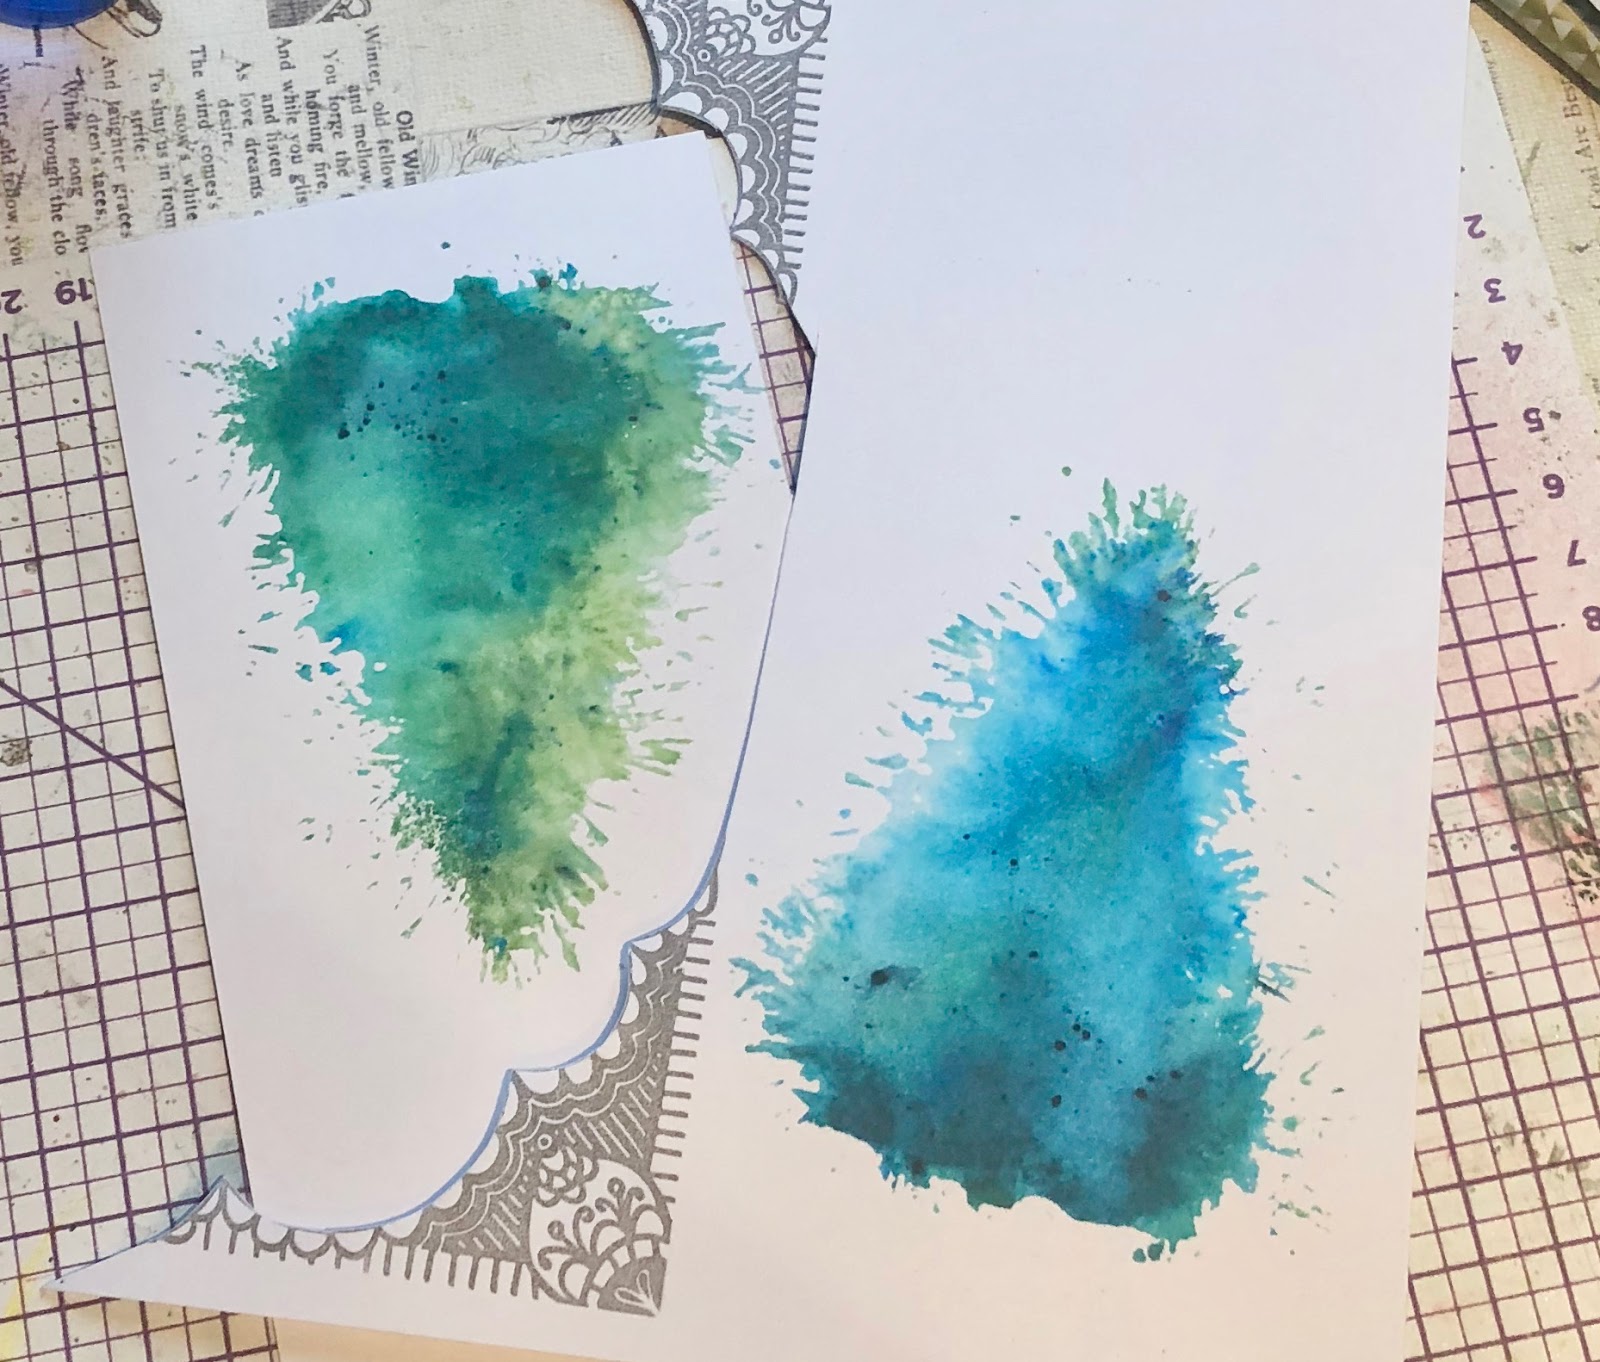
All you need to do is sprinkle a little of Brusho on the plate and then spray with just a little bit of water; not too much!


Then stamp! Et Voila!
How cool is that?!
I fussy-cut my trees to add more dimension to the card but you can stamp directly on the card - there are no rules!


The usual for majority of my cards - frame. Never a regular shape or straight line... 


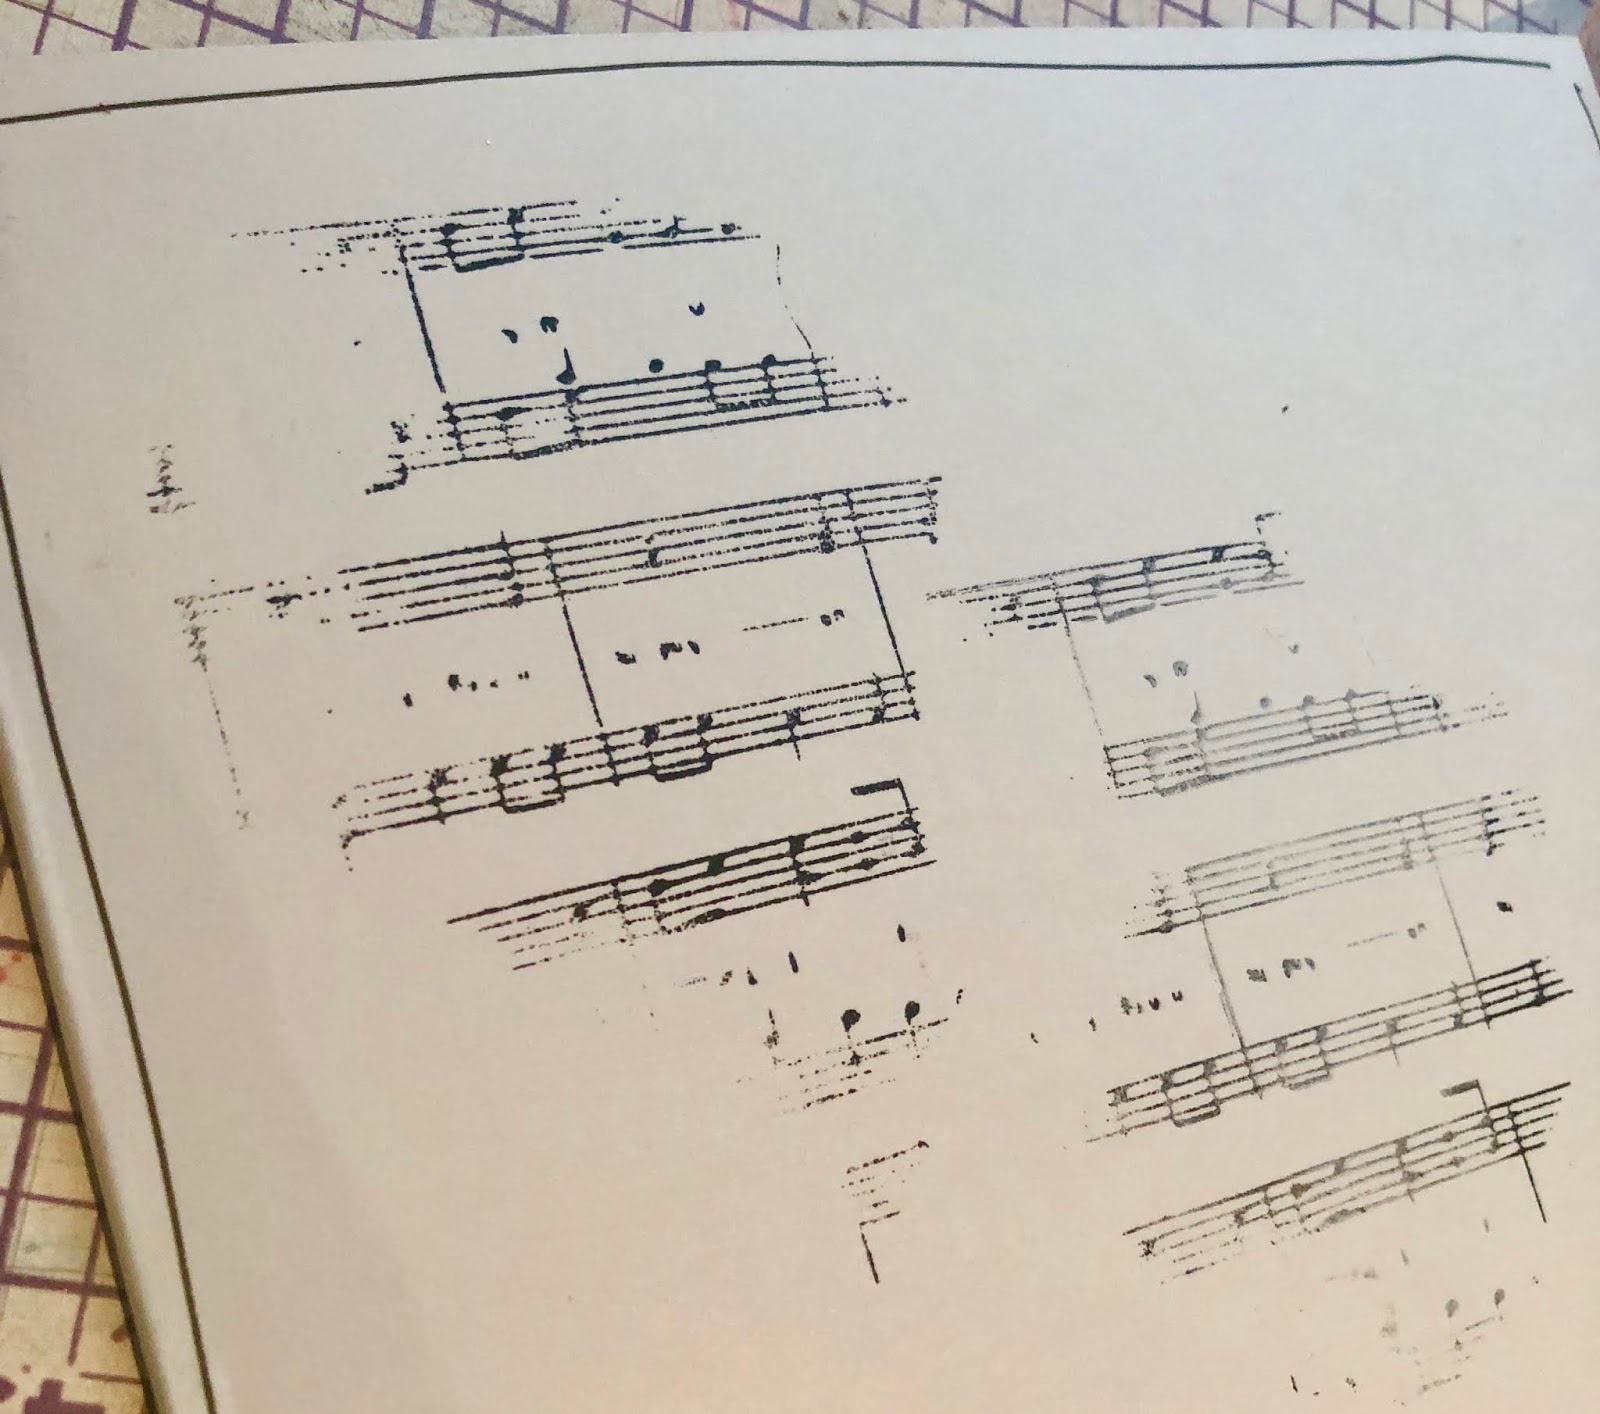
Using Crafty Roo's Music texture stamp, add some irregular stamping to the background.


Just like this.

Now mount the fussy cut trees and a sentiment and you card is ready!

See you next time!

Monday, 26 March 2018

Cute Easter Cards with Ewelina

I have recently been 'accused' of not making any 'pretty cards, only the mixed media stuff'...
At first, I wasn't sure what to make of it but then decided not to dwell too much on it and turn it into my own crafty challenge instead.


I turned my craft room inside-out looking for some 'cute' Easter stamps I remembered receiving as a gift good three years ago because they were the only thing I could think of.

Here's how it went...


I picked Brusho powders in colours I wanted to use and sprinkled them creating small watercolour puddles. I made sure not to add too much water to allow for the colour crystals to show their lovely shades.


I then stamped out my Easter animals and sentiments on the watercolour puddles. Remember to use waterproof ink for your stamping - you wouldn't want your designs to start bleeding.


Now for the hard work - fussy cutting.
I can honestly say that it's my favourite part of crafting... NOT.


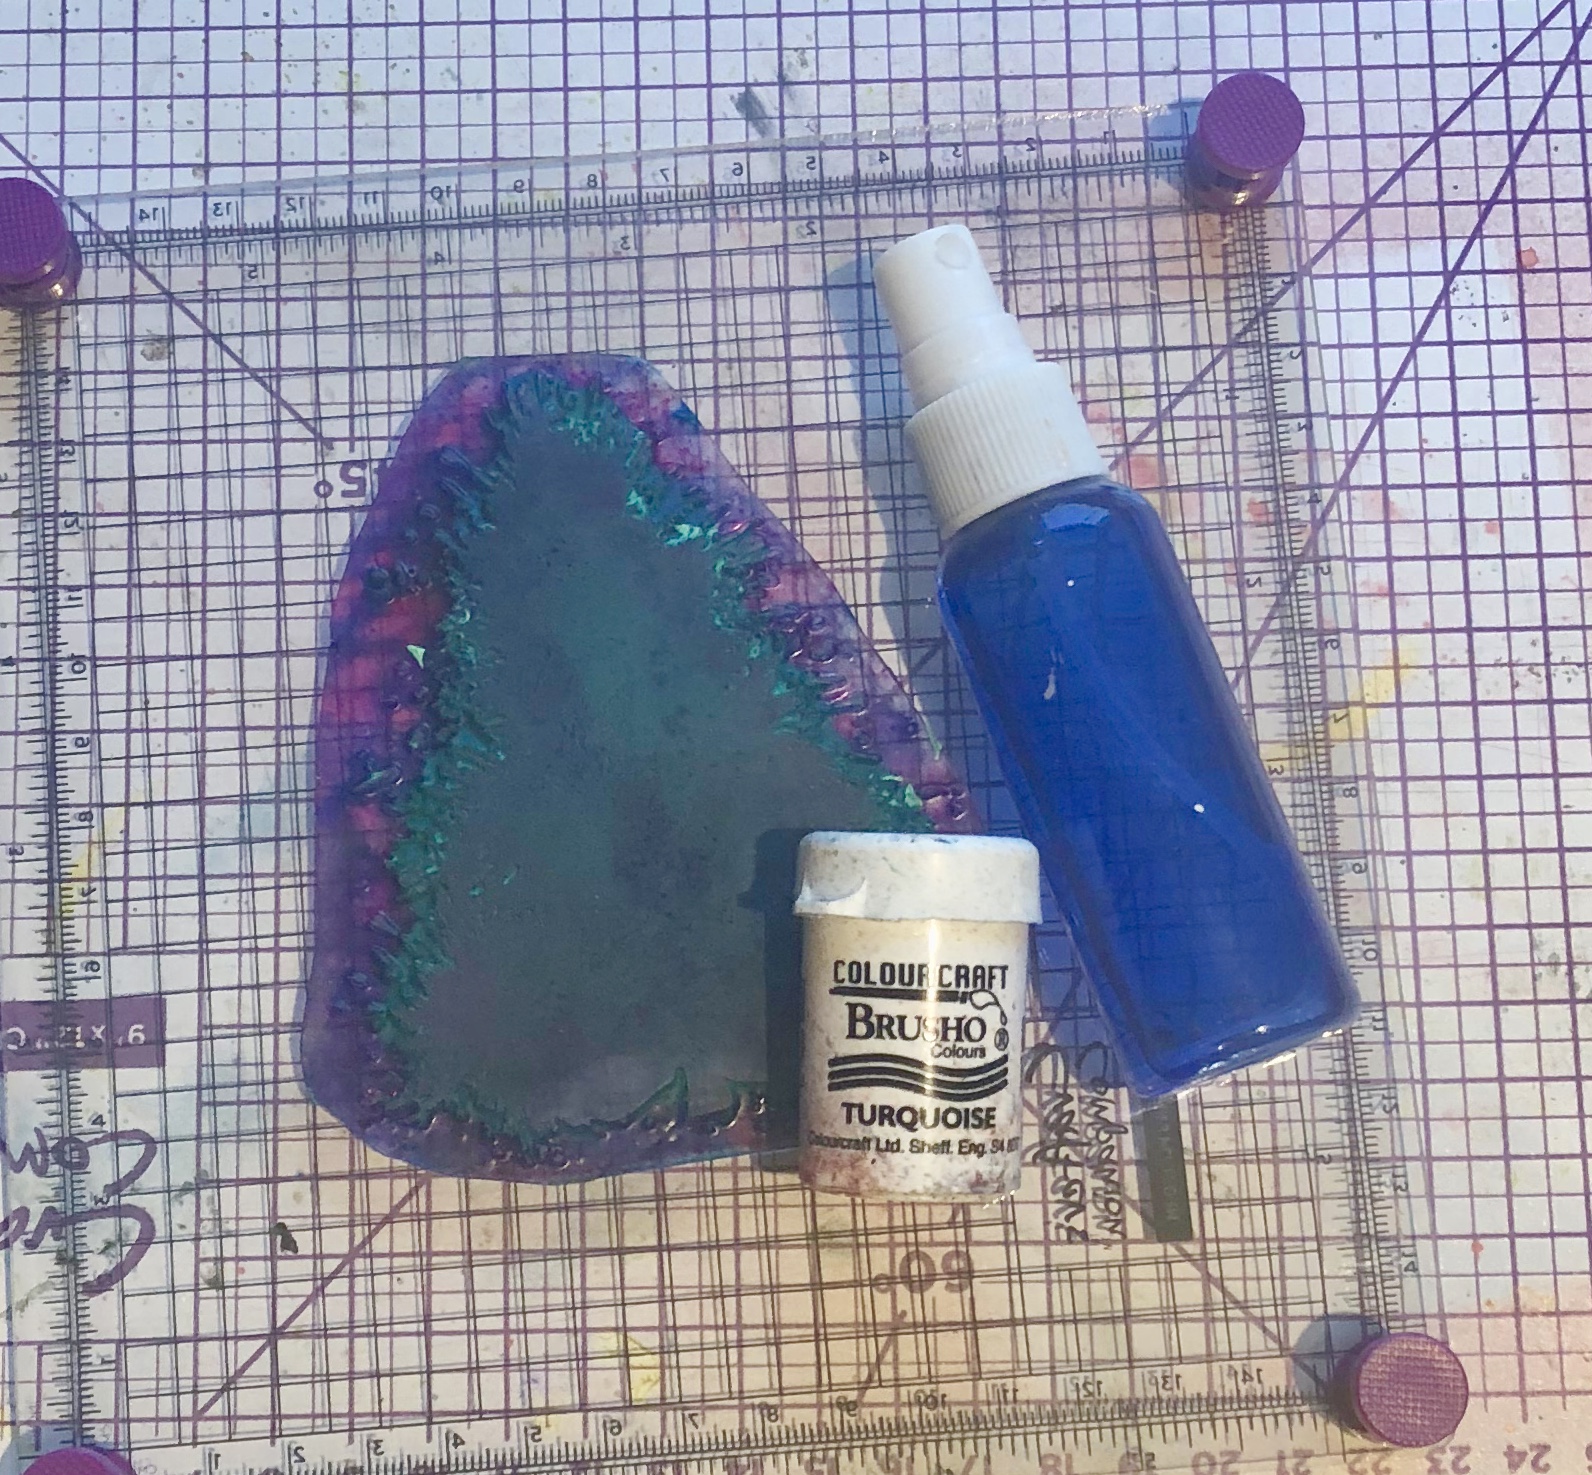
Once all my cuties were cut out and ready for adding to the card, I had to figure out how to build up the background. I decided on a layered white 'window' with blue background peeking from behind. For that, I sprinkled Turquoise Brusho on mixed media paper and let it dry.


Using my 'card template', I cut 4 white and 4 blue rectangles.


I used die-cutting machine to make sure that my 'windows' were nice and evenly cut. I used a smaller circle for the frame and a bigger one for the background - this way, I could make sure that you could only see the blue background through the 'window'.


Here you are - 4 white frames and 4 blue backgrounds.

Now, for the assembly...


I placed the frame on the front of the card where I would later on attach it and outlined the circular 'window' on the card - this is to make sure that my background was glued in the right place...


... like this.


Using double-sided foam tape, I attached the frame to the card.
This created a nice dimension and depth.


Then it was time to add the animals and sentiments - also using double-sided foam tape.
The process was the same for all 4 cards.


And that's it! The cards are finished.


Do you think they would count as 'pretty cards'?
I certainly do!!!


Happy Easter!!!


P.S. I'll be back to my normal mixed media self next time, promise! ;)


Related Posts Plugin for WordPress, Blogger...