Monday 30 September 2019

Autumn Tag with Brusho's and Aztec Paints by Gail

Hello Colourcraft friends.  Gail here today with an autumn themed tag.  The leaves are falling, and some of them are even going pretty colours before dropping to the ground.  I love the rich warm colours of autumn and I've used a combination of Brusho's and Aztec paints to capture that.


I used my Brusho Travel Palette and diluted some Orange and Scarlet Brusho powder in water and applied it as a watercolour wash to a piece of card.


I sprinkled some more of the Orange and Scarlet on the wet card and spritzed with water.

 
I coloured a scrap of card with Gold Aztec paint and added a little bit of the Scarlet brusho powder.  I stamped and embossed the fox and fussy cut.


I used Pink Aztec paint to add some splatts to my card panel and Charcoal Aztec paint to paint a scrap of card to die cut my word from. 


I cut the tag using Gummianpan's Old Tag die and backed it with a piece of black card to really make the colours pop.  Add the fox, word and a little bit of autumn coloured wool and done!!

I hope you liked my project today.  Keep warm and don't forget to share your makes using Colourcraft products over in the Create with Colourcraft fb group.  Hugz.

Saturday 28 September 2019

Super Easy Low Immersion Dyeing with Colourcraft!

The idea of dyeing your own fabric can feel a bit overwhelming...different chemicals to think of, special equipment etc etc. Guess what, it does not have to be complicated at all!!! This week using the procion dye starter kit (plus an extra color or so), some basic measuring equipment(make this for dyeing only!) and prewashed fabric (no softeners!), I got some fabulous, festive results in Fall colors!!

I started with the starter kit, in addition to everything else, you also need containers that your fabric fits in when scrunched up- here I have a jar and a couple of small plastic buckets.
My fabric is just prewashed- it's dry and not treated with anything! Scrunch it up into those containers!


Next I blended about a teaspoon of each color I wanted to use with about ½ cup of tap hot water.  I took my inspiration from Autumn leaves- Olive green, Vivid yellow, Scarlett, Orange and Violet.Then it's just pouring it over your scrunched up fabrics! You can use pipettes, you can also start with some dye in the bottom of your container, squish in the fabric, add water, squish some more, add another dye color. It's all about experimentation! 
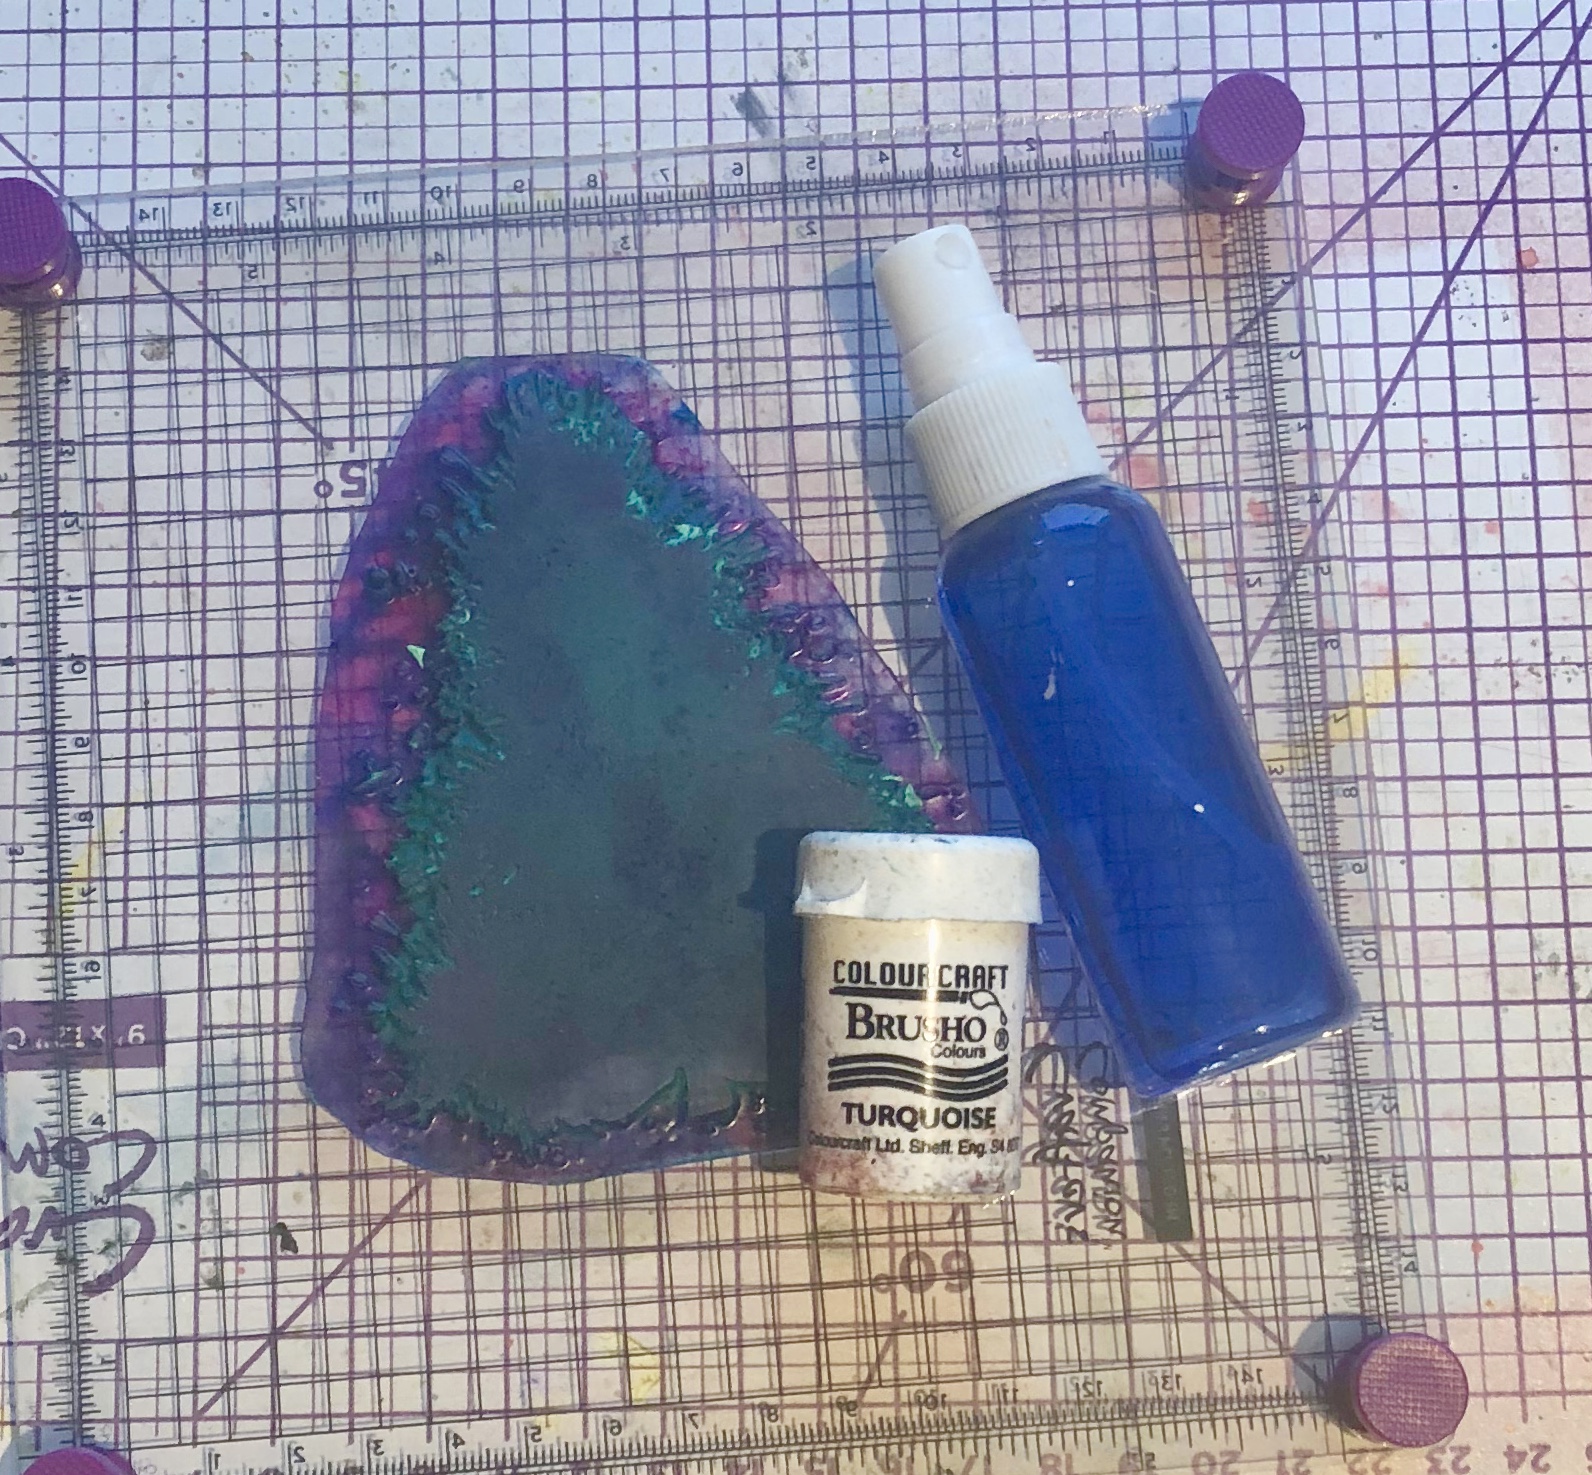
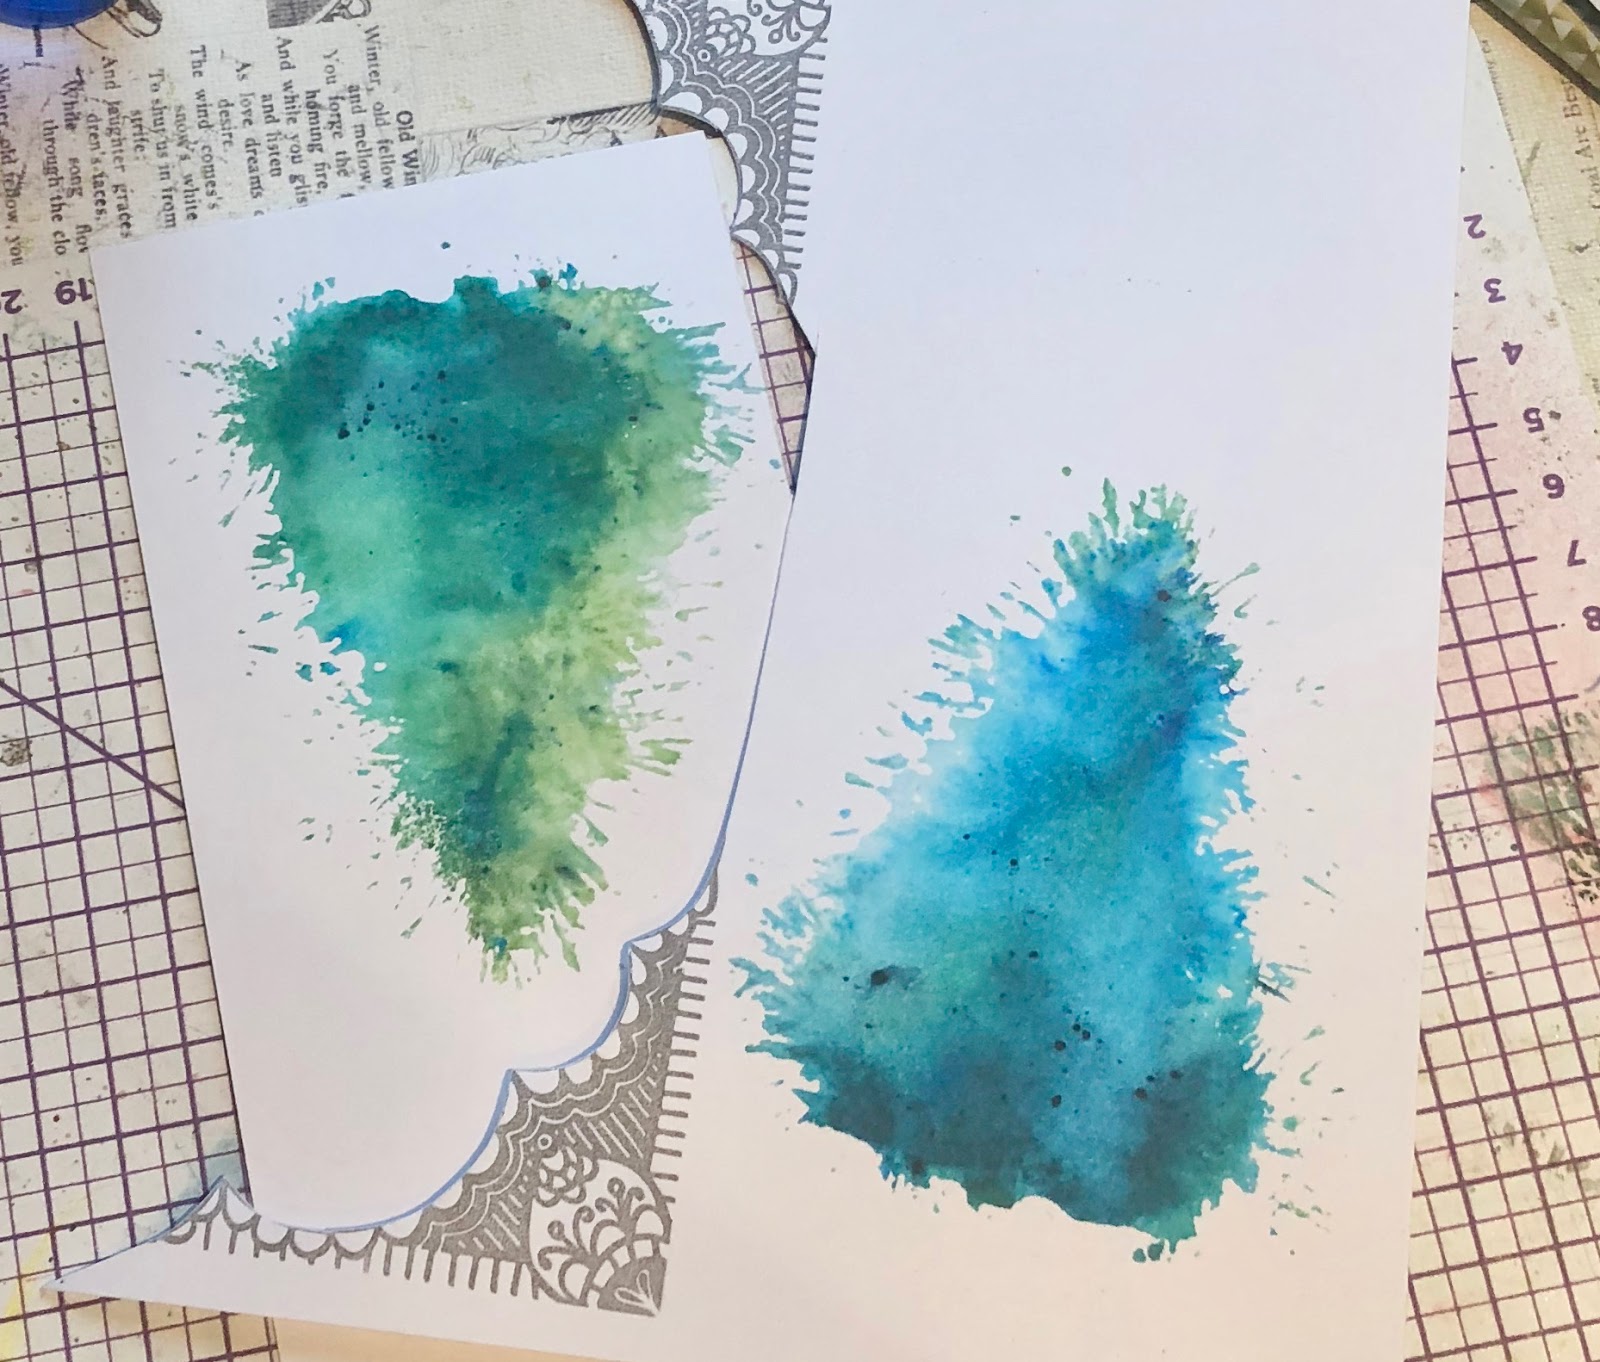
You can see how the dyes sometimes split when creeping along the dry fabric- especially in the top photo.
How long this step takes is up to you! If you fix your fabrics too soon- you won't get a lot of the beautiful effects that happen over time. If you wait too long- your colors will blend together and become diffuse. The process takes from 15 minutes to an hour. 
While my fabrics were doing their thing- I blended together the fixative (soda ash) with hot water. I use 1 tsp per cup- the tricky part is that is per cup of total liquid- that is, the liquid you had in your dyes as well. I estimated that I used about 2 cups total of liquid with the dye, and that I would need 4 more cups of water to cover my fabrics so I mixed 4 cups of hot water with 6 teaspoons of the fixative.
When I was ready, I poured the fixative/water mixture over each of my fabrics. When this soaks into the fabric, the dyes stop reacting. 
I let these sit a couple hours to make sure the fixative mixture had soaked in-you can let it sit up to 24 hours if you want!
Then it was rinsing my fabrics (I throw them into the washing machine)and dry them.

I am so pleased with the results!
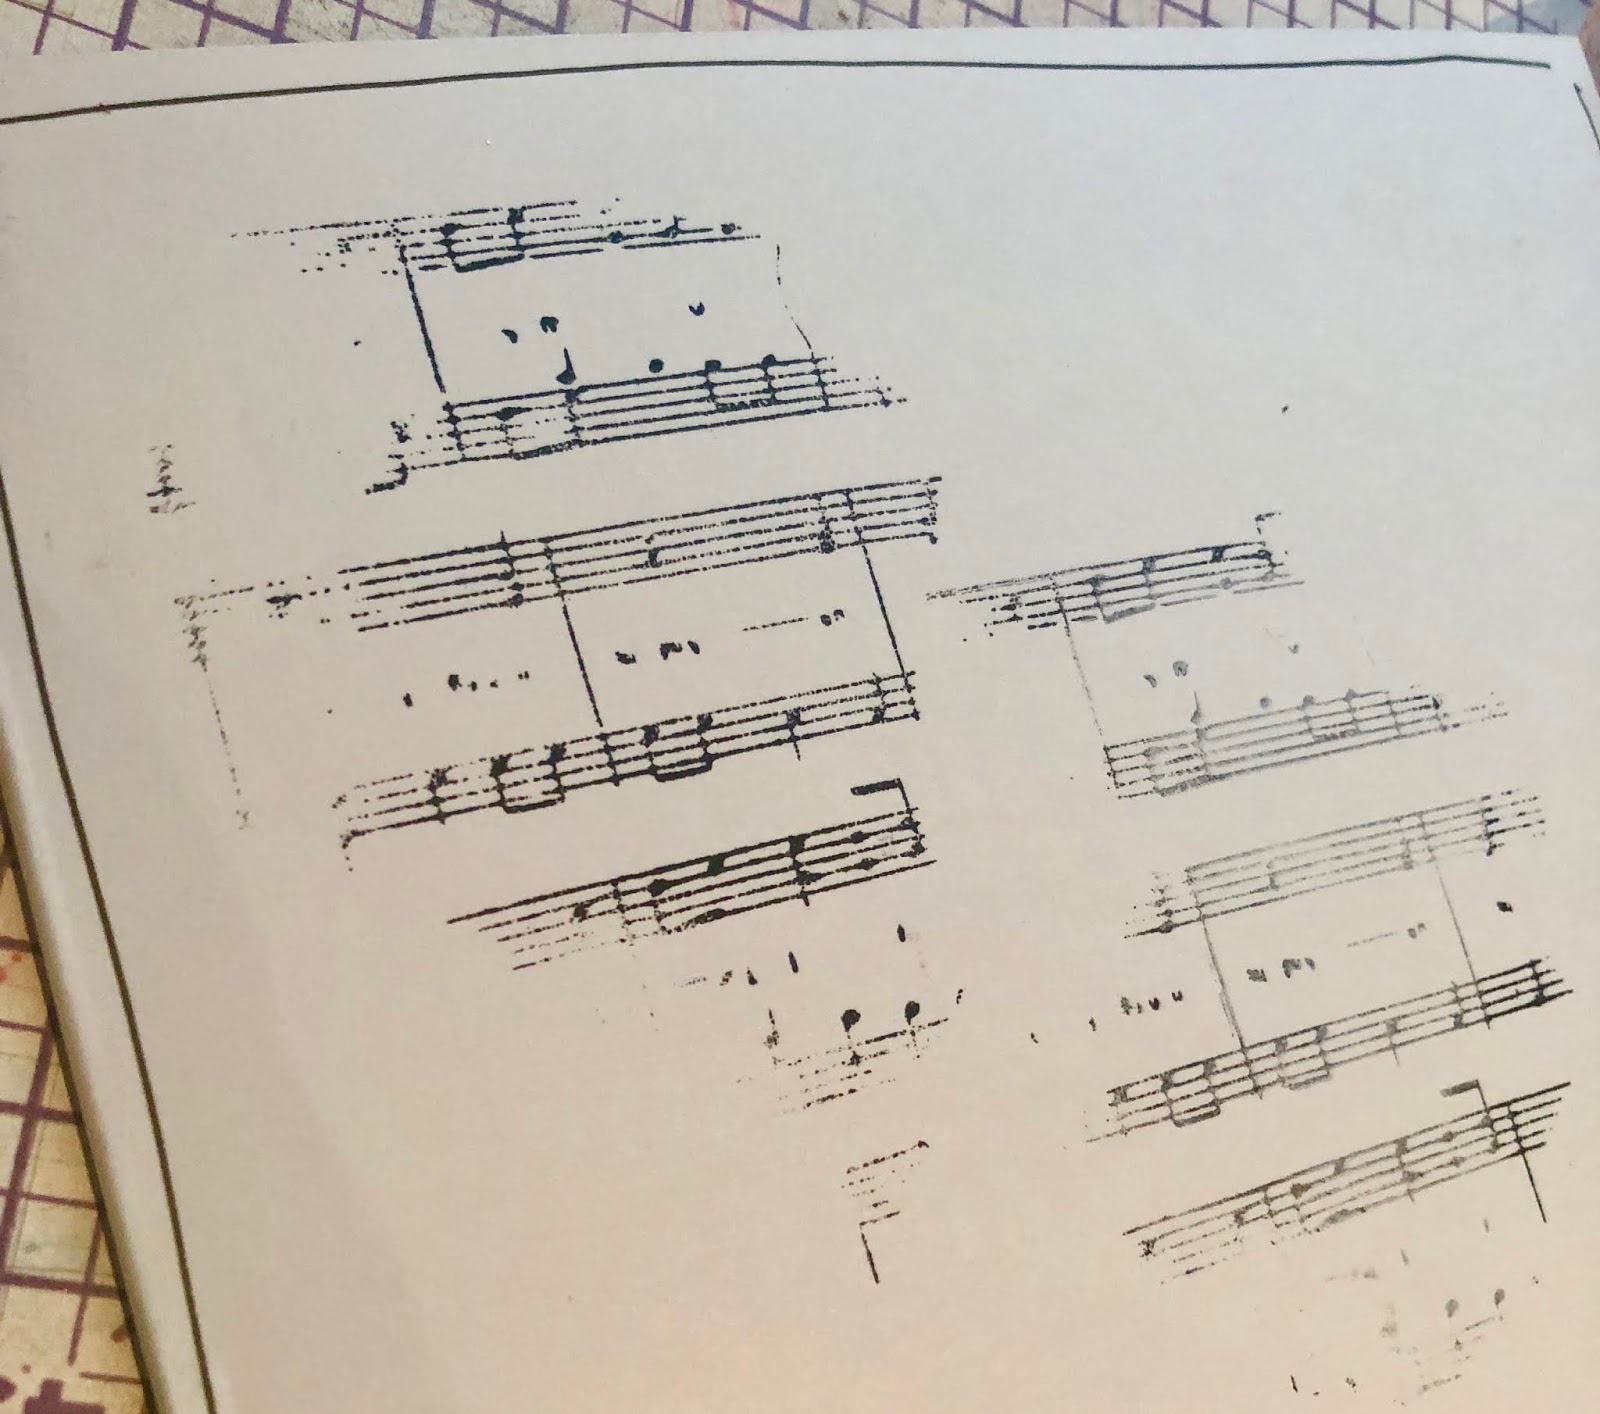
The fun thing about this last one is that I used a fabric that had been a commercially printed white on white design. The printing doesn't take the dye, which gives a lovely result!

So easy! With fantastic results!!
Give it a try!!

See you next time!

click here for the Procion Starter Kit

Friday 27 September 2019

Colours of Autumn Die Cut Cards by Teresa

Hello and welcome back to the Colourcraft blog.


Today I have a simple tutorial for creating striking cards using Brusho Crystal Colours and die cuts.


Take some mixed media paper and spritz with water before sprinkling different colours of Brusho.


Spritz lightly again to help the colours move and blend.


Let the colour dry, either naturally or gently with a heat tool.


Next, choose some simple cutting dies and die cut shapes from the coloured paper. Think about both the die cut itself, and the negative 'waste'.


Finally layer with dark brown card and finish with a sentiment sticker.


Wednesday 25 September 2019

'Happy' tag with Karen


I have used this month's theme of autumn colours to create a tag that I can hang on the wall. The photo of this lady just makes me smile everytime I look at it so I wanted to be able to see it often!


I started by colouring a sheet of waterproof paper using acrylic inks in autmnal colours. These were dropped on to the sheet when it had already been sprayed with water so the colours run and pooled together for soft shades of colour. I colour-matched some ribbon by dragging it through these colours while the sheet was still wet.

At this stage I have to apologise for the lack of photos: I took lots but, when I came to look at them, all I had was a bunch of error messages: The card had failed so this is all I have of the materials gathered ready to create the tag! This included a rectangle of Lutradur fabric.

The wooden tag was prepared with a coating of clear gesso and then layered with scraps of book paper. For more layers and texture, I stamped the tag with a text stamp and a mix of white acrylic paint with the tiniest touch of yellow mixed in to make a light cream colour. I particularly wanted to point out the rectangle of Lutradur which I heated round the edges to get a lovely wrinkled and lacy effect. I also sprayed it lightly with Bronze Shimmer Spray.

The coloured sheet of paper, also lightly sprayed with Bronze Shimmer Spray, was die-cut in to flowers and these were layered with some sequins to embellish the tag.

I hope this tag has made you smile. Thanks for reading.
Karen

Materials:
Acrylic Inks
Eco acrylic paints


Monday 23 September 2019

Xmas card with Ewelina

Is it too early to start making Christmas cards?
Well... if you have the same amount to make as me, you should have started in January!


Since I have been playing with Crafty Roo's Poly Plates, using them to make some cards was just a matter of time.


All you need to do is sprinkle a little of Brusho on the plate and then spray with just a little bit of water; not too much!


Then stamp! Et Voila!
How cool is that?!
I fussy-cut my trees to add more dimension to the card but you can stamp directly on the card - there are no rules!


The usual for majority of my cards - frame. Never a regular shape or straight line... 


Using Crafty Roo's Music texture stamp, add some irregular stamping to the background.


Just like this.

Now mount the fussy cut trees and a sentiment and you card is ready!

See you next time!


Friday 20 September 2019

Creating Texture


Have you discovered Texture Magic yet?
This week I have been quilting with a layer of shrink fabric interfacing and then using the steam from a steam iron to cause it to shrink and create an interesting texture on my silk Autumnal fabric. This is the real colour of the fabric, I'm not sure what happened to the colour on the other photos which went very pink!


Sew texture magic to the back of your fabric, apply steam and the fabric shrinks approximately 30% in all directions creating a beautiful textured effect. The result is permanent, washer and dryer safe.


I made a sandwich by placing my fabric face down, adding batting and then a piece of the polyester Texture Magic interfacing. The instructions tell you not to worry about any wrinkles in the Texture Magic as they will disappear after steaming, which is indeed the case. I smoothed it outwards as I pinned from the middle of my piece.
Quilting


My fabric has three-inch stripes so I chose to use these as a guide for my first quilting of straight lines to form a 3” grid.


 The instructions say you get more texture the closer together your stitch lines are, so I think this distance is the maximum to get any texture.
Inspired by all the berries around, I chose to free motion quilt round(ish) shapes with a variegated thread with blues, plum, berry pink (Mettler silk finish “Berry rich” 9816). I free-motion quilted alternate squares of my grid.


In the remaining squares I hand quilted a cross in the centre using bright orange (Aurifil 50wt 1133). I measured and marked the centre of the grid with the air erasable pen. I then added a bead to the centre of each cross from the red mix of Indian beads.


Steaming
I laid the fabric on my ironing board with the Texture Magic side up and set the steam iron to a hot steam setting. Similar to the hover technique for the Tyvek Autumn leaves I made earlier this month, you need to hold the iron close to but not touching the interfacing in order to get the texture and dimension effect (rather than pressing it flat).


As it is steamed it puckers and pulls in until it reaches the point it doesn’t pull in any more.
My hand slightly quilted squares puffed up more than the more heavily machine quilted squares.


Sewing

I’m planning to make a bag with my piece of textured quilt, but I'm tempted to make a cushion cover as the fabric would go well in the Ecclesall Textile School sewing lounge!
This will have to wait though as I have three customers sewing projects to complete and several workshops to lead in the next couple of weeks.
I will post my finished project on my Instagram feed for you to see.

I would love to hear about your adventures with Texture Magic

Helen x


Related Posts Plugin for WordPress, Blogger...