Saturday 30 March 2019

Charms with Shrink Plastic and Brusho

The sun is shining, Spring is really on it's way, and I thought I could show you how to make your own charms using Shrink PlasticBrusho and rubber stamps!
I started off by cutting my shrink plastic into smaller pieces. I sprinkled a light amount of Brusho in different colors on each piece. The white plastic has a shiny side and a matte side- I'm working on the matte side.
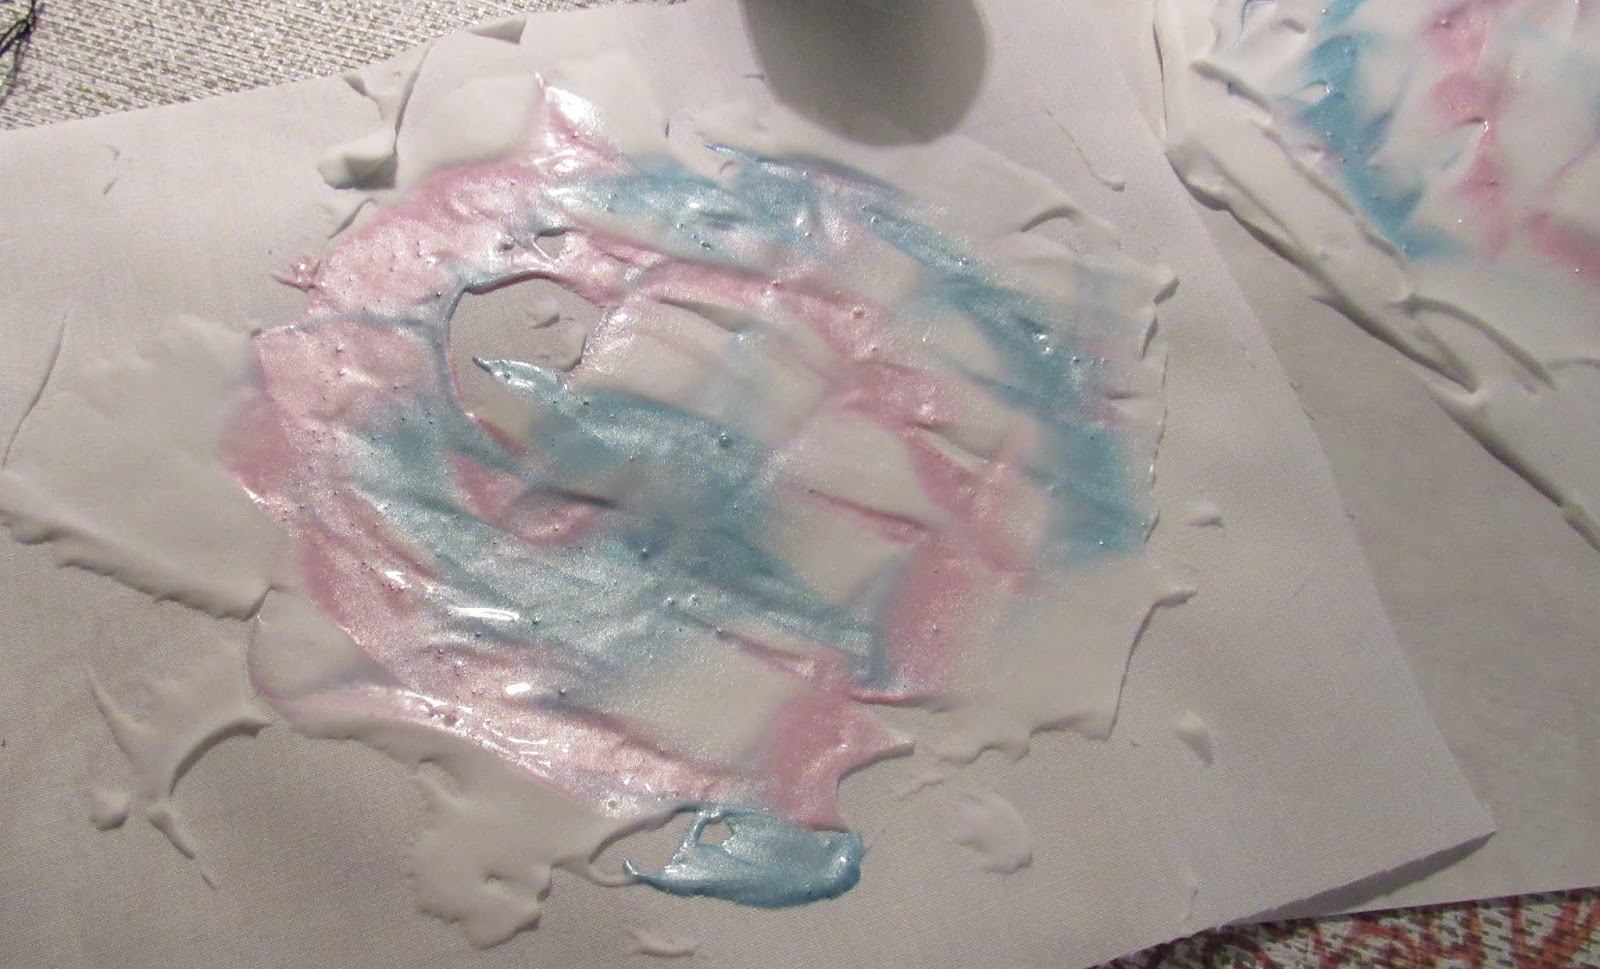
I then spritzed them with water.
So cool! But we need to bear in mind that, as we are going to be shrinking this plastic, the colors are going to get darker! Since I wanted to make sure my stamped images showed up, I used a paper towel to remove some of the color.
Loving these colors!
I let these dry for quite a while and then stamped a couple images on each color and used a small hole punch (1/8") to make holes so I can sew my charms onto something later.
Here are my stamped images! The larger dragonfly is from Rubber Dance , the other two are from my collection and are so old they didn't have a name on them! 
Next comes the shrinking. I use a heat gun but you can also use an oven (follow the temperature on the packaging). Be aware that as you warm the charm, it will crinkle up, and then flatten out. It's when it's flat that you know it's finished shrinking.
Here you can see how much they shrink!! You also get an idea of how the colors darken. 
SO FUN!
It really is addictive! 
You can also draw your own designs- I love the effect of the Brusho backgrounds!
Have fun!

See you next time!


Wednesday 27 March 2019

Sea themed door hanger with Karen


This project was started with a wooden support and a handful of shells. It was actually something I started a while ago: The hanger was stencilled and covered with gesso and the shells were glued on but then I stalled not sure where I wanted to go next but when I unearthed it again I knew exactly what I wanted to do: Use EXpandIT!

Firstly, to give some background colour, I sprayed the piece with Brusho Shimmer Sprays in Turquoise and Copper. I let this dry a little and then applied another coat of copper for more contrast in the lower part of the hanger.

Once these were dry, I stencilled on natural colour EXpandIT through a seaweed stencil. When you heat it, it expands and creates a fabulous organic texture. You can heat EXpandIT when it is still wet or when it is dry and you can colour it before or after heating it.

Being impatient, I heated straight away: Great fun!

I then used a brush to apply Copper Aztec Metallic paint to the EXpandIT and also to highlight the shells.

Now I needed a focal point so I die-cut a seahorse and patted DesignIT (previously Soft Form) paste in Shimmering Turquoise over him.

Once everything was dry, I added the seahorse and a bit of text 'by the sea' on 3D foam and added a dimensional dot to give the seahorse an eye, which always seems to bring them to life.

Being brought up in a big city but living near the sea now, I love beachcombing and collecting shells. I have enjoyed using some on this project and adding more texture with the EXpandIT and DesignIT pastes. Hope you like it.
Thanks for stopping by.
Karen x


Wednesday 20 March 2019

Thank You Card with Suzi

Good Morning All, Today I'd like to share with you a Thank You Card I've created using Acrylic Inks to colour some die cuts, along with Brusho Background papers I created for a previous project.

Here's how I made my card.

First of all I die cut two boots from white cards stock, and an assortment of flowers and stems from Brusho background papers i'd created previously.

Next I started to create my plaid/tartan pattern on the boot cut outs.  The first step was to add some lines of Yellow Acrylic Ink with a Bamboo Pen,
I then added some lines of Turquoise Acrylic Ink,
I finally added some lines of Bottle Green Acrylic Ink.

I then created my card base.  I used a 5 x 7 inch card blank, to which I added some dark green card followed by a layer of white cardstock.  To the white card stock I added some green ruffled paper from my stash along with a strip of green brusho background paper.  I then added the boot die cuts and the greenery I'd die cut.

I then added the floral die cuts.
To finish my card I added a stamped and die cut sentiment, along with a strip of blue brusho paper to tie the sentiment to the rest of the card.


Here's a close up of the finished card.

I had great fun creating this card, I love creating plaid/tartan patterns and love how these boots turned out.  I also love how you can create the main focal point of a card from leftover bits of pretty papers. I hope you've enjoyed an insight into my creating process, I love sharing my work with you all.

Happy Crafting
Bye for now
Suzi
xxx

Monday 18 March 2019

Fun With Brusho's

Hello.  Gail here today playing with some Brusho powders.  I just wanted to try a few things and making a dotty background using Brusho's in water and a drinking straw seemed like a fun idea.  


I used the Brusho background for my stamped flowers.  Here's what I did.....


Dilute a sprinkle of the Brusho powder in water.  I'm starting with Emerald and Leaf Green.  Working on some watercolour paper dip a thin drinking straw into the Brusho watercolour and touch the paper to make a drop.  Dip and repeat many times.  


Here I've added Sea Green to fill in the gaps and started with Ost Blue around the edges.  I realise that this looks particularly unimpressive but bear with me........


I used a flower stamp from Uniko and stamped and fussy cut three flowers.  OK, I realise now I could have just stamped the flowers and then just 'dotted' on them, but actually, making the background was quite relaxing, and it gave me more choice on where to stamp my flowers for the most ascetic colours.


I die cut some centers from black card and used some large half pearls to complete the flowers.


I used the diluted Ost Blue, a flat brush and a ripped piece of paper as a mask and tinted the edge of a white card base


I arranged the flower along the tinted card edge and stamped a sentiment from Rubber Dance.  


I hope you enjoyed my project today.
Get out your Brusho's and have fun!  Hugz

Saturday 16 March 2019

Shaving Cream Marbling with Colourcraft Fabric Paint- Pastel Pearl


 I recently got ahold of some of Colourcraft's fabric paints in their Pastel Pearl colors! BEAUTIFUL - unfortunately a little hard to photograph because they have a lovely shimmer- but I wanted to try them out with a fun technique called:
Shaving Cream Marbling


 This is a super fun and easy technique- I was using fabric paints and doing my prints on fabric- it also works well with acrylics on paper! This technique is also kid friendly.
Here are the materials I started off with- Colourcraft Fabric paints in Pastel Pearl colors, a piece of Freezer Paper (shiny side up), some pieces of fabric- I tried both black and white, toothpicks,old credit cards and don't forget SHAVING CREAM! I used really cheap supermarket brand type. You don't want any of the fancy gels etc.

Here is how it's done!
Spread out a layer of shaving cream on the shiny side of your freezer paper- ½-1 cm thick. Squirt out a color or two of your paint on top of this surface.
Swirl around with your toothpick to make a design- I like to go back and forth and simulate the designs that marblers used to do on paper.
Place a piece of fabric on top of this design and gently pat- the idea is not to smush the fabric into the shaving cream, but to allow the paint to adhere to the surface of the fabric. My fabric was quite thin, so you could see the design through it.
Now, pull off your fabric- it looks a bit of a mess, but your design will be revealed when you scrape off the shaving cream with an old credit card!

The following picture shows me scraping some shaving cream off of one of my black pieces of fabric- you can see the design transferred! 
Below is a picture of the design on the white fabric after I have scraped off all of the cream.
You can see my design- which is MUCH prettier in person- shimmery things are hard to photograph.
My supervisor approves of this activity.


Then it's just to have fun! I did some more marble effects- and also did some "flower" effects.


Anyway, I hope you enjoyed this super fun technique! There are so many possibilities of what to do with these beautiful little fabric bits- I will show some in a later blog!
See you soon!
-Tamara
Related Posts Plugin for WordPress, Blogger...