Showing posts with label dragonflies. Show all posts

Saturday, 25 April 2020

Angelina Dragonflies - Garden Mandala part 2

Last time I talked about making the butterflies in my mandala quilt- this time I'm going to show you how I made the dragonflies!
I started with the wings.
First I chose some beautiful Angelina films and fibers- making sure to crinkle the film to get the best effect.
I added a very thin layer of the fibers between two layers of the crinkled film- ironed between parchment paper- a VERY QUICK pass with the iron gets these to fuse together. If you iron for too long of a time, the fibers can change color.  I made two different colors and then cut these into wings.
For the bodies I started by sprinkling some Brusho and SprinkleIT onto fusible web, adding water and letting it dry.

By the way, the paper backing makes a great piece for collage and/or art journals!

I then peeled off the fusible and made a layer of fabric, the painted fusible and a transfer foil in a shimmery and sheer rainbow color- ironed those together to make the base of my dragonfly bodies.

I backed this with more fusible web and then cut and applied my dragonfly bodies with a mini iron (being careful not to melt the wings!). Make sure to protect your iron from the front of your foil/fusible/fabric sandwch as well! 
I then added beads for eyes and voila! Bling bling dragonflies! 

I added some color to the leaves in the middle- now it's just to add ants, ladybugs and maybe some flowers in the corners.
See you next time! Stay healthy.


Wednesday, 31 July 2019

'Be You' canvas by Karen

A step-by-step for you today to round off this month celebrating wonderful nature and leading in to the next month's focus on paint.


The background for my project starts with layers of Eco Acrylic Paint brayered on to a 20 x 20 cm wood backed canvas panel. I started with Turquoise, adding small amounts of paint randomly on to the canvas then rolling it out, paying attention to the edges and being sure to leave some white showing through towards the centre.

 I repeated the process with Cadmium yellow ...
 ...and the Phthalo Green and finally with a very small amount of White to soften the layers underneath.

To build more layers and interest to the background I sponged some more White through a stencil in random places. I then brayered Prussian Blue paint on to some flower stamps to add these to the background and coloured them with some diluted paint to make them a bit more solid. Prussian Blue was also sponged round the canvas to frame it.

Some Prussian Blue was also sponged through a different stencil but I forgot to take a photo of this stage!
I stamped a dragonfly on to watercolour paper and coloured this with Turquoise, Magenta and Prussian Blue Eco Acrylic Paints using a fine brush and diluting to blend the colours.


I used the blunt end of a brush to add dots of White paint for details on the design.

Once dry, the dragonfly was cut out and glued on to the canvas leaving the wings free. Finally I added some text by stamping on watercolour paper, cutting around this, edging it in black and gluing it on.

You can, of course, use these techniques with any stamps you own or by collaging other elements on to your painted backgound. Hope this inspires you to get brayering!
Karen.


Saturday, 27 July 2019

Dragonfly Tag


I love to have a stash of tags available to give for birthdays or to send to friends with a meaningful sentiment on them.  
I also love dragonflies, so this week, I have teamed them up together and created this tag for you. I hope you enjoy!


I started by applying some crackle paste randomly through a stencil with a plastic palette knife. Depending on  how thickly you apply the paste, it can take anywhere from between half an hour to a couple of hours to dry and crackle nicely.  I left this one overnight.


I then spritzed the card with water and sprinkled some sea green brusho powder over it.  I spritzed it with more water to ensure that it covered the tag well. 


I then applied distress oxides through a stencil with my blending sponges.  Here I used the colour 'frayed burlap'.


I selected a different stencil and applied 'lucky clover' distress ink over the top of the previous stenciling to give extra depth.


I stamped my favourite dragonfly stamp using versafine onyx black and blended a little of the 'frayed burlap' distress ink around the edges to bring the design together.  I snipped the sides at the top of the tag and made a hole in the centre at the top through which I tied two co-ordinating ribbons.

Voila!  
I hope you enoyed this little tutorial and I hope that you will make some too.

Saturday, 22 June 2019

3-D Card with Eco Acrylic Paste Papers

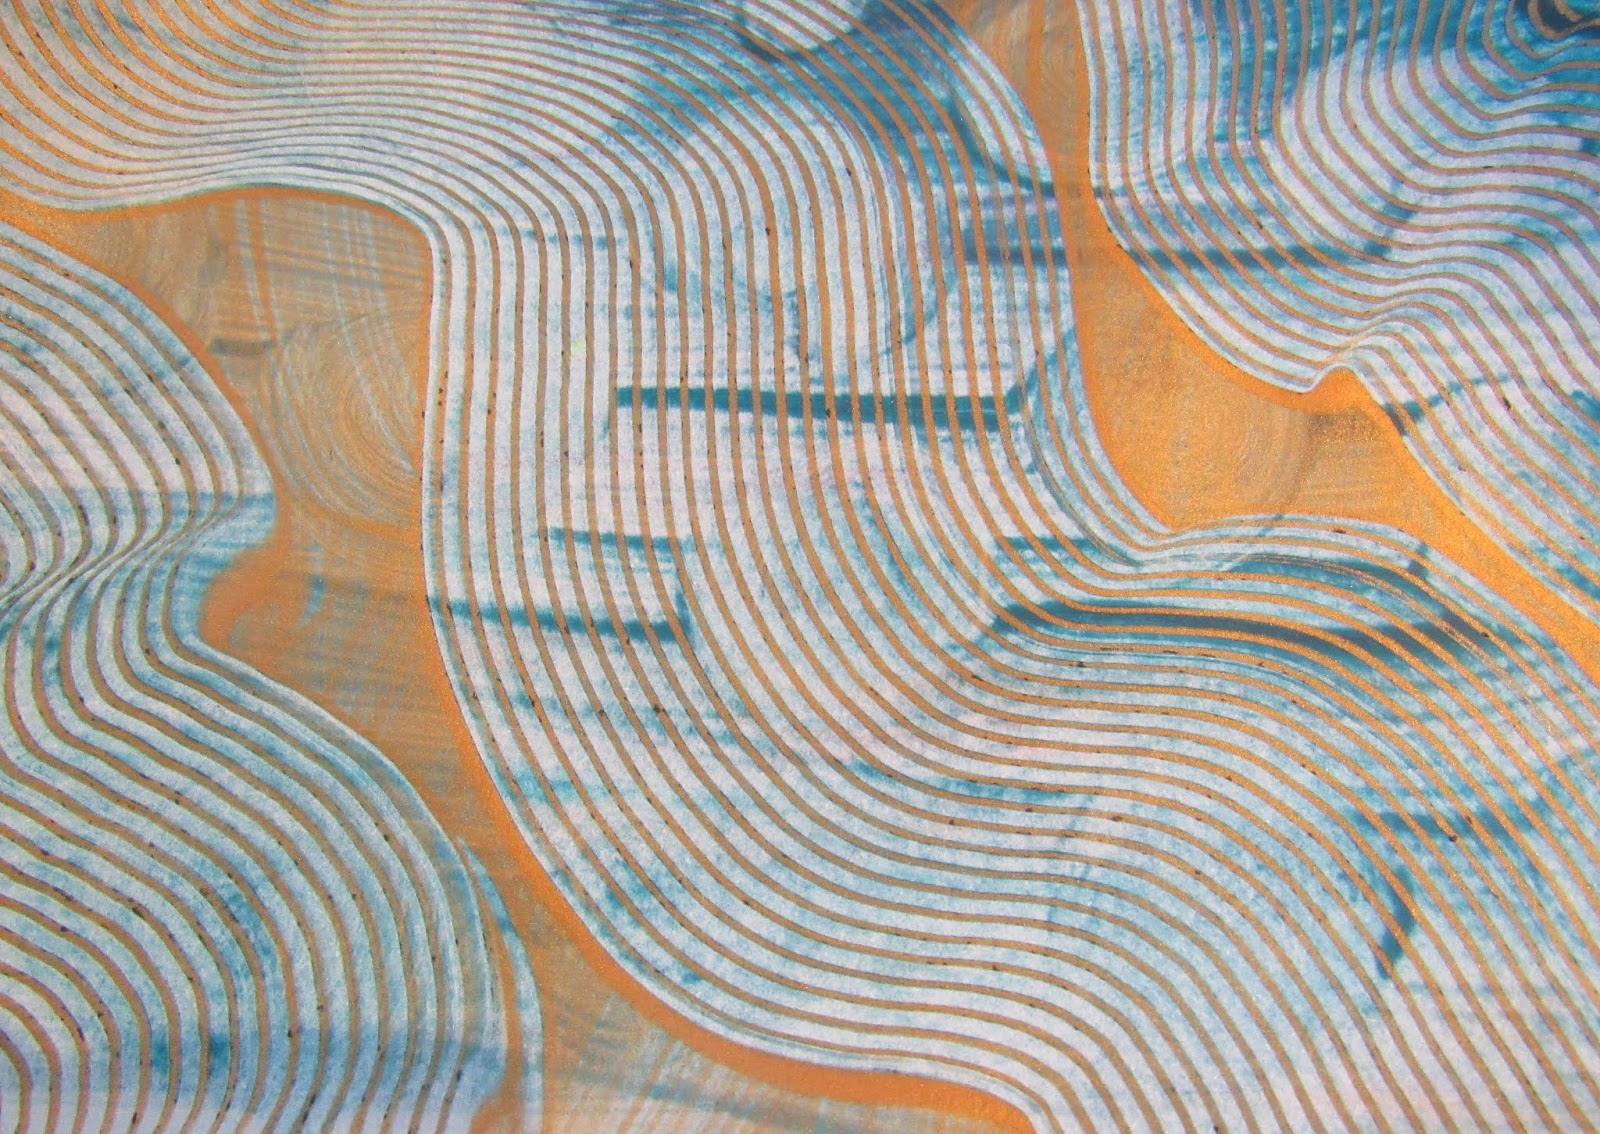
I recently got a box of super yummy Colourcraft Eco Acrylic Paints and got the urge to make more paste papers like I did with the Metallic colours a couple of weeks ago. Click Here to go to my blog entry with basic instructions about paste paper.
So I started with some of my favorite colors, as well as a 300g paper and brushes, comb and a couple of other tools.
It didn't take long to make a bunch of totally fab papers!
I let these dry overnight and then sponged some of the paints on the backs of my favorite papers. I also sponged a piece with metallic gold from the Aztec Range.
After these had dried, I chose one of my papers and folded it in half with the paste paper design on the inside.
I then marked two lines perpendicular to the folded edge, and scored a line parallell to the folded edge, between my marked lines.
I then cut on the marked lines, and folded on the scored line as well as on the original fold line so my card looked like the following picture.
In the meantime I had folded my gold sheet in half and glued those two halves together, stamped a 
dragonfly from Rubber Dance Stamps a few times onto the gold paper, and cut those out.
Then I just glued my dragonflies onto the cut out, inside of the card and VOILA!
Super fun and easy to do! 
I had a lot of fun doing these colored paste papers.
I also played around with making one layer:
Letting this dry. And then making a new layer on top!
It would be fun to see what you make with paste papers too!

Take care and see you in a couple of weeks!
-Tamara


Related Posts Plugin for WordPress, Blogger...