Showing posts with label Angelina film. Show all posts

Saturday, 25 April 2020

Angelina Dragonflies - Garden Mandala part 2

Last time I talked about making the butterflies in my mandala quilt- this time I'm going to show you how I made the dragonflies!
I started with the wings.
First I chose some beautiful Angelina films and fibers- making sure to crinkle the film to get the best effect.
I added a very thin layer of the fibers between two layers of the crinkled film- ironed between parchment paper- a VERY QUICK pass with the iron gets these to fuse together. If you iron for too long of a time, the fibers can change color.  I made two different colors and then cut these into wings.
For the bodies I started by sprinkling some Brusho and SprinkleIT onto fusible web, adding water and letting it dry.

By the way, the paper backing makes a great piece for collage and/or art journals!

I then peeled off the fusible and made a layer of fabric, the painted fusible and a transfer foil in a shimmery and sheer rainbow color- ironed those together to make the base of my dragonfly bodies.

I backed this with more fusible web and then cut and applied my dragonfly bodies with a mini iron (being careful not to melt the wings!). Make sure to protect your iron from the front of your foil/fusible/fabric sandwch as well! 
I then added beads for eyes and voila! Bling bling dragonflies! 

I added some color to the leaves in the middle- now it's just to add ants, ladybugs and maybe some flowers in the corners.
See you next time! Stay healthy.


Saturday, 15 February 2020

Angelina Flower Embellishments

Hi! Snowdrops are starting to peek out through the leftover leaves from Autumn, and my Crazy/Art quilt 2020 project is well underway(more info at the end of this post)! So, I've decided to do a springtime bling bling technique that I can use on my blocks!
Angelina fibers are man made fibers that are iridescent and sparkly. They come in film form and fiber form- fusible and non- fusible. For this project I am using fusible film and fusible fibers.

It's a simple technique, and very versatile! In addition to the films I used a 1" flower punch (you can also free cut flowers or use a die cutter), baking parchment and an iron.
Make sure to iron your fibers between sheets of baking parchment- a quick press should do the trick. Don't hold the iron in place too long as the fibers will brown. 

I tried a variety of methods.
  •  I cut flowers out of the film and ironed fibers in the middle.

  • I blended a couple colors of the fibers, ironed them together and then cut out my flowers. 

  • I combined fibers and film, ironed them together and the cut out my flowers.

  • You can also add things like sequins or glitter before ironing- the fibers then trap these small items into the mix.
These little flowers are great fun- I have already added some to one of my crazy blocks!
You are welcome to join in my 2020 project! Click here to join the Facebook group with more information and lots of tips and check out the Instagram at @tamaramaquilting and #tamarama2020sal .
I'm sure I'll be using these flowers in other blocks!
See you next time!
Make sure to check out all of the delish colors of Angelina that Colourcraft carries! 

Saturday, 9 November 2019

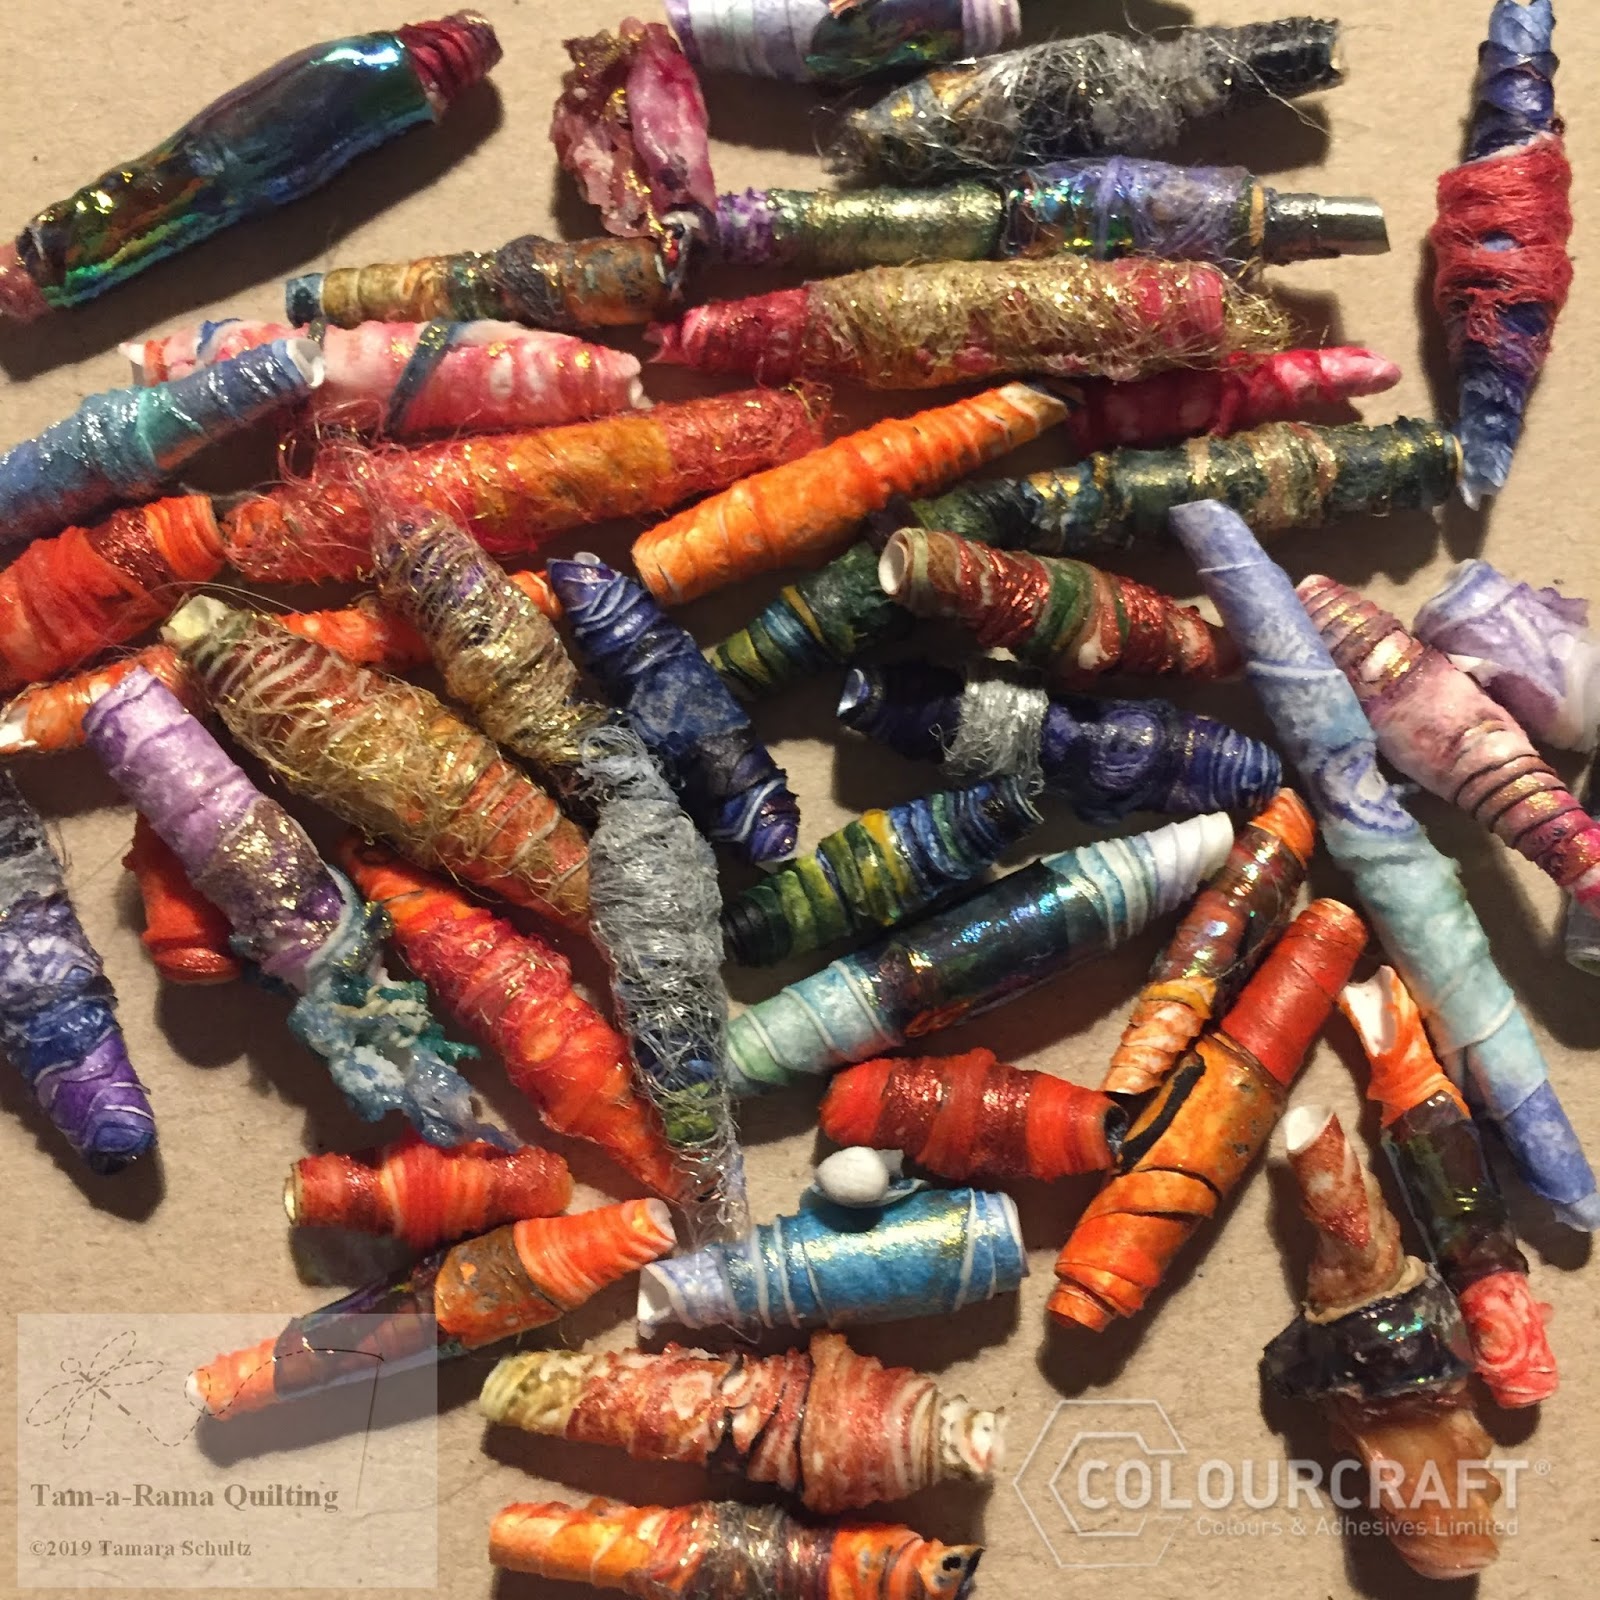
Tyvek Beads with Angelina Bling


I wanted to show you all an easy way to make really beautiful beads using Tyvek and Angelina fibres and film

Tyvek is a man made material which can be painted on and sewn- as well as a multitude of other uses. One of it's characteristics is that it shrinks when heated with a heat gun. That's a key element in how we make these beads!
I started off by painting my Tyvek by sprinkling on Brusho and spraying with water. These are wet, and quite dark. They dry a lot lighter, which is good, because when we shrink them, they get dark again!
After these were dry, I  cut them into long skinny triangles. The wide part will be slightly wider than your finished bead, and the length of the triangle determines how fat your bead will become.
I take each triangle and wrap it around a bamboo skewer- starting with the wide end. You want them on fairly secure but not so tight that you can't take them off later! Glue the last couple of centimeters of the smaller end around your bead with a glue stick- just to hold it in place while you are heating it.


Now comes the BLING! I like to use both Angelina fibres and films! Cut small strips of the film and/or use a few of the fibres and wrap them around the middle of your bead- a bit of gluestick can help these stay in place. 

Don't worry about the fibres sticking out- you can get them under control when you use your hot air gun!
Which is the next step. Hold the stick and heat with a hot air gun. The tyvek will shrink and edges curl a bit, the Angelina will stitch to itself- the fibers become more glittery, the film more glossy.
Make sure to not scorch anything!!
Here are these beads close up:

You can see how the Angelina color shifts and how the Tyvek edges curl and the color gets darker. The longer you heat them, the harder the beads get.

Perfect for sewing on a mixed media project! Or making fun jewelry with!

Very fun to make anyway! And each one is unique!
See you next time!


Related Posts Plugin for WordPress, Blogger...