Showing posts with label Transfer Foils. Show all posts

Saturday, 25 April 2020

Angelina Dragonflies - Garden Mandala part 2

Last time I talked about making the butterflies in my mandala quilt- this time I'm going to show you how I made the dragonflies!
I started with the wings.
First I chose some beautiful Angelina films and fibers- making sure to crinkle the film to get the best effect.
I added a very thin layer of the fibers between two layers of the crinkled film- ironed between parchment paper- a VERY QUICK pass with the iron gets these to fuse together. If you iron for too long of a time, the fibers can change color.  I made two different colors and then cut these into wings.
For the bodies I started by sprinkling some Brusho and SprinkleIT onto fusible web, adding water and letting it dry.

By the way, the paper backing makes a great piece for collage and/or art journals!

I then peeled off the fusible and made a layer of fabric, the painted fusible and a transfer foil in a shimmery and sheer rainbow color- ironed those together to make the base of my dragonfly bodies.

I backed this with more fusible web and then cut and applied my dragonfly bodies with a mini iron (being careful not to melt the wings!). Make sure to protect your iron from the front of your foil/fusible/fabric sandwch as well! 
I then added beads for eyes and voila! Bling bling dragonflies! 

I added some color to the leaves in the middle- now it's just to add ants, ladybugs and maybe some flowers in the corners.
See you next time! Stay healthy.


Saturday, 28 March 2020

Distressed Butterflies with Transfoil- Garden Mandala part 1


Hi Everyone!

In all the craziness in the world at the moment- there are some bright spots! One is more time to craft! the other is Colourcraft Ltd. delivers!
One project I've been working on is a minature quilt with the theme of "Garden" for my quilt guild's show in October. I thought it would be fun to combine a bunch of different art quilt and embroidery techniques in a mandala whole cloth quilt.
The first art quilt element I did was linoleum cut and printed snails. You can read my blog about doing those here.
Today I'm going to explain how I made my butterflies though! 
I started with quilting all the basic creatures etc I'm going to have through all three layers of my quilt sandwich. This included doing a bit of appliqué and trapunto on my little linoleum printed snails.

Then I took Pastel Pearl Fabric Paint in pink and pearl and painted each butterfly.


I then added dots of transfer foil using fusible web and drew around them using a pink paint pen.


There is fusible on the dots, I lay over the foil and used the mini iron to activate the glue. Let it cool before removing. 

It just didn't feel like enough to me though... so I added some "mending powder" which is basically fusible in a powder form and added more foil. This gave me a random "distressed" effect on my butterflies which I love! 

Here is a picture of the quilt so far:


Next time I will show you how I make the dragonflies! More foil, Angelina and lots of bling.
Take care of yourself. 


Wednesday, 26 February 2020

Stenciled and foiled Birthday Cards with Karen


It's that time of the year when I need several birthday cards for male friends and family.
I gathered several sheets of white card and spread Design-It paste through a stencil on each one. I used Ocean Blue, Shimmering Aquamarine and Copper.

These were left to dry before sprinkling them with Brusho Crystal colours and spraying with water. I used Turquoise, Sea Green and Cobalt on two and a mix of Sea Green and Sandstone on the Copper stenciled piece.

These pieces were trimmed to size once dry. The sentiment was cut from double-sided foam and Transfoil was stuck on to the correct side before sticking these to the panels.

The panels were stuck on to card bases and I used Flexiglue to stick on small wood stars. This held these in place while I added more glue to their surfaces and left this to dry until tacky. I then added Transfoil scraps to give the stars a matching shiny surface. This photo shows one finished (left) and one in process (right). The blue version is still in progress as I ran out of stars and need to find other embellishments.

So, a few more cards full of shine and texture ready to send off.
Thanks for stopping by today.
Karen
x


Wednesday, 25 December 2019

Merry Christmas with Suzi

Good Day Everyone and a Very Merry Christmas to you All. For Today's project I decided to create a card to capture the Christmas Spirit, using Brusho Crystal Colour Powders, Sprinkle It Powders, Foil Transfer Sheets along with a Poly Plate and sentiment stamp from Crafty Roo Designs.

Our theme this month is 'Let it Snow' so the first thing I did was to create a background giving the impression of a snowy night.  I took Brusho Crystal Colour Powders in Prussian Blue, Ultramarine and Turquoise and sprinkled them onto a large sheet of Watercolour Paper, I sprayed this with water, and added more water and pigment until I was happy with the colours and pattern. I then added a couple of layers of Iridescent Violet SprinkleIt Powder along with more water.


Once my background was dry I cut a piece for my card, I chose a 5 x 7 inch white card blank, so cut my background piece a little smaller.  I then took the Christmas Tree Poly Plate and using Brusho Crystal Colour Powders in Sea Green and Emerald I stamped a couple of trees onto my background.  I also stamped a Christmas Tree onto a piece of watercolour card for my focal point.


Using Clear Embossing Ink and Gold Embossing Powder I added my sentiment to the background.


It was then time to work on my focal point, I fussy cut the Christmas Tree I had stamped and then added some baubles and tinsel using Foil Transfer Sheets and my Fabric Master Heat Tool.


Finally it was time to put all my elements together.  I trimmed a piece of Gold Mirri Card to go behind my background and added this and the background to my card.  I then added my Christmas Tree using foam pads to give the tree some dimension.


I love the sentiment I've used, It's from one of my favourite Christmas films and it's sums up the true meaning of Christmas for me, the joy of sharing this special time of the year with family and friends.
I hope you all have a wonderful day today, and that Santa brought you lots of crafting goodies.

Thank You for visiting with us today,
Bye for now
Suzi
xxx

Wednesday, 27 November 2019

Follow Your Dreams Hoop Art with Suzi

Good Day All, It's my pleasure to be here again to share my latest creation with you featuring some lovely ColourCraft products.  After doing a little sewing on my Inspiring Love Canvas I've been bitten by the sewing bug.  So for my project today I've created a piece of Hoop Art using Fabric paints to stamp onto some cotton before adding some details with hand sewing along with a few buttons.


I took a piece of cotton fabric and cut it to slightly larger than my embroidery hoop.  I then used a mix of opaque fabric paints and metallic fabric paints to stamps some patterns in my background ( stamps used, Dripping paint, Cracked Background and Dotties from Crafty Roo Designs).  I then used the Gold Metallic Fabric Paint to stamp Stars using the Star Poly Plate from Crafty Roo Designs.

I then added some embroidery around the stars using thin gold metallic thread.  I also added some wooden flower buttons from my stash.  To finish the project I used some Fuchsia/Magenta Foil to the Hoop and Wooden Buttons using my Mini Iron Tool. I also added some Ribbon to form a hanger for the Hoop which I secured with a Wooden Button.

To secure the fabric to the hoop I used hot glue, making sure to add the glue to the wooden frame rather than the fabric, so that it wouldn't show through on the front.


This is the first piece of Hoop Art I've created, and I'll definitely be creating more.  I really enjoyed the fabric painting too, and combining it with the embroidery gives such a lovely finish, it's something I definitely want to experiement with more.  You can find lots of different Fabric Paints in the ColourCraft Store, including Opaque, Pearl finish, Metallic and Fluorescent; they are all intermixable, so you can have great fun creating your own custom colours, or blending the colours on the fabric.

That's all from me for today. Thanks for taking the time to read my post. Don't forget to share your creations in the Create with ColourCraft Facebook Group, we love to see what you create.

Thanks for visiting with us today
Bye for now
Suzi
xxx

Wednesday, 13 November 2019

Inspire Love Canvas with Suzi

Good Morning All, Today I'd like to share with you a Mixed Media Canvas I've created using Metallic Acrylic Paint, DesignIT Paste, Brusho Crystal Colour Powders,Transfer Foils, Bondaweb and some goodies from my Craft Stash.

I wanted to play with layers and textures, and here's what I created;

Now let me share with you my process;

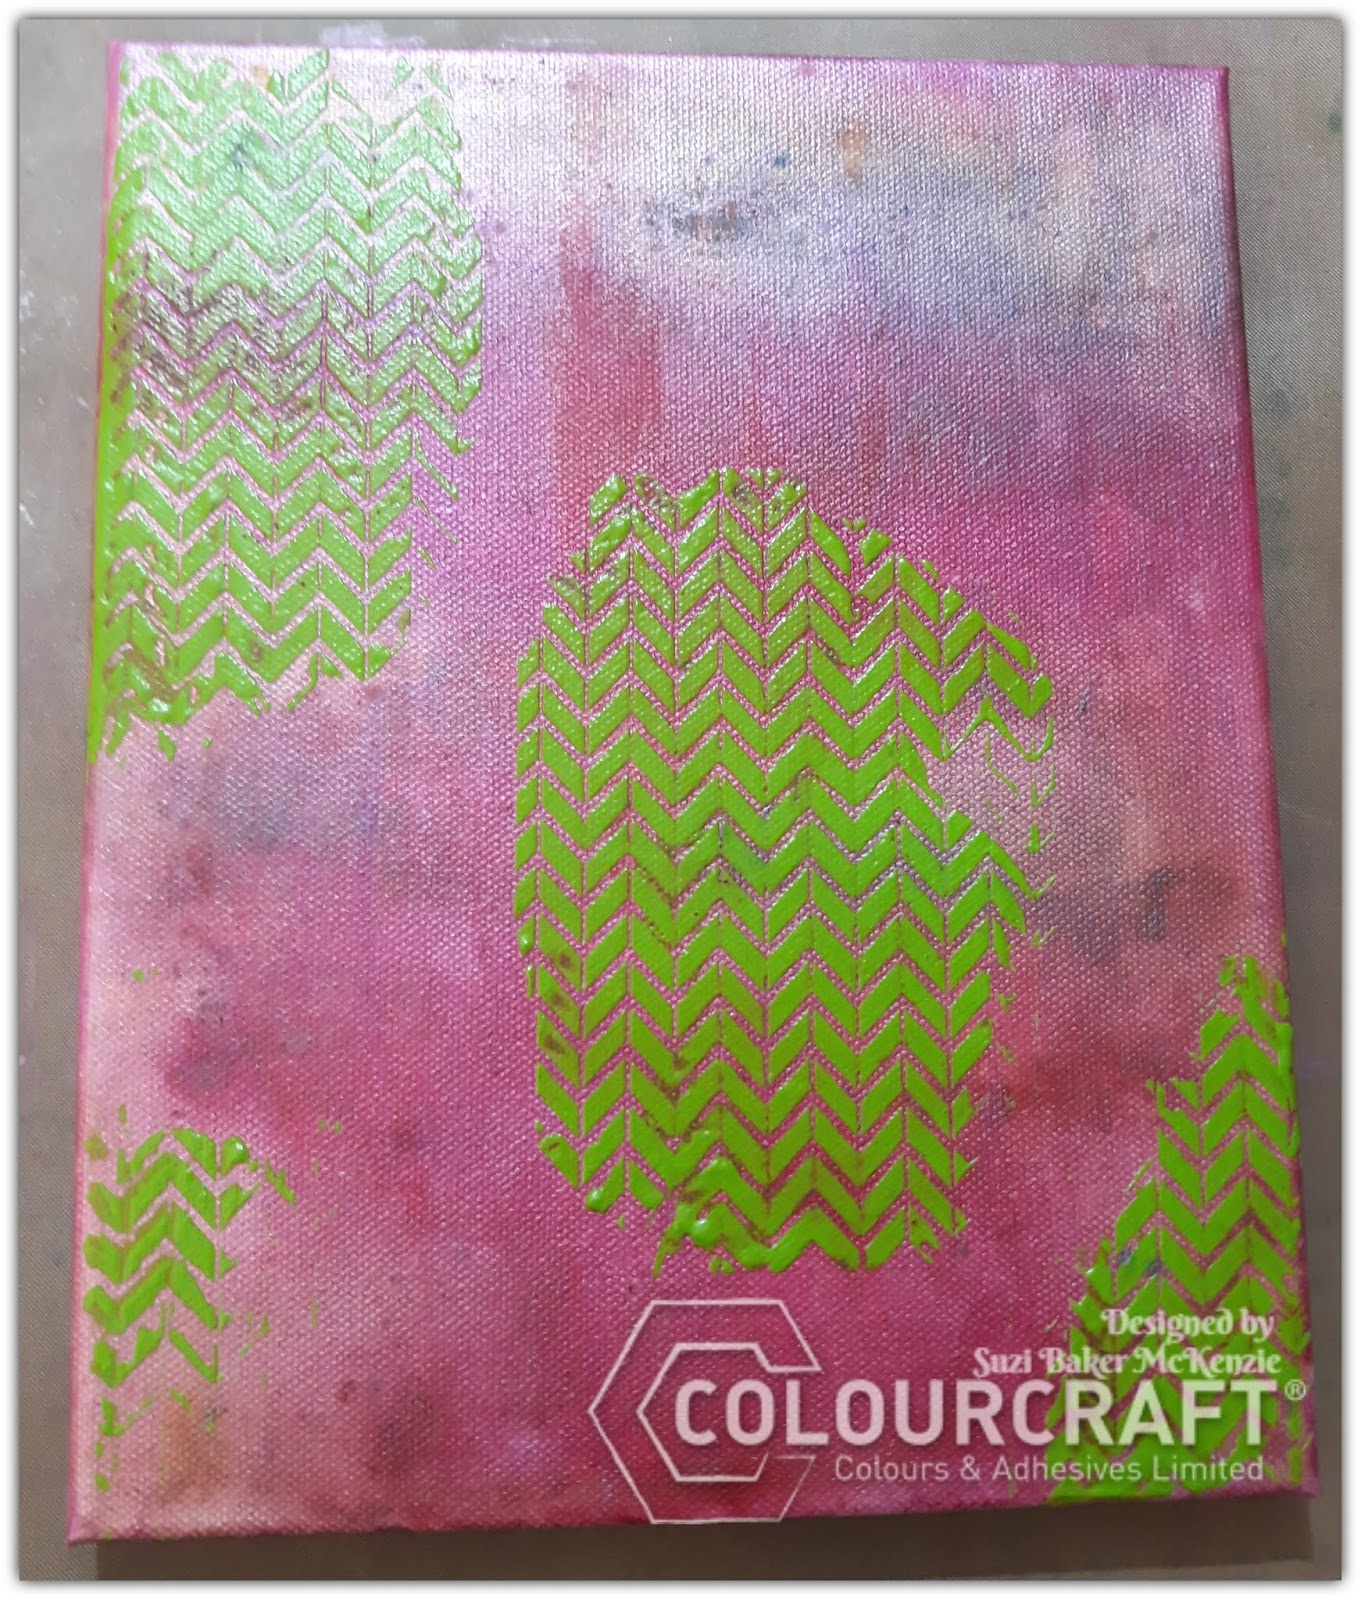
First of all I took an 8 inch by 10 inch canvas and gave it a couple of layers of Pink Metallic Acrylic Paint.  I then added some Brusho Crystal Colour Powders in Lime Green and Alizarin Crimson and sprayed with water.  


I then added some more Pink Metallic Acrylic Paint in places and once dry I added Lime Green DesignIT paste through a chevron stencil. I left this overnight to ensure the DesignIT paste was completely dry.


Whilst my canvas was drying I set about creating my focal points, which would be a mixture of different sized circles cut out of different papers.  I then took some Transfer Foil along with my Fabric Master Tool and a piece of watercolour paper.  I added random marks all over the paper until it was covered with foil.


I then sprinkled on some Lime Green Brusho Crystal Colour Powders and sprayed it with water.  Once dry the Brusho Crystal Colour Powders had coloured all the unfoiled areas of the card, and left me with an awesome background.


Next I raided my craft stash for different textured papers I wanted to use; I found some cream and pink vellum along with some pink spiderweb sheets.  I die cut three sizes of circles from all my papers, I also diecut some large circles from Bondaweb.

Using a hot dry iron I added my Bondaweb circles to my canvas.  As I was ironing the foil to the Bondaweb circles I found some of the foil also adhered to the canvas and the DesignIt Paste.  I like the effect it created, so added some more of the foil to various places on the canvas.

Using Stamp and Bond embossing powder I added a Cracked Background ( using a clear stamp from Crafty Roo Designs) to some of the vellum circles and then applied Bright Pink Foil.  I added them all to my canvas.  Then using a pokey tool I pierced holes along two of the circles so I could add stitching.


Here's a close up for you;


It was then time for me to decide on a sentiment for my canvas.  I found a couple of mdf words in the stash,  I added Silver foil to them with the Fabric Master Tool followed by some Pink Metallic Paint.  I wiped away a little of the paint to enable the shine to come through from the foil.  I also used this technique to add some Pink Metallic Paint to some Bright Pink Wooden Heart Buttons I had found in my stash.


I then set about adding some sewing to the canvas.  I used Pale Pink Embroidery Floss on the Circles, and decided to add three rows of stitching to the background of the canvas, where I would add an additional vellum circle along with one of the wooden buttons.  The wooden buttons where sewn on with Lime Green Embroidery Floss.  I also added some Lime Green French Knots for a little extra texture/dimension.

Finally I glued on my MDF sentiment.  Here's a couple of pictures of the finished canvas;


Here's a close up to show all the different textures;


This was such a fun project to work on.  I discovered some great ways of adding foil using different heat sources, which I know I'll be using again.  I really enjoyed adding some embroidered elements to the canvas too.  It was great to find a use from some of the different papers I have in my craft stash.  All in all it was a fun experimental piece, and I love the finished canvas.  I hope you all like it too, and feel inspired to see what you have hiding in your stash that you can combine with the wonderful ColourCraft products; Don't forget to share your creations in the Create with ColourCraft Facebook Group, we love to see what you create.

Thanks for visiting with us today
Bye for now
Suzi
xxx
Related Posts Plugin for WordPress, Blogger...