Showing posts with label stencils. Show all posts

Friday, 29 November 2019

Forest Layers

This week I've been having a play, building up layers on a cotton fabric base, although you could use a base of heavy paper instead.
The process used some yarns, screen printing, a couple of stencils and couching stitching. Oh and I thought the forest needed some sparkle too!

Here is my finished picture, but you could use the same techniques and products and come up with your own unique picture. 


Screen printing can be messy so protect your surface. I like to use several layers of newspaper over a plastic sheet which gives a little give which helps the printing.

I used some yarn and some net from lemons to add design. Having taped them across the fabric I mixed some adva print pearl binder and  Adva-Print concentrated fabric colours brown and white. I then placed a screen printing screen over the fabric and a dribbled the mixed colour across the top area. 


Tips for screen printing:

Holding the screen firmly down with one hand, place the squeegee  (or an old plastic credit card) above the ink and, applying some pressure, pull it down the screen, taking the ink with it pull at a 45ยบ angle  Repeat, and then put the squeegee to one side, being careful not to drip excess ink.
 Holding the fabric down with one hand, lift the screen up from the bottom edge and then away.
You can mix the Adva print colours to get the shade you want (I mixed a green to use next).


 When you have finished wash the screen with cold water. Scrub it lightly with a sponge or nylon washing-up brush to make sure you get all the ink out.
 Leave the screen to air-dry before printing again.


Once the screen printing was dry, I decided I wanted to have a little sky showing through the forest tree design. I mixed a little Brusho ost. blue with water and dabbed it onto the area I thought needed to be the sky. I added a little SprinkleIT   Iridescent Violet to the wet blue to give the effect of light sparkling through the trees.


I then started to build up the layers of the forest.
In my palette, I mixed a little Brusho moss green and a little Brusho thickener with some water to form a paste. 

I then dabbed this over some of the TCW "Jungle Vines" mylar stencil  Colourcraft do stock this so give them a phone call (01142421431) if you would like one


When dry, this is the picture so far:


Wanting to add more layers and create 3D, I put the fabric in an embroidery hoop and couched some yarn down.


I stood back to view the composition and was not entirely happy. I decided it needed some sunlight shining through part of the trees onto the forest floor.
 I mixed some thickened Brusho Yellow Ochre and dabbed it through the TCW "Burst" mylar stencil. This is the same as I used for the bag design a couple of weeks ago.
I added some 
SprinkleIT  Iridescent Gold to the wet yellow paint before I removed the stencil.


When dry, I ironed the design on the reverse to remove any creases. I did this on a makeshift "ironing surface" consisting of folded newspapers covered in foil so as to not get any paint or sparkle on my ironing board!

I then tried a mount on the design to check I was happy with the design. I decided to stop there.


What do you think?


Saturday, 12 October 2019

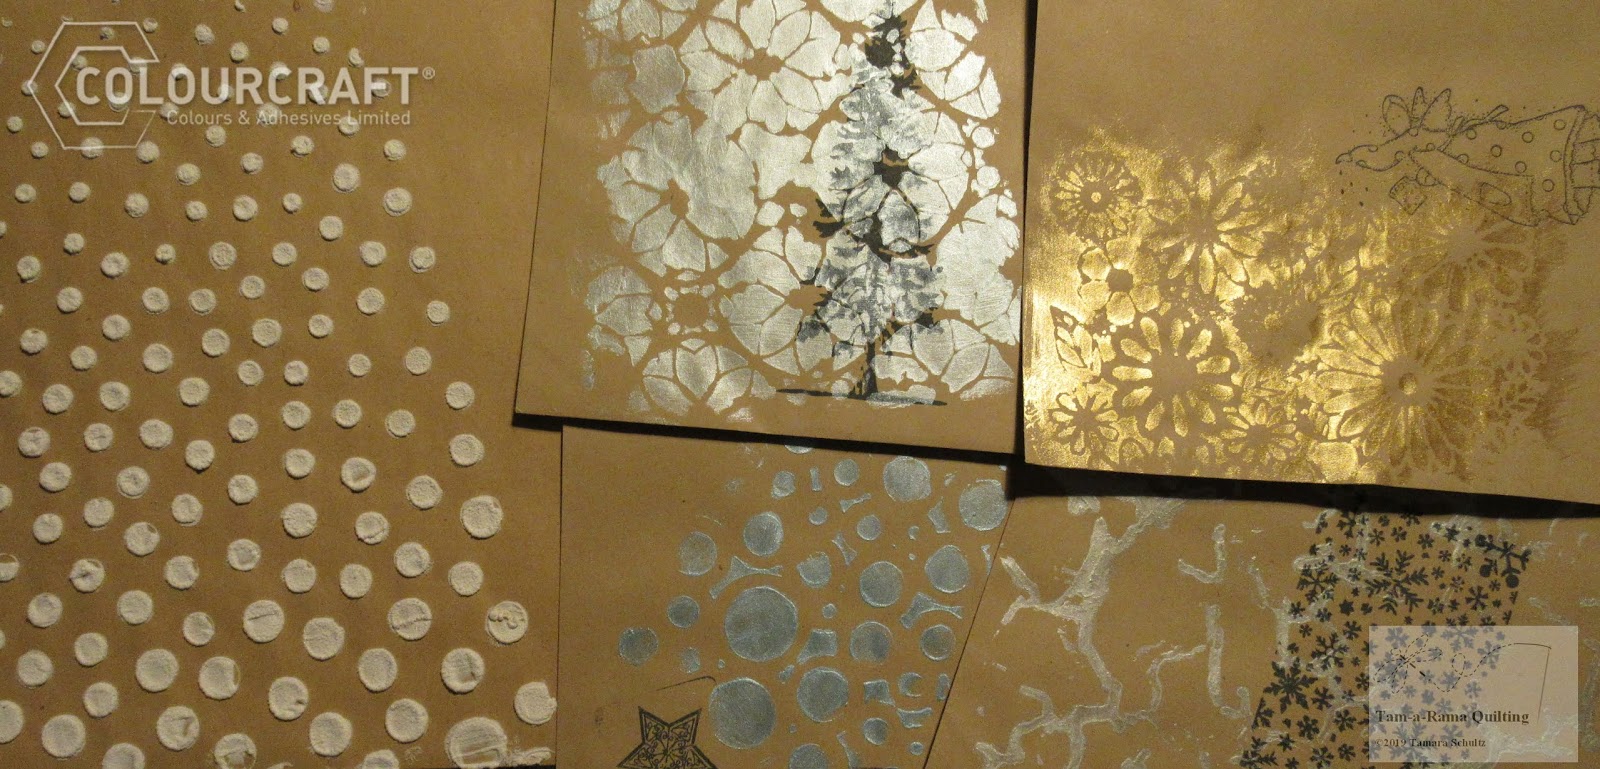
Stenciled and Stamped Envelopes

As October begins with it's rain and cold, I need to start thinking about my annual Advent Project!  More info on that can be found here.
Anyway, part of the fun of the project is the unwrapping the materials you need every week- these envelopes were made to be the packaging!
The first one I made was with ExpandIT. I had a "snowball" stencil in my collection- applied the medium through the stencil, and then heated it with a heat gun.
I love how much it look like snow!!
After that, I decided to tackle the smaller envelopes- I picked stencils and stamps which matched the themes of the different weeks of my project.
I used a foam brush and different paints for each stencil- Eco metallic and pearl paints.
After these dried, I played around with my stamps and am quite pleased with my results! 


Hope that you enjoyed this quick and easy idea!! 
Well, it wasn't super quick for me as I had to make 25 of each type! :D

Saturday, 24 August 2019

A little bit of paint and a lot of fun

I just love the metallic paints. They shimmer and enable you to create a depth and texture which is fabulous.  I particularly like the way this 'wall' has turned out. Hope that you will have a try!


I cut a tag from a piece of white 300gsm cardstock to create a good sized tag and I used a piece of sea sponge and all four of these colours whilst painting.

Using a 'brick' stencil, I picked up a little of the first colour - copper - onto my sponge.  I dabbed it off onto a scrap piece of paper as I didn't want it to 'leak' through the stencil which it can easily do. The trick here is to build up the colour gradually.  That way, you will end up with a nice clean image on the other side.  The paint dries very quickly, so each colour can be layered on top of the previous one almost straight away. This is so much fun as there is no right or wrong way to do it! And if you don't like a particular 'brick' you can just dab some more paint over it with different colour.  Remember also, that each brick can contain several different colours.


This is what my 'wall' looked like when I was finished. It doesn't matter that the bricks aren't exactly square; after all, real bricks change as they age. You can see the shine from the metallic paint here.


The next thing that I did was to stamp the image with Versafine onyx black ink.  I then used a very fine paintbrush to paint in small parts of his wings with some gold paint.  I also used a charcoal pencil around the edge of the whole image which I 'smudged' with a paper pencil.  This gives the impression that the image is sitting 'on top' of the 'wall'.


To add extra interest I used a blending sponge and some onyx black ink through a stencil. As versafine ink is not permanent until heat set, I gave it a few minutes blast with a heat gun.


I punched a hole in the top of the tag and threaded some soft ribbon through it.  I hope you like it and that you will give it a try.  The paints are really fabulous. :)


Friday, 23 August 2019

Dyed & Printed Skirt Part 2


I’m back for part 2 of my summer skirt.
 See part 1 where I dyed some plain fabric.


Making up the skirt
I made up a simple wrap skirt with my dyed fabric, using darts to give some waist shaping and two buttons and pieces of ribbon as a fastening.

You need one back piece and two front pieces. Each of the three pieces needs to be half your waist measurements across the top once the darts are made.


I like to finish side seam raw edges with pinking scissors to avid them fraying.


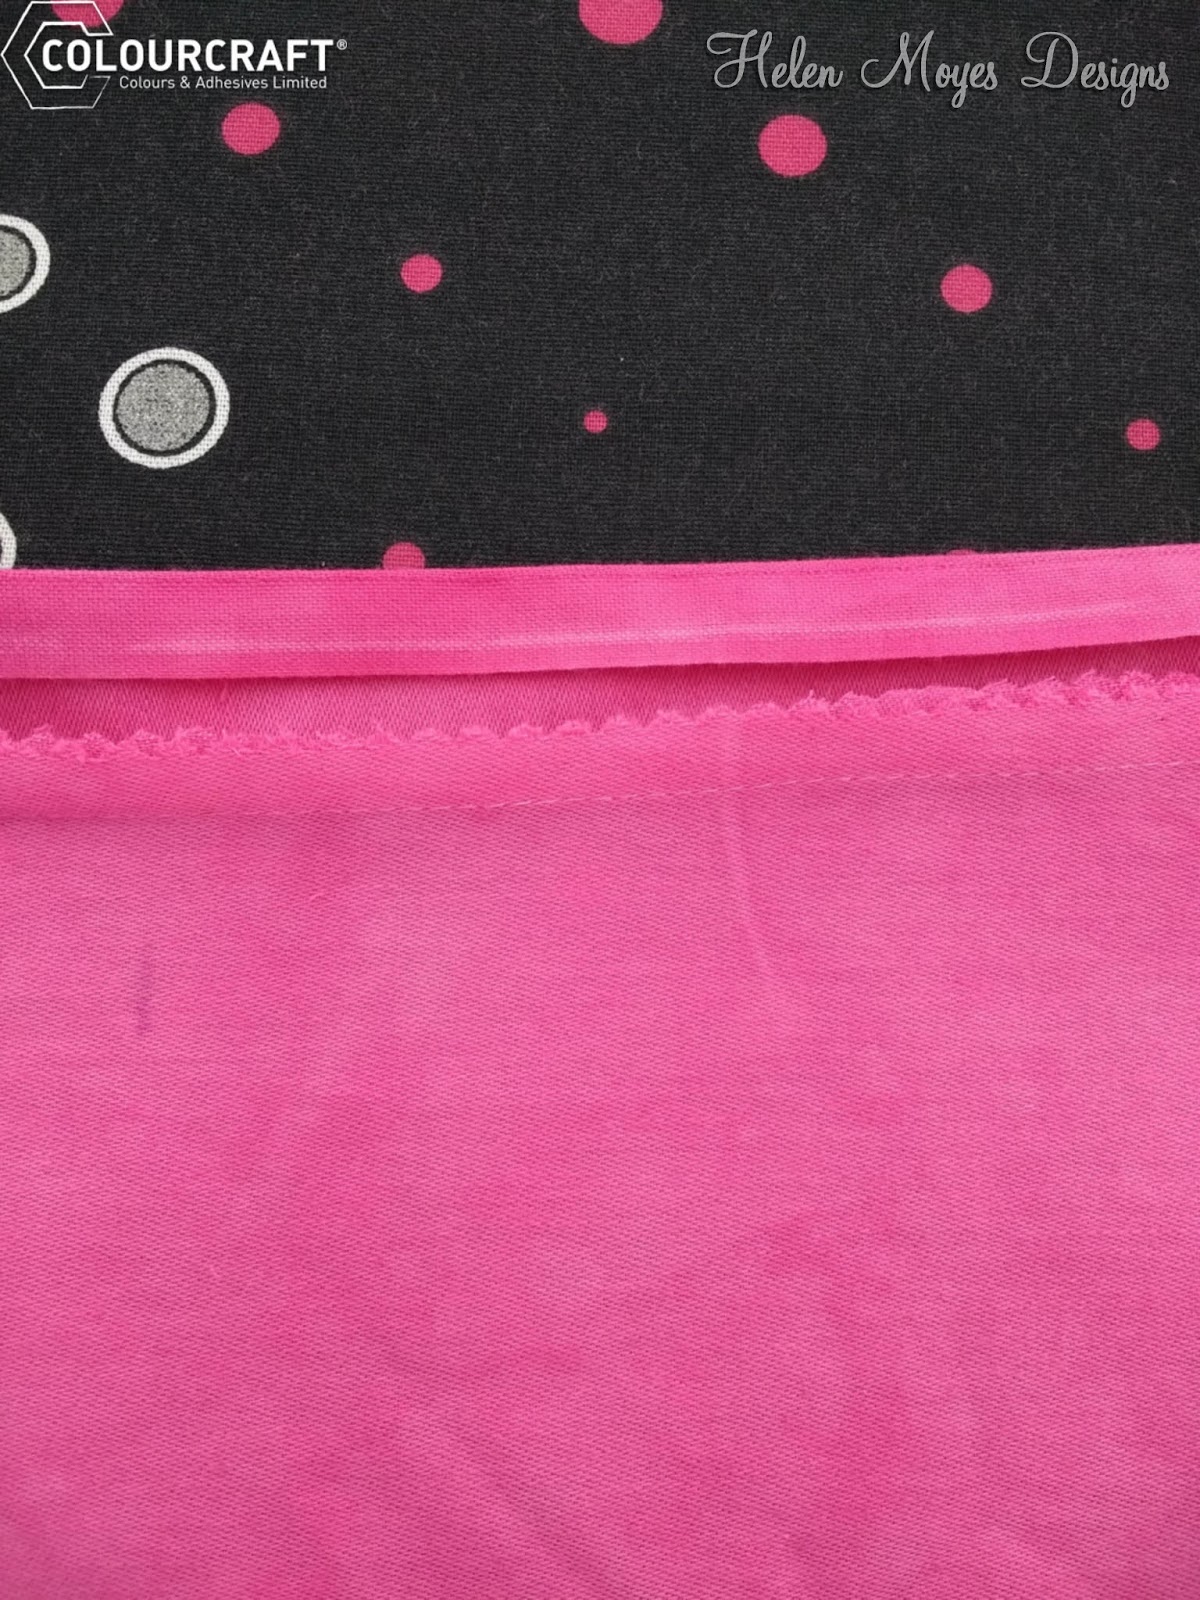
Turn over a small hem on the two free front edges and then a slightly larger hem around the bottom.
I made a strip to add a narrow waistband.
First, this is stitched right sides to the top of the skirt. The seam was pressed towards the band and the top of the band was pressed down 1cm.


Both ends were folded right sides together and stitched. 


Turn out to make neat ends.


Stitch the folded over waistband in place.

Make a couple of buttonholes, and stitch on buttons and ribbon ties. I like to use the magic pen to mark the position of the buttonholes before stitching.


Nice enough but I wanted to create a design for a truly unique skirt. My deliberations included whether to create a floral or feather design, and whether to use block printing or screen printing to make the design. I sketched a little in my notebook and tried out ideas on some spare fabric.


Earlier this month I visited the Quilt festival at the NEC and the Colourcraft stand. Lovely to chat to the friendly folk there and I also fell for the fancy feathers stencils which come in two sizes. I also got a Colouricious feather wooden printing block. I want to create a feather design now!

Dye Paste Mixing


This contains a 15g pot of manutex, which is a seaweed-based thickener that can be used to make Procion MX dyes into a print/paint paste. (Note: Manutex is also known as Reactive Stock Paste).
You can mix the 4 teaspoons of powder in 1 pint of cold water and mix thoroughly. You can use a hand blender to make sure the paste has no lumps and is the right consistency. Leave to stand (Note: this paste only lasts a few weeks and can be kept fresher in the fridge. Discard if there is mould or smell.
The starter pack also contains urea. Urea slows the drying process and therefore allows more time for the dye to react with the fibre, yielding deeper shades. So I decided to dissolve 1 tablespoon of the urea in a cup of boiling water. I strained this and then sprinkled on 2 teaspoons of manutex. I labelled a tub and put the date of mixing.


I can then spoon out a little of this mixture into a palette tray to then add different dye colours to make up a palette of colours. A tiny amount of dye powder makes a strong colour, but check on a scrap fabric first.
Note: when using the dye powders it is advisable to use a mask eg. the disposable Valved Respirator Mask FFP3 (For fine toxic dust/mists/fumes with 2 elastic looped retainers conforms to EN149)


Printing using the Stencil
Using my Procion MX dye mixed with my manutex paste, I brushed colour through the feather stencil. The colours will mix as you do this unless you leave each bit to dry in-between colours. Similar colours on the colour wheel will give nice mixes. Be careful not to mix too many colours though and get a brown grunge colour! Trying out on a scrap of fabric first is a good policy.


If you want to do more than the front of a skirt, then using the stencil with a screen would speed up the process.
I'm sorry. I got so involved with this that i forgot to take a photo!

Block Printing
Set up a printing station with protective sheet then some thin foam to help the printing process.
Lay fabric onto this ready for printing.

Load up sponge block with dye paste and apply to the wooden block design. Ensure good coverage but avoid excess paint in the grooves. Now you’re ready to turn the block over and place down on the fabric.

Push and rock side to side a little. Keep hands in place for a couple of seconds to let the dye paste soak onto the fabric. It’s a good idea to stand up to block print as it gives a bit more power to your arms!
(It’s also a good idea to do a practice print for each block as often the first one doesn’t work so well. The wood seems to soak up the paint).
Wash your block with soap and water, with a scrubbing brush. Always wash your printing blocks after use; the sooner the better, so that it’s easier to get the paint off.


On both the stencil and block, I added a little copper metallic fabric paint with a small brush.


Fixing
After stamping spray on a solution of soda ash. I added 6 tablespoons of soda ash (in the starter pack) to my 1litre bottle of water. Note: there is no need to rush to spray your newly printed design, as the dye will stay inert in the fabric. However, make sure you know that you have sprayed with the soda ash solution before washing.

As an extra heat fix, I baked my skirt in the oven for 5 minutes at 150°C. I then cool rinsed on its own in the washing machine to make sure any unfixed dye was removed. You can use Colsperse scouring agent to aid this.

Fibre reactive dye is the most permanent of all dye types. Unlike other dyes, it actually forms a covalent bond with the cellulose or protein molecule. Once the bond is formed, what you have is one molecule, as the dye molecule has become an actual part of the cellulose fibre molecule. So you can safely wash a garment that has been dyed in bright fibre reactive colours in your normal wash load.

So I’m ready to wear my personalised skirt.


I would love to hear about your dying and printing adventures, so please do comment below.

Helen x

Related Posts Plugin for WordPress, Blogger...