Showing posts with label paste paper. Show all posts

Saturday, 22 June 2019

3-D Card with Eco Acrylic Paste Papers

I recently got a box of super yummy Colourcraft Eco Acrylic Paints and got the urge to make more paste papers like I did with the Metallic colours a couple of weeks ago. Click Here to go to my blog entry with basic instructions about paste paper.
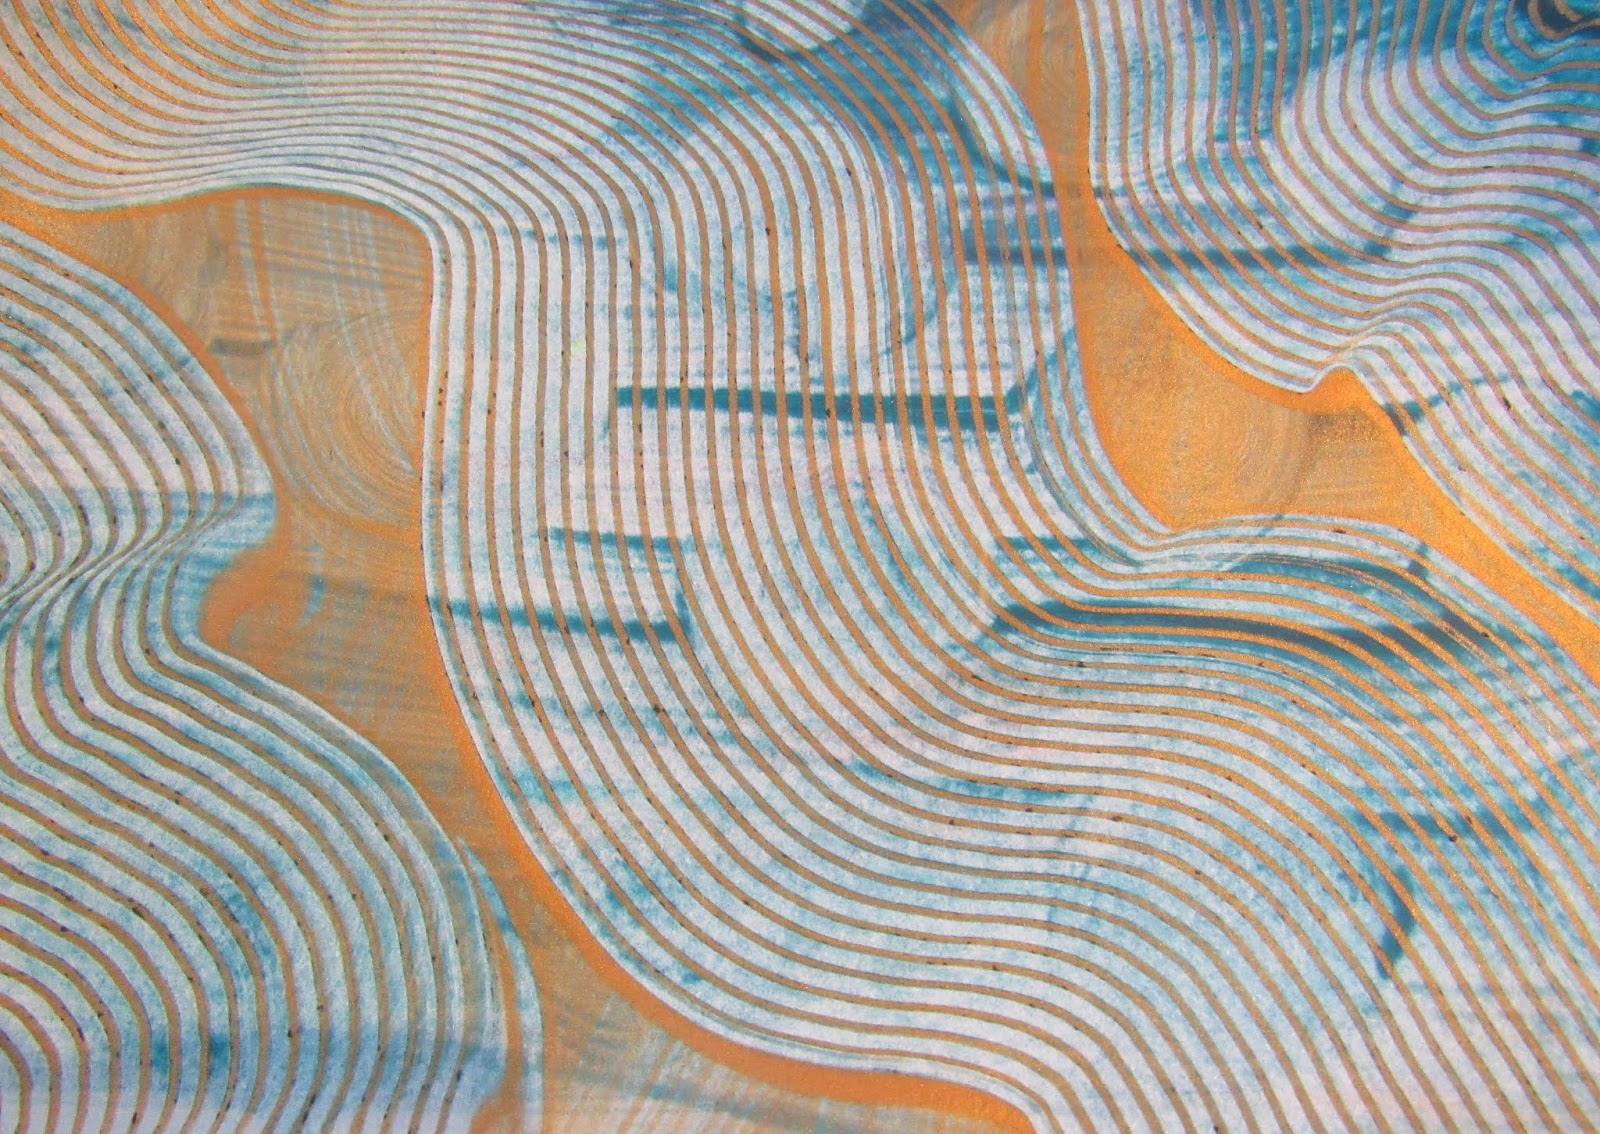
So I started with some of my favorite colors, as well as a 300g paper and brushes, comb and a couple of other tools.
It didn't take long to make a bunch of totally fab papers!
I let these dry overnight and then sponged some of the paints on the backs of my favorite papers. I also sponged a piece with metallic gold from the Aztec Range.
After these had dried, I chose one of my papers and folded it in half with the paste paper design on the inside.
I then marked two lines perpendicular to the folded edge, and scored a line parallell to the folded edge, between my marked lines.
I then cut on the marked lines, and folded on the scored line as well as on the original fold line so my card looked like the following picture.
In the meantime I had folded my gold sheet in half and glued those two halves together, stamped a 
dragonfly from Rubber Dance Stamps a few times onto the gold paper, and cut those out.
Then I just glued my dragonflies onto the cut out, inside of the card and VOILA!
Super fun and easy to do! 
I had a lot of fun doing these colored paste papers.
I also played around with making one layer:
Letting this dry. And then making a new layer on top!
It would be fun to see what you make with paste papers too!

Take care and see you in a couple of weeks!
-Tamara


Saturday, 8 June 2019

Pastepaper with Aztec Acrylics by Colourcraft

Today's tutorial is more about technique than a particular project.
Paste papper is a classic way to make designs on paper for bookbinding and what can be more fun than metallic colors on a black base?
For an overview of the process- check out the  Video here! 

Basically, I gathered together my materials- wallpaper paste (there are many different paste paper recipes online), Aztec Eco Metallic Paint , brushes, combs and other marking tools. Paper as well of course!
The process is simple- blend the paint with the paste, sponge down your paper with plain water to "relax" it, paint and then comb through or stamp to get different effects before the paint dries.

To get a different effect on my black paper- I sponged on some gesso in spots.
Let dry and then use your papers to bind books, as backgrounds- so many possibilities!
The above effect was made with an empty spool of thread.

The piece above had some gesso sponged onto it and was combed in different directions.

In this piece I tried to get a plaid effect.

This piece had gesso and was stamped with an Indian wooden stamp. After it was dry, I added some Brusho to get the funky color effect.

I hope you enjoyed this technique!


Saturday, 16 February 2019

Spring Mini Quilt with Paste Paper effects

For quite some time I've been wanting to find a way to imitate traditional paste paper effects onto fabric. Well this week I got ahold of some Gelli printing tools and inspiration ran rampant!

First I got out my opaque fabric paints and one of my Gelli plates. I cut a bunch of small pieces of calico fabric (muslin) and got started.


I added some color to the surface of the Gelli plate, rolled it out with a rubber roller, and then used one of the Gelli printing tools to mark a design.


I then placed a piece of fabric over the top and gently patted with my hand so the color transferred to the surface of the fabric. You can also use a clean roller on the back of the fabric. The above picture is the result!

I then continued to play with color, tools, overprinting and got a nice batch of very pretty fabrics!!
I decided to use most of them to make a mini quilt.

First I drew a simple flower design and traced it onto 4 pieces of fusible web. I fused those to the backs of 4 of my fabric pieces and cut out and swapped around the fabrics.
I then fused these onto another piece of fabric.
I took more of my fabric pieces, paired them up, cut them into strips and wove them into new blocks.

Finally I stamped an image that I got from Rubber Dance Art Stamps and made that my central block. I used Opaque Navy fabric paint dabbed on with a foam brush.

So then I set all the blocks together into a mini quilt! Now I just need to sew it all.
Happy Spring! See you next month for some Easter inspired projects.


Related Posts Plugin for WordPress, Blogger...