Showing posts with label butterflies. Show all posts

Saturday, 28 March 2020

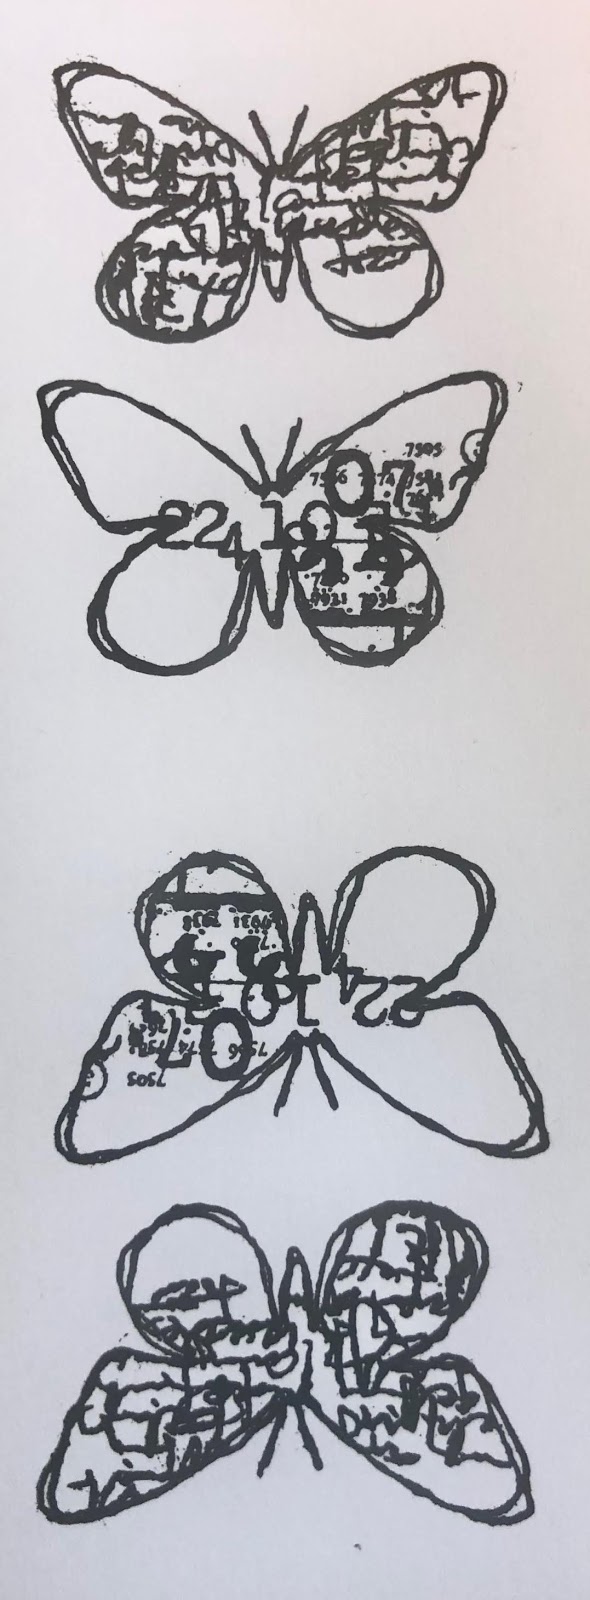
Distressed Butterflies with Transfoil- Garden Mandala part 1


Hi Everyone!

In all the craziness in the world at the moment- there are some bright spots! One is more time to craft! the other is Colourcraft Ltd. delivers!
One project I've been working on is a minature quilt with the theme of "Garden" for my quilt guild's show in October. I thought it would be fun to combine a bunch of different art quilt and embroidery techniques in a mandala whole cloth quilt.
The first art quilt element I did was linoleum cut and printed snails. You can read my blog about doing those here.
Today I'm going to explain how I made my butterflies though! 
I started with quilting all the basic creatures etc I'm going to have through all three layers of my quilt sandwich. This included doing a bit of appliqué and trapunto on my little linoleum printed snails.

Then I took Pastel Pearl Fabric Paint in pink and pearl and painted each butterfly.


I then added dots of transfer foil using fusible web and drew around them using a pink paint pen.


There is fusible on the dots, I lay over the foil and used the mini iron to activate the glue. Let it cool before removing. 

It just didn't feel like enough to me though... so I added some "mending powder" which is basically fusible in a powder form and added more foil. This gave me a random "distressed" effect on my butterflies which I love! 

Here is a picture of the quilt so far:


Next time I will show you how I make the dragonflies! More foil, Angelina and lots of bling.
Take care of yourself. 


Monday, 26 August 2019

Angelina Fibres on a canvas bag

Hi everyone!
I have been MIA for a while but I am back now... sorry for that :)

In August, I went to drop off some of my past projects with Colourcraft at their stand at Quilt Festival - I usually avoid going to busy conventions like this because I'm not a fan of crowds but I have to admit that this one was something else! Not only because of the amazing quilting work that I had the pleasure of seeing but also because I got to have a chat with the Colourcraft people and, most of all, get my hands on some brand new products. 

Let me tell you something... they are awesome!!!

Today, I will share with you my canvas pouch with some cool embellishments made using Angelica Fibers. Not that I am blowing my own trumpet but... I have the coolest fruit lunch bag in my department!


When I first saw the small package filled with shine, colourful fiber I was like... what do I do with this? But after a quick demo, my mind was fluttering with ideas!


Here goes:
Choose your stamps, black ink (it's better if it's pretty wet) and your fibres. set your iron on medium heat (Be careful not to melt your stamp with too high setting!!!) and have baking paper ready. Ink the stamp generously and arrange fibres so that they completely cover the design. Cover it with a sheet of baking parchment and iron over until you see the stamp design come through the fabric. Remove the baking parchment and delicately remove the fibres - now melted into a sheet - from the stamp. The result should be as the last pic above shows - the design stamped onto the luminous rainbowy fabric.


Repeat the process for all the stamps you want to use in your project.


Once all your designs are ready, cut them neatly out ready for assemble. 
Do not dispose of the leftover fibres - you can use them next time - no waste!!!


You can finish your project here by attaching the elements to your bag. I used spray fabric glue to do it (Crafter's Companion Stick and Stay for fabric is perfect for that).

Or you can do what I did and create a colourful background for the elements.


To do that, I outlined the main element on the bag to know where it would be placed once finished.
I then chose a flowery stencil and with plenty of colourful Opaque Fabric Paints, I added the flower wall over the bag.


Once the paint was completely dry, I attached the fibre elements onto the bag.


Because I wanted to add some dimension to the elements, I attached the butterflies only at their centre so that the wings were sticking out when the bag is filled with my apples and oranges.


The pouch is really fun and so far, everyone who has seen it, asked where I got it from...
I'm sure it's the rainbow sparkles that do it!

See ya next time!


Warning: getimagesize(include/images/thumbnails/125/39486): failed to open stream: No such file or directory in /var/www/vhosts/smouwen.nl/thumblinky.nl/preview.php on line 85

Warning: getimagesize(include/images/thumbnails/125/39487): failed to open stream: No such file or directory in /var/www/vhosts/smouwen.nl/thumblinky.nl/preview.php on line 85

Warning: getimagesize(include/images/thumbnails/125/39488): failed to open stream: No such file or directory in /var/www/vhosts/smouwen.nl/thumblinky.nl/preview.php on line 85

Warning: getimagesize(include/images/thumbnails/125/39262): failed to open stream: No such file or directory in /var/www/vhosts/smouwen.nl/thumblinky.nl/preview.php on line 85


Saturday, 13 July 2019

Butterfly banner


Summer is a great time for outdoor eating and using colourful bunting for decorations!

Inspired by the wildlife in my garden, I set to work to make a bunting banner using Expandit and butterflies. It is so much fun to see the way that the Expandit bubbles and puffs up as it is heated! I used my trusty brushos to give it all a splash of colour.

Firstly I stamped some butterflies on card in black archival ink.  I used 300gsm card as that it takes all the water that I spritz on it. I then sprinkled brushos onto the card and gently spritzed them to create a varying shades of blue, lemon and crimson on the butterflies.


 I dried them with a heat gun and then fussy cut them all out (I know that some people don't like fussy cutting but I do, I find it most therapeutic.)

I decided to create some butterflies using Expandit for more texture and variety. I took some of the Expandit out of the pot and spread it thinly on my work surface with a paintbrush.  I lightly touched the stamp into the Expandit and then heated it using a heat gun until it puffed up. I cleaned the stamp straight away.


 I coloured the puffy butterflies in the same way as before and then cut them out.


I repeated this many times until I had made enough butterflies in all three colours.

I then turned my attention to the bunting.  I applied the Expandit through a stencil using a plastic palette knife and heated it with a heat gun.   I then coloured it using green brushos. You can see below how fluffy and puffy it got!


I then adhered the butterflies to the bunting bases using glue and overlapped them in varying colours. Happy crafting everyone!


Related Posts Plugin for WordPress, Blogger...