Showing posts with label heat gun. Show all posts

Friday, 29 May 2020

Quilted Tyvek Squares

I love to design using different techniques and materials - mixed media & skills.

Here are some sketchbooks I have decorated with quilted Tyvek squares


These spiral-bound Pink Pig sketchbooks, stocked by Colourcraft, have handmade coloured silk covers (front and back) and 35 leaf quality 150gsm cartridge paper (made from acid-free pulp purchased from accredited and sustainable resources). 
This picture does not really show how fabulous the silk cover design on the notebooks is, you really do have to hold one in your hands to appreciate it!
They come in some gorgeous colours, I've used the Berry and Lime Green, and a wide range of sizes, I've used the 21cm square. 
Not all the sizes and colours that Colourcraft actually stock, are listed in their website dropdown options so give them a ring if you want to order from the whole range.

For this project, I started with a couple of squares of Tyvek fabric.


These were stamped with a couple of my favourite polymer stamps:  patterned heart and leaf. I mounted the polymer stamp on a acrylic block and inked them with StazOn ink. As the ink is solvent-based, I can paint the Tyvek squares straight away using eco-friendly acrylic paint in leaf green and purple


While the slightly diluted paint was still wet, I sprinkled on a little Brusho SprinkleIT: iridescent violet on the leaf and metallic pearl on the heart.

Once this was dry, I layered the Tyvek on top of black cotton fabric with some quilting batting behind. I chose a couple of variegated threads.


I sewed around the outside of the Tyvek squares with a zig-zag stitch. This holds it firm for the next stage: free machine embroidery of the heart and leaf.


Then it's time to heat distress the Tyvek, using a heat gun. NB. Work in a well-ventilated area. 

I made a heating mat from a folded newspaper covered in kitchen foil. I used a couple of pins to hold the quilted squares to the mat. 


Once cooled, I flattened the squares with my hands, before trimming and using double-sided tape to mount them on the sketchbooks.


For more detail, on this process, you can watch the film from my YouTube Channel.


Friday, 21 February 2020

Tyvek Tulip

As the storms rage, I decided to dream of Spring and decided to make a tulip 


The first step is to colour Tyvek sheets and some paper covered wire. Tyvek has a distinctive pattern which is ideal for flowers. I used a mixture of diluted acrylic paint and then sprinkled on some Brusho crystal colour. I rolled the paper coloured wire across the wet Tyvek to colour that too. I then left them to dry


The name "tulip" is thought to be derived from a Persian word for turban, which it may have been thought to resemble. I've been experimenting with making different flowers with Tyvek paper. Making this tulip felt a little like creating a turban!

I studied the components of tulips to plan the flower. here is the templates I used to cut out the flower pieces from the Tyvek.

If you copy and paste this template image into a word processor and then enlarge it to A4 you will have the size I used.
I cut out the shapes of the template from the coloured Tyvek as shown:


I added detail to petals by stitching on them with variegated thread. You can do this by hand or machine, or just paint on some brush strokes for detail. 

I used a zig-zag stitch to fasten some coloured wire pieces onto the three outer petal shapes.


Inside the flower is a small, stemlike piece, the pistol, the very top part of the pistol is called the stigma and this was made using the bottom template piece, rolling it up and heating it to get the bubbly shape.  You can see I used a glass worktop saver held the Tyvek with a skewer and applied the heat with a heat gun in a well-ventilated space.


I then wound some stamens on with thread  (the sort sold for cake flowers). Next, I fastened a couple of inner (non-wired) petals with wire and zapped them with the heat gun to create some curling shape.


It needed a few hand stitches to feel secure.


I then arranged the three wired outer petals on, twisting the ends of the wire around the stem wire. A little more heat shapes and firms the petals.


Finally, I fastened on the leaves and finished the stem wire with green florist tape.


You may be interested to read the blog of the Autumn leaf arrangement I made with Tyvek. 

I would love to hear about any creations you make with Tyvek paper, please share them in the comments. 

Saturday, 9 November 2019

Tyvek Beads with Angelina Bling


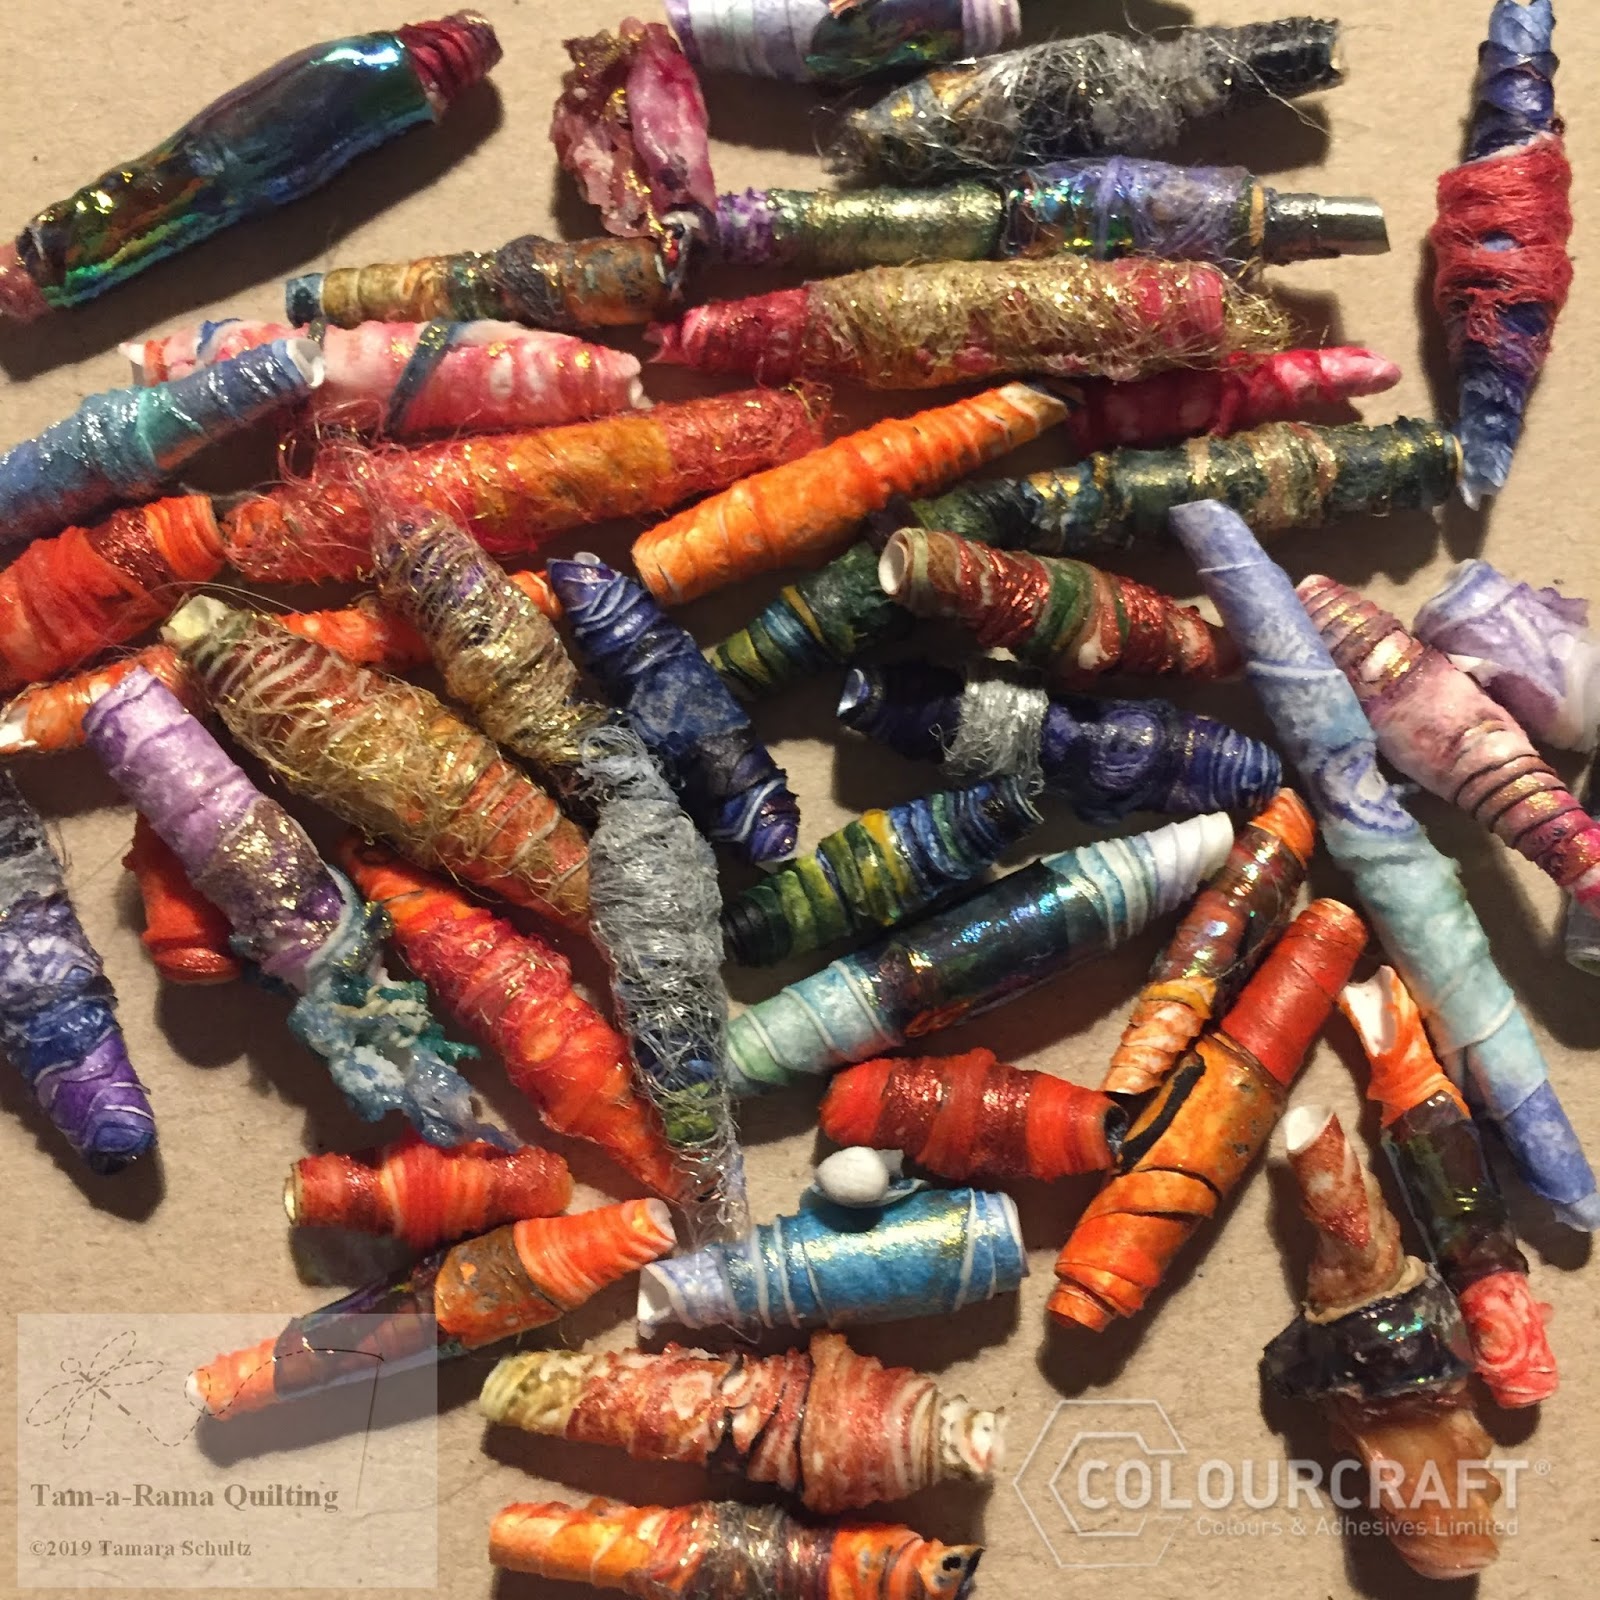
I wanted to show you all an easy way to make really beautiful beads using Tyvek and Angelina fibres and film

Tyvek is a man made material which can be painted on and sewn- as well as a multitude of other uses. One of it's characteristics is that it shrinks when heated with a heat gun. That's a key element in how we make these beads!
I started off by painting my Tyvek by sprinkling on Brusho and spraying with water. These are wet, and quite dark. They dry a lot lighter, which is good, because when we shrink them, they get dark again!
After these were dry, I  cut them into long skinny triangles. The wide part will be slightly wider than your finished bead, and the length of the triangle determines how fat your bead will become.
I take each triangle and wrap it around a bamboo skewer- starting with the wide end. You want them on fairly secure but not so tight that you can't take them off later! Glue the last couple of centimeters of the smaller end around your bead with a glue stick- just to hold it in place while you are heating it.


Now comes the BLING! I like to use both Angelina fibres and films! Cut small strips of the film and/or use a few of the fibres and wrap them around the middle of your bead- a bit of gluestick can help these stay in place. 

Don't worry about the fibres sticking out- you can get them under control when you use your hot air gun!
Which is the next step. Hold the stick and heat with a hot air gun. The tyvek will shrink and edges curl a bit, the Angelina will stitch to itself- the fibers become more glittery, the film more glossy.
Make sure to not scorch anything!!
Here are these beads close up:

You can see how the Angelina color shifts and how the Tyvek edges curl and the color gets darker. The longer you heat them, the harder the beads get.

Perfect for sewing on a mixed media project! Or making fun jewelry with!

Very fun to make anyway! And each one is unique!
See you next time!


Wednesday, 22 May 2019

Shrink plastic key fob with Karen

I acquired yet another set of keys recently and wanted a nice key fob for them so set about making one myself: I think many people have some shrink plastic lurking in their stash of crafting goodies and it is such a fun material. If you haven't already tried it, I urge you to get some: It can become quite addicitve when you start thinking of all the things you can make with it.

I chose a stamp that would otherwise be far too big for a key fob and stamped it on one side of some shrink plastic with permanent ink suitable for impermeable surfaces (StazOn).

On the reverse side to where I had stamped, I painted in the details with some of my finest golden brushes and my Colourcraft Acrylic paints. These are good on the plastic surface and air dry quite quickly.

This is from the stamped side before it was shrunk:

I then cut round the shape leaving a good margin and avoiding having any sharp edges. To enable a jump ring to be added afterwards, I punched a hole through before using a heat gun to heat the plastic and watch it twist and curl before magically straightening out in to its smaller size. Here is the size of the original stamp in comparison to the size after heating and shrinking!

It's important to remember that any colours will become darker and more intense as the plastic shrinks: Plan for this by keeping colours lighter than you want the finished look to be.

With the jump ring added to attach my new fob to my keyring, I am happy with the new addition. Shrink plastic can be used to make necklace pendants, charms and a whole host of other things. I hope you think to give it a try or dig it out of your stash and have some more shrink fun!

Thanks for stopping by.
Karen.


Materials:
ColourCraft Crystal clear shrink plastic

Saturday, 26 May 2018

Brusho on Fabric and Shrinkplastic- Flower Mini Quilt by Tamara


Brusho on Fabric and Shrinkplastic- Flower Mini Quilt by Tamara


This week I got to play with Brusho on fabric. Amazing effects and great fun. They aren't permanent but if you are making an art quilt for display- that is no problem!

Background:
First I made the background. I sprinkled my fabric with Turquoise, Prussian Blue and White- masking the bottom ½ with newspaper, and spritzed with water. I then removed the newspaper and sprinkled on Sea Green, Leaf Green and Moss Green.  I added a bit more White to the sky and spread out and mixed my colors with a foam brush. Then I left that to dry.


  I then flipped over the stencil and printed the Brusho that was on top on the rest of the grass. I'm also putting up a picture where I did the same on white fabric so you can get an idea of the effect.


Shrink Plastic Flowers:
Shrink Plastic is a really fun material to work with. I like using it to make buttons and charms to put on my quilts. Again, I wanted to try it with Brusho. I used the white as it is a bit more forgiving with materials you can use on it.
This time I sprinkled my Violet, Rose Red and Orange colors very lightly. I sprayed with water and soaked up some of the excess color. It's important to remember when you use shrink plastic that the colors get richer as you shrink it. Pictures below are wet and dry.


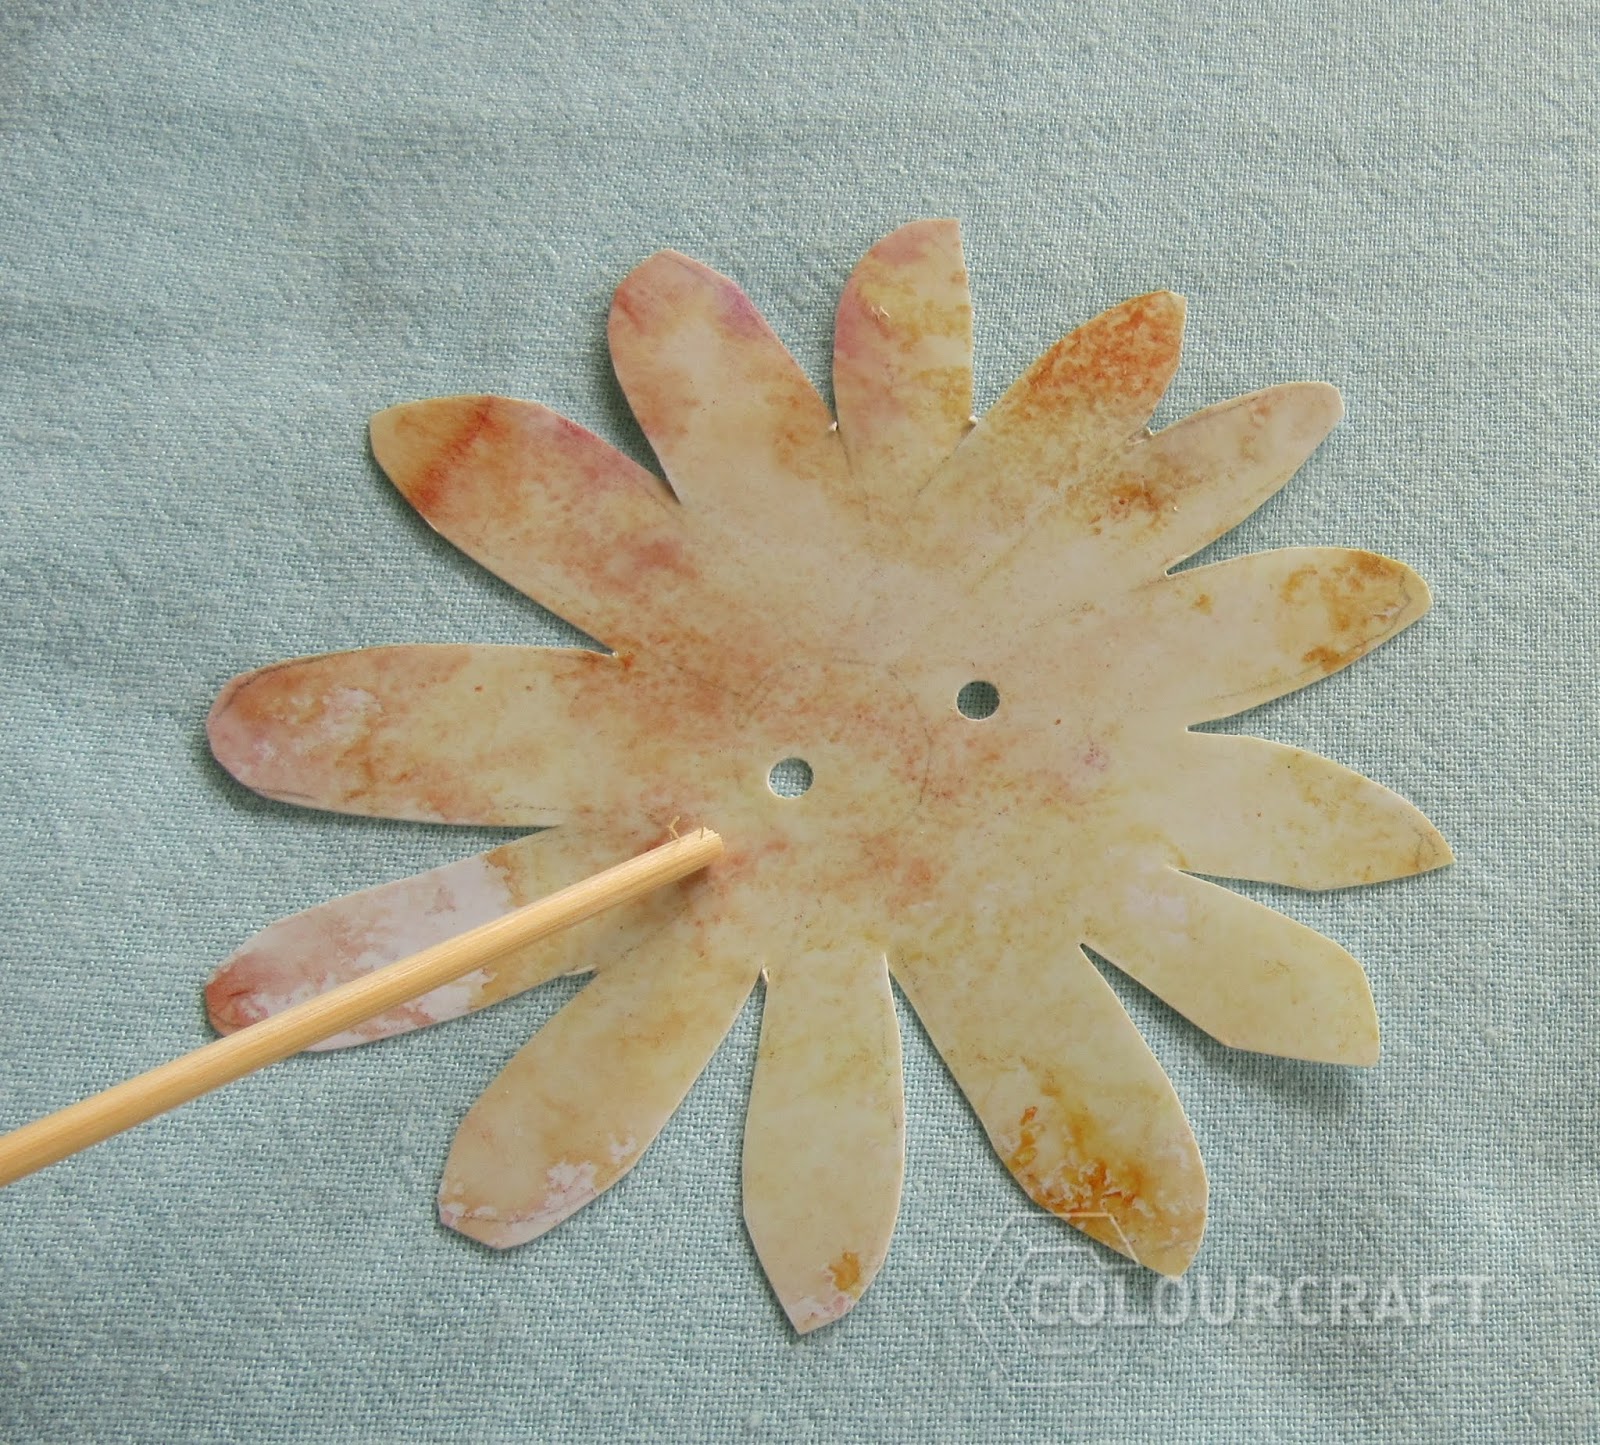
After my shrink plastic had dried, I cut out flower shapes and punched holes to be able to sew them on- they shrink to about 30% of their original size, so bear that in mind! I use a Heat Gun to shrink my flowers, you can also use an oven. You need to hold the gun steady onto the object being heated, a few centimeters away. I hold my flower down with a bamboo skewer (so it doesn't blow away)- NOT in the hole I punched to sew it on! The flower shrinks and curls up on itself and then flattens out again - that's when it's done shrinking! If you want them flat, put a heavy book on while still warm. I like the extra dimension mine have by not being flat.


You can really see how different they look!
Then it was just a matter of making my quilt sandwich with batting and a backside, quilting it together, and sewing my flowers on! I added a couple of extra embellishments for fun.
I really hope you enjoyed this project! And I would love to see what you make using these techniques. 


Related Posts Plugin for WordPress, Blogger...