The other Karen on the team and I had a similar idea: Summer means bunting! You can see her lovely butterfly bunting < here>. I already had some jute bunting crying out to be decorated and, as I live near the sea, that was my inspiration. This bunting has 13 triangles but I decided to start one in and decorate every other triangle to start with so 6 in total. I cut out slightly smaller triangles from watercolour paper to decorate my bunting, keeping the offcuts for stamping and die-cutting, and distressed the edges.

I die cut and embossed some shells and sprayed them with water. I then diluted some Dark Brown Acrylic Ink to paint in the details, letting the colour spread for a subtle colour.

For the backgrounds, I used a pipette to dot Turquoise Acrylic Ink on to a craft mat, sprayed it with water and smooshed the paper in to it, repeating until I had good coverage but being sure to leave some white. Repeating the 'smooshing' builds up layers and gives more depth to the background.

This was repeated with a smaller amount of darker Ultramarine for more depth and then everything was left to dry.

Expand-It paste was stencilled and added with a paint knife to the backgrounds. I sprinkled this with Gold and Irridescent Gold Sprinkle-It to give a sandy effect. When heated the Expand-It puffs up to give great texture.

I used more Acrylic Inks to colour stamped images and swiped a stamp though ink on the craft mat to add more detail to the background too.

Realising the shells were very pale alongside the stamped images, I painted over the embossed lines and edges several times with Dark Brown and an almost dry brush building up the colour to shade and add dimension to these shapes. For these three triangles, it was then some background stamping and gluing the images on.

For the final three, I positioned where I thought I would stamp and then added the Expand-It in the same way as before but avoiding the areas to be stamped (I still changed my mind on one!). Finally, to pull them all together with the stamping finished, I added a bit more Dark Brown with a paint brush to add shading to lots of areas. Because the Acrylic Ink is permanent once dry, painting over the blue didn't reactivate the colour below. I then used what was left on the mat to finger paint over the Expand-It on all the triangles, highlighting the texture. I then decided the order that I wanted them to hang and glued them on to the bunting as shown in the first photo.

Hope you feel inspired to make some bunting. It's a great way to brighten an area or welcome the summer days. However, these techniques will work equally well for a larger project or cards.
Karen
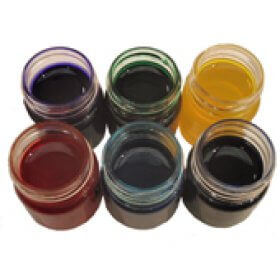 |
| ColourCraft Acrylic Inks |
 |
| Brusho SprinkleIt |
 |  |  |  |  |
 |

Stamps used are by Chou & Flowers and Mes P'tits ciseaux available at Kerudoc Création and a very old set of stamps and dies now retired.