Showing posts with label magic pen. Show all posts

Friday, 4 October 2019

Lutradur Lantern


October is here and despite some sunshine, there is definitely a chill in the air! Here in the UK, it is time to make our homes cosy and think about having light in darker evenings. This past year I have been experimenting with Lutradur and particularly like making vessels that can be used as a lantern or as a vase.
Lutradur is a spun textile. "Hot textiles" refers to using heat with spun textiles, creating new effects for crafting projects. Did you see the leaf arrangement made with Tyvek I made last month?
Lutradur comes in several different weights (weight per square metre), which suit different uses:
Lutradur 18gsm very fine. I haven’t used this, let me know if you have and what you made?
Lutradur 30g Lightweight has transparency which can be utilised in appliqué, enabling the background(s) to show through. Further heat distressing will allow total reveal in places.
Lutradur 70g, Regular is lovely for brooches, having enough body but having a little drape.
Lutradur 100g, Medium weight has a little transparency and distinct shapes and distressed areas are easy to achieve.
Lutradur 130g, heavy weight, enables self-supporting artwork ie. small screens.
Lutradur 230g extra weight similar to felt I haven’t used this, let me know if you have and what you made?


I find the medium weight, 70gsm, is most versatile and my preference for these Lutradur Lanterns. The picture below shows lanterns I’ve made with 70g
and 130g.


Taking a rectangle of Lutradur (25 x 17cm) apply some surface decoration.
This can simply be spraying with Brusho Shimmer Spray such as the bronze I used here, or stencil with some orange Eco Metallic Acrylic Paint


In the other lanterns I have used a Markal Artist Paintstik, making freehand swirls first, before applying some Brusho or acrylic paint. I have experimented with small pieces of appliqué and couching some texture threads too!


Take care as, unlike Tyvek, paint can go through the Lutradur to what is underneath. However, any paper underneath the lighter Lutradur will gain a pleasing paint effect that could be used in another project.
Once any paint is dry I like to add stitch. Lutradur is really easy to stitch through, either by hand or by machine. In these later, more architectural lanterns, I have used a thicker thread hand wound onto my bobbin and sewn along a design marked on the wrong side, so the thicker, bobbin thread is on the right side. The marker pen with eraser ink is great for marking up any design.


Add beads preferably using invisible thread.
Folding under a little to the wrong side and stitching along the bottom edge can add stability if using the lighter Lutradur.


Now comes the hot textiles bit:
You can make a simple heat tool mat by pinning tin foil onto a folded up wad of newspaper. (a glass worktop protector can also be used).
You maybe wondering what the ceramic plant pot in the picture is for? Well, I find it really handy to have upside-down next to my heat mat and put the heat tool down through the hole. This avoids burns and damage.
Work in a well-ventilated space and avoid distractions.


Using a Fabric Master Heat Tool, I cut out window shapes and added a variety of sized dots. These will add to the design and also allow light through the lantern. I also distressed the top edge too.
I just used the one plain pointed tip, but there are several that come with the heat tool. If you do change tips, take care as they are really hot, switch off and allow to cool down. You can get some silicone finger protectors, but do still do take care!


The final stage is to form a cylinder around an empty glass jar and secure the overlapped edge with some invisible thread stitch (or glue). The lanterns look good on a shelf all year round, but as twilight approaches they are great with a tealight inside the glass jar.


I love to see all the different lanterns produced when I run a Paint & Stitch workshop with Lutradur. I would love to see your creations too.


Helen x


Friday, 20 September 2019

Creating Texture


Have you discovered Texture Magic yet?
This week I have been quilting with a layer of shrink fabric interfacing and then using the steam from a steam iron to cause it to shrink and create an interesting texture on my silk Autumnal fabric. This is the real colour of the fabric, I'm not sure what happened to the colour on the other photos which went very pink!


Sew texture magic to the back of your fabric, apply steam and the fabric shrinks approximately 30% in all directions creating a beautiful textured effect. The result is permanent, washer and dryer safe.


I made a sandwich by placing my fabric face down, adding batting and then a piece of the polyester Texture Magic interfacing. The instructions tell you not to worry about any wrinkles in the Texture Magic as they will disappear after steaming, which is indeed the case. I smoothed it outwards as I pinned from the middle of my piece.
Quilting


My fabric has three-inch stripes so I chose to use these as a guide for my first quilting of straight lines to form a 3” grid.


 The instructions say you get more texture the closer together your stitch lines are, so I think this distance is the maximum to get any texture.
Inspired by all the berries around, I chose to free motion quilt round(ish) shapes with a variegated thread with blues, plum, berry pink (Mettler silk finish “Berry rich” 9816). I free-motion quilted alternate squares of my grid.


In the remaining squares I hand quilted a cross in the centre using bright orange (Aurifil 50wt 1133). I measured and marked the centre of the grid with the air erasable pen. I then added a bead to the centre of each cross from the red mix of Indian beads.


Steaming
I laid the fabric on my ironing board with the Texture Magic side up and set the steam iron to a hot steam setting. Similar to the hover technique for the Tyvek Autumn leaves I made earlier this month, you need to hold the iron close to but not touching the interfacing in order to get the texture and dimension effect (rather than pressing it flat).


As it is steamed it puckers and pulls in until it reaches the point it doesn’t pull in any more.
My hand slightly quilted squares puffed up more than the more heavily machine quilted squares.


Sewing

I’m planning to make a bag with my piece of textured quilt, but I'm tempted to make a cushion cover as the fabric would go well in the Ecclesall Textile School sewing lounge!
This will have to wait though as I have three customers sewing projects to complete and several workshops to lead in the next couple of weeks.
I will post my finished project on my Instagram feed for you to see.

I would love to hear about your adventures with Texture Magic

Helen x


Friday, 23 August 2019

Dyed & Printed Skirt Part 2


I’m back for part 2 of my summer skirt.
 See part 1 where I dyed some plain fabric.


Making up the skirt
I made up a simple wrap skirt with my dyed fabric, using darts to give some waist shaping and two buttons and pieces of ribbon as a fastening.

You need one back piece and two front pieces. Each of the three pieces needs to be half your waist measurements across the top once the darts are made.


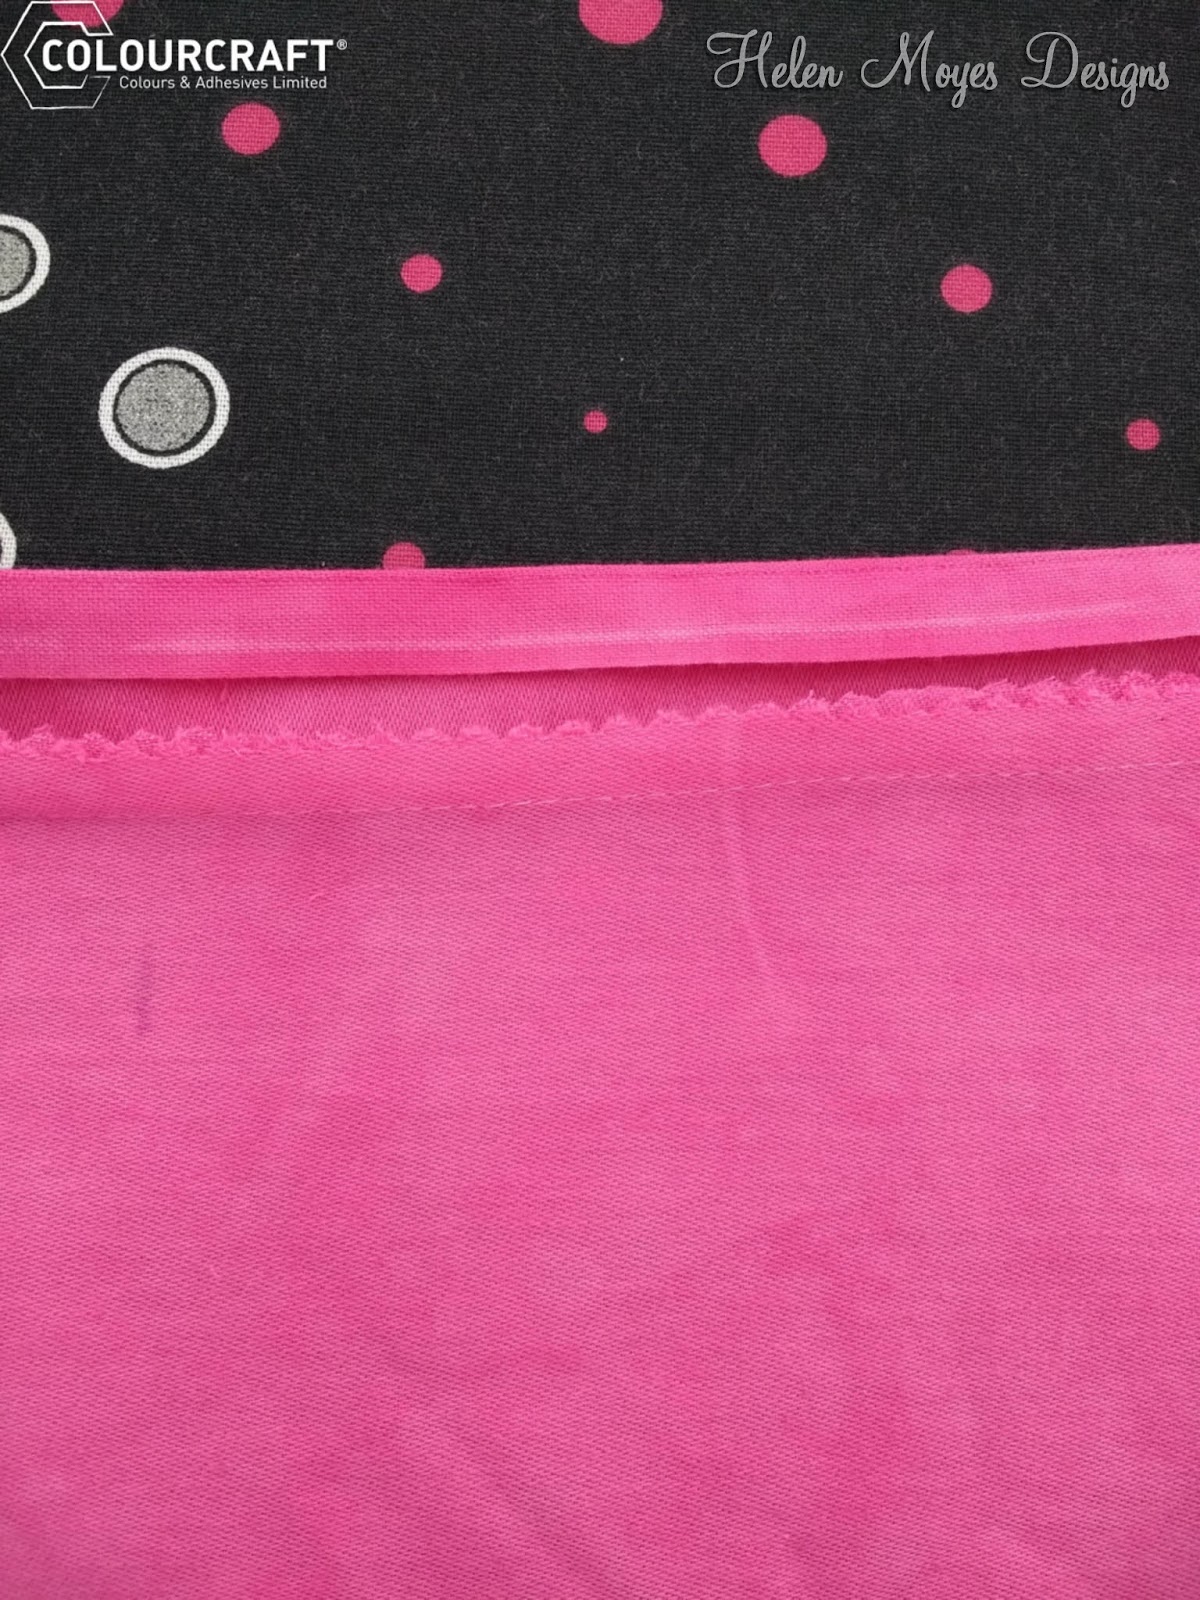
I like to finish side seam raw edges with pinking scissors to avid them fraying.


Turn over a small hem on the two free front edges and then a slightly larger hem around the bottom.
I made a strip to add a narrow waistband.
First, this is stitched right sides to the top of the skirt. The seam was pressed towards the band and the top of the band was pressed down 1cm.


Both ends were folded right sides together and stitched. 


Turn out to make neat ends.


Stitch the folded over waistband in place.

Make a couple of buttonholes, and stitch on buttons and ribbon ties. I like to use the magic pen to mark the position of the buttonholes before stitching.


Nice enough but I wanted to create a design for a truly unique skirt. My deliberations included whether to create a floral or feather design, and whether to use block printing or screen printing to make the design. I sketched a little in my notebook and tried out ideas on some spare fabric.


Earlier this month I visited the Quilt festival at the NEC and the Colourcraft stand. Lovely to chat to the friendly folk there and I also fell for the fancy feathers stencils which come in two sizes. I also got a Colouricious feather wooden printing block. I want to create a feather design now!

Dye Paste Mixing


This contains a 15g pot of manutex, which is a seaweed-based thickener that can be used to make Procion MX dyes into a print/paint paste. (Note: Manutex is also known as Reactive Stock Paste).
You can mix the 4 teaspoons of powder in 1 pint of cold water and mix thoroughly. You can use a hand blender to make sure the paste has no lumps and is the right consistency. Leave to stand (Note: this paste only lasts a few weeks and can be kept fresher in the fridge. Discard if there is mould or smell.
The starter pack also contains urea. Urea slows the drying process and therefore allows more time for the dye to react with the fibre, yielding deeper shades. So I decided to dissolve 1 tablespoon of the urea in a cup of boiling water. I strained this and then sprinkled on 2 teaspoons of manutex. I labelled a tub and put the date of mixing.


I can then spoon out a little of this mixture into a palette tray to then add different dye colours to make up a palette of colours. A tiny amount of dye powder makes a strong colour, but check on a scrap fabric first.
Note: when using the dye powders it is advisable to use a mask eg. the disposable Valved Respirator Mask FFP3 (For fine toxic dust/mists/fumes with 2 elastic looped retainers conforms to EN149)


Printing using the Stencil
Using my Procion MX dye mixed with my manutex paste, I brushed colour through the feather stencil. The colours will mix as you do this unless you leave each bit to dry in-between colours. Similar colours on the colour wheel will give nice mixes. Be careful not to mix too many colours though and get a brown grunge colour! Trying out on a scrap of fabric first is a good policy.


If you want to do more than the front of a skirt, then using the stencil with a screen would speed up the process.
I'm sorry. I got so involved with this that i forgot to take a photo!

Block Printing
Set up a printing station with protective sheet then some thin foam to help the printing process.
Lay fabric onto this ready for printing.

Load up sponge block with dye paste and apply to the wooden block design. Ensure good coverage but avoid excess paint in the grooves. Now you’re ready to turn the block over and place down on the fabric.

Push and rock side to side a little. Keep hands in place for a couple of seconds to let the dye paste soak onto the fabric. It’s a good idea to stand up to block print as it gives a bit more power to your arms!
(It’s also a good idea to do a practice print for each block as often the first one doesn’t work so well. The wood seems to soak up the paint).
Wash your block with soap and water, with a scrubbing brush. Always wash your printing blocks after use; the sooner the better, so that it’s easier to get the paint off.


On both the stencil and block, I added a little copper metallic fabric paint with a small brush.


Fixing
After stamping spray on a solution of soda ash. I added 6 tablespoons of soda ash (in the starter pack) to my 1litre bottle of water. Note: there is no need to rush to spray your newly printed design, as the dye will stay inert in the fabric. However, make sure you know that you have sprayed with the soda ash solution before washing.

As an extra heat fix, I baked my skirt in the oven for 5 minutes at 150°C. I then cool rinsed on its own in the washing machine to make sure any unfixed dye was removed. You can use Colsperse scouring agent to aid this.

Fibre reactive dye is the most permanent of all dye types. Unlike other dyes, it actually forms a covalent bond with the cellulose or protein molecule. Once the bond is formed, what you have is one molecule, as the dye molecule has become an actual part of the cellulose fibre molecule. So you can safely wash a garment that has been dyed in bright fibre reactive colours in your normal wash load.

So I’m ready to wear my personalised skirt.


I would love to hear about your dying and printing adventures, so please do comment below.

Helen x

Related Posts Plugin for WordPress, Blogger...