Showing posts with label pearl aztec metallic paint. Show all posts

Saturday, 12 October 2019

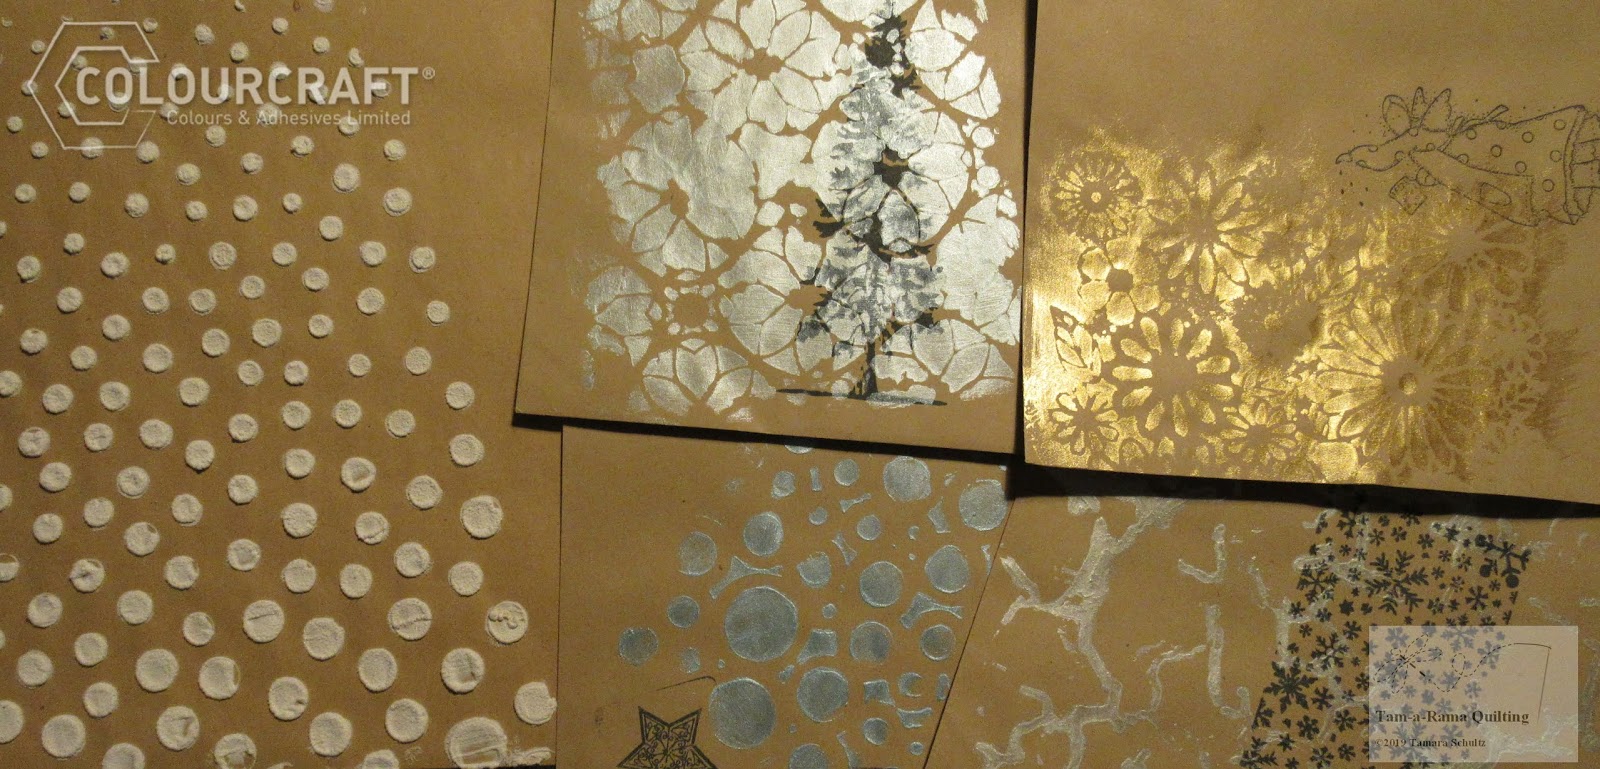
Stenciled and Stamped Envelopes

As October begins with it's rain and cold, I need to start thinking about my annual Advent Project!  More info on that can be found here.
Anyway, part of the fun of the project is the unwrapping the materials you need every week- these envelopes were made to be the packaging!
The first one I made was with ExpandIT. I had a "snowball" stencil in my collection- applied the medium through the stencil, and then heated it with a heat gun.
I love how much it look like snow!!
After that, I decided to tackle the smaller envelopes- I picked stencils and stamps which matched the themes of the different weeks of my project.
I used a foam brush and different paints for each stencil- Eco metallic and pearl paints.
After these dried, I played around with my stamps and am quite pleased with my results! 


Hope that you enjoyed this quick and easy idea!! 
Well, it wasn't super quick for me as I had to make 25 of each type! :D

Saturday, 29 December 2018

Winter Shimmer Frame

Hello Everyone,

Hope you all had a lovely Christmas ..

This is my final post for 2018 before we welcome in a brand new year and more exciting projects for you all...

For my final post, I wanted to make something quick, and something that we can all make.   I have taken a plain wooden photo frame and given it a winter shimmer makeover..


Step 1

Take a plain wooden photo frame, this one was from my local crafting shop and was £1.30, inexpensive to buy and when transformed looks fabulous, remove the stand and glass from behind.

Step 2 and 3

Paint over the whole surface of the frame with white gesso and dry with your heat tool, then take a stencil and place over the top of the gesso'd frame surface and apply a thin layer of soft form relief paste and dry with your heat tool


Step 4

Apply another layer of gesso over the top of your stencilled frame and dry with your heat tool

Take some Aztec Pearl metallic paint and pain over the entire surface of your frame and dry with your heat tool


Step 5

Time to assemble your photo frame, choose some nice sparkly paper  or photograph and trim down to size using the glass window of your frame as a template, then assemble frame and display in your home


Thank you for popping round and your continued support this year, looking forward to seeing you all in 2019.. and wishing you all a very happy new year

Sarah x


Saturday, 17 November 2018

Snowflakes and Lace

Hi Everyone,

Sarah here with you today on the blog, and I have a lovely Christmas card to share with you, that matches perfectly with the Christmas tags I made last month..

If you a re looking for quick cards to mass produce for sending to your family and friends then this is perfect!

This card uses white acrylic paint, brusho and metallic paints from Colourcraft, if you have not tried the Pearl Paint yet, its one not to be missed!


Step 1

Create your background using a jelly print plate, brayer and acrylic paints, I also used the pearl acrylic for extra shine..

Step 2

Trim your background paper down to fit on a card base of your choice, my card is 4 1/4" x 5 1/2" 


Step 3

Choose some lace that will match your background, I picked a creamy coloured piece of thin lace to keep the bulk down, then added a smaller piece of velvet lace on top


Step 4

Die cut a snowflake from one of your jelli printed backgrounds and adhere to the front of the card.. and add a sentiment to the bottom of the card


Step 5

The final touch of a small self adhesive pearl in the centre of the card


I hope you enjoyed today's card and look forward to seeing you next time here on the blog


Monday, 12 March 2018

Believe in Angels with Ewelina

I'm kind of in a crafty Easter mood these days but for some reason, this year I'm all about golden eggs, golden baskets and golden everything. Don't know why because I've never associated Easter with that colour before; it was always about the green grass and colourful dyed eggs in gorgeous wicker baskets. Oh, well...


When I sat down to making this project, I took my Aztec Metallic Paints in all shades of gold available and started to play and started layering them around this 12x12cm wooden board. I also added some stamping in the background.


I am not sure if I mentioned that the DesignIT paste is another cool product that I love playing with - I tend to put it into a silicone mould and, once the design dries, use it to add very detailed texture to my projects.


You can see here how brilliantly the DesignIT lace blends into the background - it almost looks like it's part of it rather than added on top.


The MDF wings have been outlined with a black Sharpie and the painted with Pearl Metallic Aztec Paint - I wanted them to contrast with the rest of the project.


You can watch the process in my video tutorial:

Saturday, 30 December 2017

Let it Snow by Sarah Allan

Hi Everyone!

Hope you all had a wonderful Christmas and it is great to be back here on the blog with my last design Team project for 2017... before we head into 2018 with more fun projects using Colourcraft's fabulous products.

My project for you today is a wooden winter photo frame, I have given it a new lease of life with acrylic sprays and some of the fabulous aztec metallics pearl paint


Step 1
I used a bare wood photo frame with stand, some chipboard flourishes and wooden letters 


Step 2
Placement of the flourishes and "snow" letters

Step 3
I applied a coat of white gesso to every surface, front, back and sides of the frame and stand

Step 4 
glue down the letters and flourishes with matte medium and paint over with white gesso

Step 5
Place some kitchen paper down on your work surface before applying acrylic sprays, I used Turquoise and sea green for my project

Step 6
Dry your frame with a heat tool and also remember to spray the stand too!


Step 7

Your project is now ready to have some fabulous aztec metallic pearl paint dry brushed over the lettering and flourishes to add the finishing touch to your project and accent/highlight the frame


I hope you enjoyed today's project, I wish you all health and happiness for the new year and look forward to being back in 2018 with more fun stuff :)


Related Posts Plugin for WordPress, Blogger...