Showing posts with label lace. Show all posts

Monday, 13 April 2020

Christmas Canvas by Gail

Hello Colourcraft friends.  Gail here today.  Last year Colourcraft had an article in the December Craft Stamper magazine.  I wanted to share the canvas I made for this feature and talk a bit about how I made it.  


I started with a small 10 x 10cm Canvas board.  I painted half with Blue Aztec Paint and half with Green Aztec paint, working on the diagonal.  The I stamped the trees across the canvas and embossed with green embossing powder.  I painted a piece of paper with Gold Aztec paint, stamped the deer and embossed with black embossing powder.  I fussy cut the deer and glued it to the canvas.  Both stamps are by Unity Stamp Co.


I painted some lace with Gold Aztec paint and glued it around the edge of the canvas.  


I added some more of the painted lace as a hanger and also added some bells.  I used embroidery thread to attach the bells and have also coloured this with Gold Aztec paint.  Perfect colour co-ordination.  


Thanks for dropping by.  Hugz

Wednesday, 8 April 2020

Mixed media canvas with Karen


This type of project is a great way to use up bits of your stash or even bits around the house because, for these types of mixed media canvas, it doesn't matter about shape, size or colour!

The base for my project today is an A5 artists board: A hard-backed canvas. However, a piece of wood or a stretched canvas of your chosen size would also work just as well. The first step is to then arrange your bits and pieces so you have a rough idea of where you want to glue things down. It is then critical to use a good gel medium like Liquitex Heavy Gel Medium or Golden Matte Medium to collage your objects on to the canvas. Use plenty and let it dry thoroughly as you do not want things to fall off later! This type of heavy gel will hold metals, plastics and just about anything, all layered on top of each other as long as they have plenty of gel to hold them and it is left to dry thoroughly, preferably overnight. In this case, I used a few scraps of florist ribbon, lace and some buttons so all relatively light.

As soon as I had stuck down one button, I decided to move it and that is a benefit of the slower drying time of gel on non-porous surfaces. For more texture, I used Design-It paste (formerly Soft Form relief paste) spread through a stencil with a paint knife. At this stage I then left everything to dry.

Once everything is completely dry and well stuck down, cover it all in gesso. You lose all the colour but keep the texture. Be sure to check from different angles to see that all the original colour has been covered.

Now you choose the colours to put back. I wanted a fairly vintage feel to this piece so I chose Dark  Brown and Black Acrylic Inks. I added the Dark Brown to the top edge with a large round brush and sprayed it with water to let it run down the canvas. It is also possible to use acrylic paints and colour sprays.

I also dry brushed some black acrylic ink round the edges of the canvas to frame it and over some of the texture to emphasise it. I smudged alot of this with my fingers for a softer look. I traced round the 'people' (Tim Holtz paper dolls) and filled in this shadow with a light layer of Black acrylic ink to give them more dimension and stuck them down with 3D foam.

Finally I added some text with 3D foam. It translates as 'Really lucky to have you'.

I hope you enjoyed that project. Please give it a go with whatever takes your interest and whatever colours you like. As another example, a few years ago I made a 30 x 30 cm canvas with old lego pieces which is electric blue and silver. You really can have great fun playing with different materials and colours.
Stay safe.
Karen

Saturday, 11 January 2020

A Love-ly Little Notebook


A 'love-'ly little notebook 

This is the perfect notebook for recording special memories, special times with a loved one or as a journal for precious photos. I created this using a gel plate and some paints and stencils. What a love! Hehe


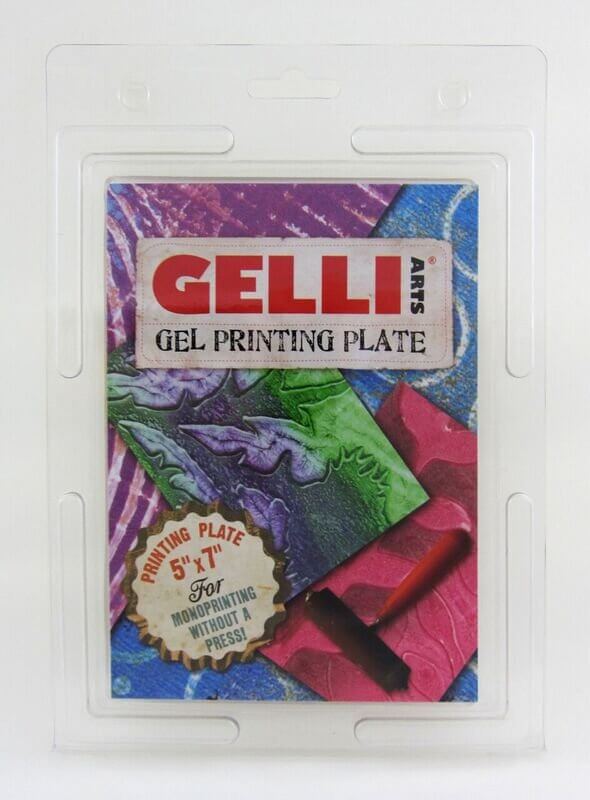
Firstly, I put a few small blobs of pink and red paint onto the gel plate and spread it evenly over the plate with a brayer.


Then I place a stencil over the paint layer.  Over the top of that, I placed an A4 sheet of card and pulled a print. Because the stencil had large circles in it the paint was removed. You will see later what a lovely effect this created.


I then removed the stencil to leave a fabulous design on the gel plate.


I then stamped hearts over the top of the stencil print onto the gel plate. I used rubber stamps directly into paint and then onto the gel plate.  NB. Always remember to clean the stamps straight after stamping them into paint. I usually use water only and then wipe them clean with a light damp cloth.


I then brayered a layer of white paint over the whole design.  I then placed a sheet of A4 card over onto the gel plate and pressed it down well all over, and pulled the print to reveal this design. 


To clean the gel plate I use hand sanitizer and a piece of kitchen towel.

I wanted to create some extra depth on the design, so I applied gold and black paint through a stencil.  I used some foam pieces to apply the paint.  The trick to successfully applying paint through a stencil is to not use too much. If you do, it tends to seep through the stencil. So it is best to build up the colour by applying small amounts at a time.

These hearts would be on the front cover of the notebook. I use low tack stencil tape so that it does not affect the card surface and can easily be removed.


I cut the print down to size and glued it to the notebook. I then glued some lace to the front cover.

I know that Valentines Day is some weeks away but I felt that 'love is in the air'  and I am ready.
  I now have this to store some precious photos and stories in. I hope your Valentines shines as bright as this lovely Colourcraft metallic paint!

Happy memories! And sending all love and good wishes!


Saturday, 11 August 2018

Wrapped Journal

Hi Everyone!

Sarah here with you today on the blog and I have a wrapped journal project to share with you and also this month we are teaming up with Crafty Roo Designs featuring their fabulous stamps!


My first step was to take some canvas and spritz with water, I sprinkled it with Brusho in Sandstone, Yellow Ochre and Sunburst Yellow, spritzed with water until I had the fabric dyed the way I wanted it then dried completely.


Next step was to glue the fabric to some matboard, I used pritt stick (it works surprisingly well) and run this through my big shot, using the Eileen Hull wrapped journal die, this pre-cuts and scores everything for you and also the pressure of the die cut machine helps bond the fabric to the board.


Once the fabric and board were cut, I added some Brusho acrylic spray in the colour Sandstone, I took the spray nozzle out of the bottle and tapped it over the fabric covered journal to create some big splatters, I then dried with a heat tool.


I took my new Crafty Roo textures stamps and some sepia and jet black archival ink and randomly stamped across the whole of the fabric cover.

The stamps I used are the Code and Dotties Stamps they are a great price too and would be great for art journaling and mixed media work!


I also used the Sepia archival ink and ran this around the edges of the journal to add definition and finished off the journal by adding some velvet lace and fibres.


I hope you liked today's project and I look forward to seeing you soon

Sarah x


Warning: getimagesize(include/images/thumbnails/125/36395): failed to open stream: No such file or directory in /var/www/vhosts/smouwen.nl/thumblinky.nl/preview.php on line 85

Warning: getimagesize(include/images/thumbnails/125/36396): failed to open stream: No such file or directory in /var/www/vhosts/smouwen.nl/thumblinky.nl/preview.php on line 85
Related Posts Plugin for WordPress, Blogger...