Showing posts with label heart. Show all posts

Wednesday, 22 January 2020

Heart Plaque with Suzi

Good Day All, Today it's my pleasure to share with you my latest creation using the wonderfully versatile Brusho Crystal Colour Powders.  

Our theme this month is 'Love is in the Air' so of course my project features a Heart.  I didn't want to go for a traditional Valentine's project as not everyone has some one to share Valentine's Day with, so I wanted to create a project that's suitable for anybody.  I want to remind people that it's important to love yourself and listen to your heart.


Here's how I created my project;

First of all I took an 8 x 8 inch MDF plaque and gave it a couple of coats of white gesso.  Using the Bubble Wrap Technique I created my background using Brusho Crystal Colour Powders in Prussian Blue, Purple, Turquoise, Emerald Green, Scarlet, and Gamboge 


Next I took some Cheese Cloth and using Prussian Blue and Turquoise Brusho Crystal Colour Powders changed it's colour.  Once dry I cut a couple of pieces off the main piece and glued to my plaque.


I then created my focal point, using the Small Heart Ploy Plate from Crafty Roo Designs and Scarlett Brusho Crystal Colour Powders.  I also took a piece of paper that I've created a Bubble Wrap Pattern on and stamped the main part of my sentiment on it with Black Ink.  I Fussy cut the Heart, and tore the paper around my sentiment, and then edged them both with Black Ink.


I then stamped the second part of the sentiment onto the bottom of my plaque and inked the edges of the plaque with Black Ink.


To finish my project I added the Heart and Sentiment, using some foam pads to raise the Heart.


I had a lot of fun working on this plaque, I created a few other projects using the same set of Brusho Crystal Colour Powders.  You can see Kym Martin from Crafty Roo Designs on Hochanda today at 10am (You can watch on catch up on Hochanda's website, if you miss the live show) Using the same selection of Brusho Crystal Colour Powders I've used.  It will be well worth watching as Kym has some wonderful demonstrations to share with you showing you a few easy techniques to make the most of your Brusho Crystal Colour Powders.

Thanks for visiting with us today
Bye for now
Suzi
xxx

Saturday, 11 January 2020

A Love-ly Little Notebook


A 'love-'ly little notebook 

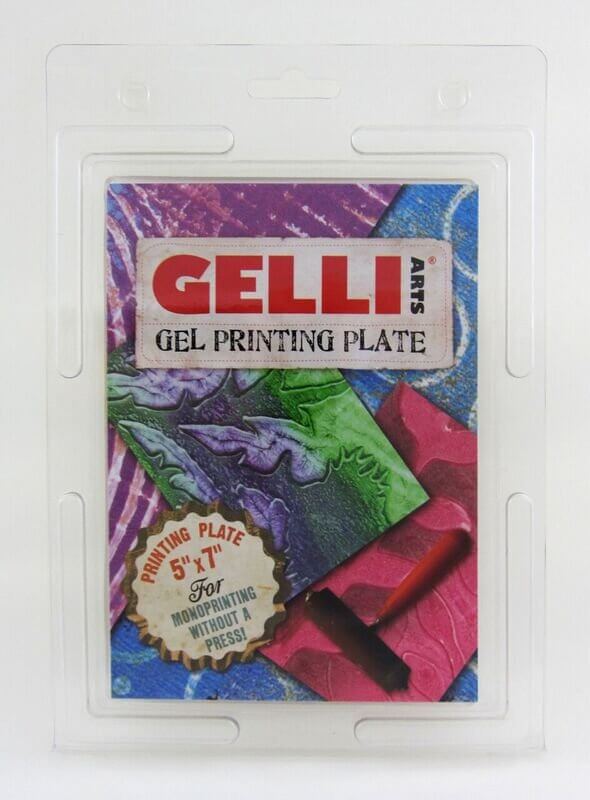
This is the perfect notebook for recording special memories, special times with a loved one or as a journal for precious photos. I created this using a gel plate and some paints and stencils. What a love! Hehe


Firstly, I put a few small blobs of pink and red paint onto the gel plate and spread it evenly over the plate with a brayer.


Then I place a stencil over the paint layer.  Over the top of that, I placed an A4 sheet of card and pulled a print. Because the stencil had large circles in it the paint was removed. You will see later what a lovely effect this created.


I then removed the stencil to leave a fabulous design on the gel plate.


I then stamped hearts over the top of the stencil print onto the gel plate. I used rubber stamps directly into paint and then onto the gel plate.  NB. Always remember to clean the stamps straight after stamping them into paint. I usually use water only and then wipe them clean with a light damp cloth.


I then brayered a layer of white paint over the whole design.  I then placed a sheet of A4 card over onto the gel plate and pressed it down well all over, and pulled the print to reveal this design. 


To clean the gel plate I use hand sanitizer and a piece of kitchen towel.

I wanted to create some extra depth on the design, so I applied gold and black paint through a stencil.  I used some foam pieces to apply the paint.  The trick to successfully applying paint through a stencil is to not use too much. If you do, it tends to seep through the stencil. So it is best to build up the colour by applying small amounts at a time.

These hearts would be on the front cover of the notebook. I use low tack stencil tape so that it does not affect the card surface and can easily be removed.


I cut the print down to size and glued it to the notebook. I then glued some lace to the front cover.

I know that Valentines Day is some weeks away but I felt that 'love is in the air'  and I am ready.
  I now have this to store some precious photos and stories in. I hope your Valentines shines as bright as this lovely Colourcraft metallic paint!

Happy memories! And sending all love and good wishes!


Friday, 10 January 2020

Home is Where You Hang Your Heart

I don't know whether it's that I'm recovering from the "Festive Flu", or the dark, damp days, but I'm really appreciating being at home! This got me thinking about the saying "Home is Where Your Heart Is" which caused me to remember the other saying "Home is Where You Hang Your Heart", which I used for this hanging.


Sorry, it's not a great photo, but the dull day has quickly turned dark so my glass cabinet was the only place I could find to have light shining through the heart to show the glass paint. I am planning to hang it up in my porch so I will hopefully post a better photo on Instagram. 

First I cut a couple of hearts from some of the cardboard I save to upcycle. I cut a heart "hole" in each. I then painted them with white gesso and left this to dry.


Then I painted one side of each heart with metalic gold paint.


Once this was dry I sprayed these gold sides with gold and bronze Brusho Shimmer spray and then sprinkled on some SprinkleIT gold to really get them glitzy.


While this was drying I wrote my quote on an acetate sheet with a black glass outliner. I also drew a heart with the outliner which when dry I filled in with some glass paint.


I then took some Shimmering Deep lagoon & Shimmering Coral Red Angelina fibres and laid them over the patchwork heart stamp which I had inked with Stazon.


I then covered this with baking parchment and used a dry medium iron to fuse the fibres ( and the ink design) together. 

I made three hearts with Angelina so I could create a 3D effect under the large heart, also using invisible thread and some pink and gold beads

I sandwiched the acetate between the two card hearts with glue and left them to dry.


I hope you are enjoying your home, and especially being able to craft. 

If you would like to sew some hanging hearts rather than paint some, then I have some heart kits available.


Helen x
Related Posts Plugin for WordPress, Blogger...