Showing posts with label altered notebook. Show all posts

Wednesday, 29 January 2020

Painted Tyvek Journal Cover by Karen


I have a number of kraft notebooks and I wanted to decorate one for a travel trip but felt the cover was a bit thin to take much multi-media treatment. Tyvek on the other hand is virtually indestructible unless subject to heat so I cut a piece of Tyvek larger than my cover and set about decorating that.

I had a piece of ribbon that I wanted to use as a closure so that guided my paint colour choices: Turquoise, Magenta, Phthalo Green and Yellow Eco Acrylic Paints plus Copper Eco Aztec Metallic Paint.

Using a paint knife, I dabbed on each colour in turn and then used a brayer to spread out each colour fairly randomly. It is important to leave plenty of the layer below visible to have lots of depth and the different colours visible at the end. When applied in thin layers the paints are semi-translucent so layering them also creates different tones than just the colours applied. No need to worry about creases in the Tyvek, I even created some of my own when brayering over it. They disappear when it is glued down and smoothed out.
 The four Eco Acrylic Paints I applied with this method resulted in this effect:

And then adding the Copper Aztec Metallic Paint added more depth and a fabulous metallic sheen:

Copper Design-It paste was added through a stencil and left to dry. This gave lots of 3D texture as well as more metallic sheen. (Sorry for the long shadows: Some late afternoon sun after a rainy day!)

Once the paste was dry I glued the Tyvek on to the notebook with Flexiglue spread out thinly with a paint knife, starting with the outside cover and then cutting the corners at an angle and turning and gluing the edges. However, I did not glue about a centimeter along the spine to allow the Tyvek to flex as the book was opened and closed: This might have been unnecessary caution as the Tyvek seems very flexible but better safe than sorry!

I also used Flexiglue to adhere the ribbon.

I covered the inner covers with printed paper to hide the edges of the Tyvek.

Finally I stamped the word 'jounal' on to the cover with Stazon permanent ink and then doodled a bit with some black and white markers. I didn't want to add any embellishments that might rip off when this is being used and being slid in and out of a bag but I know the Tyvek is going to offer good protection. I love the colours, the linen-like look of the Tyvek's texture and the fabulous copper paste!

Thank for stopping by! I hope you enjoyed today's project.
Karen (a proud journal owner)
x

Materials:  Flexiglue

Saturday, 11 January 2020

A Love-ly Little Notebook


A 'love-'ly little notebook 

This is the perfect notebook for recording special memories, special times with a loved one or as a journal for precious photos. I created this using a gel plate and some paints and stencils. What a love! Hehe


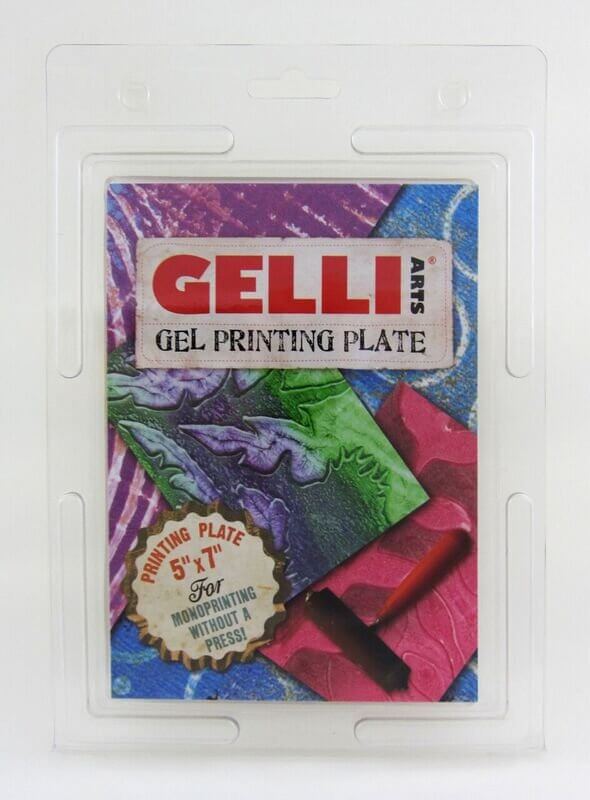
Firstly, I put a few small blobs of pink and red paint onto the gel plate and spread it evenly over the plate with a brayer.


Then I place a stencil over the paint layer.  Over the top of that, I placed an A4 sheet of card and pulled a print. Because the stencil had large circles in it the paint was removed. You will see later what a lovely effect this created.


I then removed the stencil to leave a fabulous design on the gel plate.


I then stamped hearts over the top of the stencil print onto the gel plate. I used rubber stamps directly into paint and then onto the gel plate.  NB. Always remember to clean the stamps straight after stamping them into paint. I usually use water only and then wipe them clean with a light damp cloth.


I then brayered a layer of white paint over the whole design.  I then placed a sheet of A4 card over onto the gel plate and pressed it down well all over, and pulled the print to reveal this design. 


To clean the gel plate I use hand sanitizer and a piece of kitchen towel.

I wanted to create some extra depth on the design, so I applied gold and black paint through a stencil.  I used some foam pieces to apply the paint.  The trick to successfully applying paint through a stencil is to not use too much. If you do, it tends to seep through the stencil. So it is best to build up the colour by applying small amounts at a time.

These hearts would be on the front cover of the notebook. I use low tack stencil tape so that it does not affect the card surface and can easily be removed.


I cut the print down to size and glued it to the notebook. I then glued some lace to the front cover.

I know that Valentines Day is some weeks away but I felt that 'love is in the air'  and I am ready.
  I now have this to store some precious photos and stories in. I hope your Valentines shines as bright as this lovely Colourcraft metallic paint!

Happy memories! And sending all love and good wishes!


Saturday, 15 December 2018

Xmas Notebook

Hi Everyone,

Sarah here with you today on the blog with an altered notebook, perfect for keeping you on track on the run up to Christmas.

Lots of lovely Colourcraft products used on my project today, including SprinkleIT, Soft Form Relief Paste, Brusho, Acrylic Paints, and Acrylic Spray mist.


Step 1

Take a plain kraft covered notebook, wooden star and letters


Step 2

glue down the letters onto the wooden star and paint with colourcraft white acrylic paint.


Step 3

Take a stencil of your choice and apply to the front cover of the book using soft form relief paste and a pallete knife, then dry with a heat tool.


Step 4

Apply a layer of Colourcraft white gesso to the outside cover of the book, and wooden star and dry with a heat tool


Step 5

Take a water bottle and spray the front cover of the book and tap on some moss green brusho and dry, then some shimmering gold spray mist and gold sprinkleIT and add until you get the look you desire..


Step 6

Fix the wooden star to the front of the book and you are done and ready to use your new Christmas notebook


Thanks for popping round today.. and wishing you all a very merry Christmas, and I shall see you here on the blog with another project before the end of the year.

Sarah x


Related Posts Plugin for WordPress, Blogger...