Showing posts with label Textile Art. Show all posts

Friday, 17 April 2020

Mixed media Butterfly


If you have seen my Insta feed recently you will have seen the pictures of butterfly in my garden, including one landing on my foot. They are the inspiration for this mixed media post where I use free-machine embroidery with fabric paint. 

I remember a lady at one of my free machine embroidery workshops being really surprised when I said I wasn't good at drawing. Art takes so many forms, and to be an artist doesn't mean you have to be good with a pencil!
So to help me, I found a non-copyright image of a lovely butterfly (American Monarch Butterfly, Danais Archippus to be precise) and printed it onto soluble paper.


I then laid this onto some cotton fabric and fastened it into an embroidery hoop.
The paper not only guides my stitching but adds stabilisation for the dance black free machine stitch I added.

I lowered the feed dogs on the machine and used an embroidery foot. The butterfly design gave me a guide for stitching.


See this in action 


Once the black was stitched, I ran the fabric under the tap and the paper dissolved.


 Whilst the fabric was still wet I used fabric paints to add colour to the butterfly with a fine brush - lemon yellow and gold. 


You may remember that last month I  made a screen from Tyvek Paper. Tyvek paper makes a great stencil and I used my Tyvek leaf stencil to sponge on a delicate leaf green.


I then used a foam brush edge to add some gold fabric paint


Once the design is dry, iron fix the fabric paint on a hot setting for 2 minutes or bake at 140°C for 4 – 5 minutes.

Friday, 7 February 2020

Puffin Just Chillin'


Is it Spring yet?
I don't know about you, but I'm looking forward to not feeling I'm huddled up bracing myself against a cold wind. I've enjoyed some sunshine in the last couple of days and this inspired me to create a sparkling (if cold) sea around this puffin perched on a rock.

Spending the autumn and winter in the open ocean of the cold northern seas, the Atlantic puffin returns to our UK coastal areas at the start of the breeding season in late spring. They can, therefore, be seen as a definite sign of Spring.

I created my puffin using bondaweb backed black, white and orange fabrics with a low volume print. To set the scene I added some brown print applique. I then put the fabric background in an embroidery hoop and used a couple of variegated threads. 


Using Gutermann Sulky colour 4071 I covered most of the background behind the puffin on the rock. I also used the stitches to secure some small pieces of turquoise net, metallic silver, and white sheer fabrics. I added brown variegated thread colour 4011 to the main rock.

I felt it was a little bland/lacked dimension so I sprayed on a little Brusho Shimmer Sprays in 3 colours: 
turquoise, gold and silver pearl.


To further lift the puffin I added some black free machine embroidery to create an eye and beak detail. If you'd like to know more about using free machine stitching then have a peek at my Helen Moyes Designs website where until 17th February you can enter a giveaway for stitch goodies.


To further lift the background, I used some flexi glue in thin lines, allowed it to dry a little then used transfoil metallic foils, again in 3 colours: Horizon Blue in front of the sea, Pewter on rock and Rainbow in the upper paler sea/sky


A mount really sets this fabric piece off, I don't think this picture really shows the details as I'm using artificial light. I will try to get a better photo in daylight and post on Instagram

What indicates Spring has arrived for you? Please share in the comments below

Saturday, 26 October 2019

Button Book with Brushos


 Recently I was poking around on Instagram and I found a very cool book artist (@daveykit) who was making some miniature books using buttons as covers! Very cute, I must try this!
Here is how I did it.
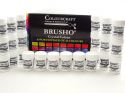
First I took a page and a half from an old dictionary and added some color/texture with Brushos in Gamboge and Olive Green.


I then glued on some red thread in a random pattern with a gel medium.


I then added some other patterns on top with thicker black and white threads.
One thing I had to bear in mind was that my buttons are 1" in diameter- so any patterns I made need to fit in that dimension.


Next I cut out my "pages" using a 1" punch. 


I then glued a 1/8" ribbon along the back sides of my front "pages". I made sure to leave enough ribbon between the pages so I could fold them together later.

Next I glued the backs on the pages and the buttons on the ends.

Here is how the book looks fully opened up on the "right" side. I love both sides though. 

The book looks like this completely closed.

It's so cute!

We'd love to see what you do with this project idea!


Friday, 6 September 2019

Autumn Colours: Tyvek Leaves


I don’t know if you are one of those folk rubbing your hands together in glee at the thought of Autumn? I tend to reluctantly face the fading of summer as I love long days and sunlight. However, I do love some aspects of Autumn, log fires and the changing colours of the leaves to name a couple.
So in crafting, it is autumn leaves I turn to for inspiration at this time of year.
In July I shared how I use painted Tyvek sheets for the sky in textile art landscapes, but once painted there is so much more you can do with Tyvek! Amazing things happen when you apply heat.
(You can apply heat using an iron, craft heat gun or a soldering iron.
Take care not to breathe in the vapours, working in a very well ventilated area and wearing a respirator if doing more than a small piece. At my workshops we are able to use the conservatory for the heating part, working by the open French Door).


The first step is to paint the Tyvek paper sheets. Water-based paint acrylic paint is fixed when completely dry whereas watercolour will dissolve in water. Don’t dry on paper which will leech the colour from the sheet, I painted one side a reddy brown and then waited for that to dry before turning over and painting with a mixture of green acrylic paints. But if you’d like some Autumn sparkle, before each side dries, Spray on a little water and then sprinkle on a little Brusho SprinkleIT. I used gold and copper. The great thing about using Tyvek for this project is that the paint does not go through so each side can be different.


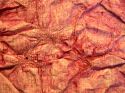
Look at the lovely effect, you get on Tyvek when it’s dry:


You can either draw on a leaf freehand or if you, like me, are not so confident in your drawing skills, draw around leaves. Mark on some veins too.

I then sewed the main stem and centre vein using satin stitch over paper-covered wire. Variegated thread looks good. Because each side of the Tyvek was a different colour, I used different variegated threads in the needle and bobbin.
Sew the veins with a straight stitch or free machine embroidery.


Sewing on clusters of beads with invisible thread adds more sparkle! There is a pack that has some gold and pinky colours in that work well.


I painted the exposed paper covered wire and then sprayed the leaves with gold Brusho Shimmer spray for even more Autumn glow.
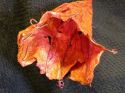
Now to apply heat. This will distress the Tyvek, causing it to bubble, curl, and produce holes. The leaves will become firmer, and look more realistic. The trick is to not distress it too far so you are left with no leaf.
Protect your iron and ironing board with baking parchment, placing the leaf between two pieces.


Use a dry iron but don’t press! Hover the iron over the sandwiched leaf. Note my hand position for how I find it easiest to do this. Keep checking how the leaf is applying short bursts of heat until you are happy.


I added a few extra holes with a craft soldering iron. I made a pad to do this on with newspaper with foil on top.


Here it is held up to the light.


I then curled the wire stems around each other to create my Autumnal table decoration. I think it looks great on a mirror tile as you get the reflection of the underside.


I couldn’t resist taking it outside to the garden to see how realistic it looked. What do you think?


Happy autumn, Helen x

Friday, 12 July 2019

Textile Landscapes

This month the theme on the Colourcraft Blog is "The Wonder of Nature".

I thought I would share with you here the process of making Textile Landscape cards so that if, like me, you have lots of fabric scraps you could have a go yourself.


For the landscape sky I like the stability of Tyvek Heavy Weight PaperTyvek makes some wonderful skies when misted and then sprinkled with a few Brusho crystals. Some skies can be stormy, some with a Northern Lights like effect.
You may have a Tyvek envelope that has been sent to you that you can open up and upcycle!
Made from 100% polyethylene, Tyvek can be used to create many unique surface effects. It shrinks and bubbles when heat is applied – which is another story I will save for another time. Tyvek produces interesting distressed/3D effects when used with a heat gun, can be moulded, overprinted and layered. I use different weights of Tyvek for different textile art. I cover the different uses in my popular Paint and Stitch workshop. Future workshops can be seen on my facebook page.

I wet the Tyvek paper and then sparingly sprinkle on some Brusho powders. You can use a brush to alter the spontaneous design. For English skies I always sprinkle some grey Brusho and add in a little violet and/or blue.
When dry, cut the painted Tyvek the right size for a third of the card design. The size will depend on the size card you use and how much of the card front you want to have as textile. The card border really adds to the finished design so don’t make your textile too big!
I use a piece of calico as the base for the land and attach this to the Tyvek sky with a row of stitch.
Silk carrier rods are a by-product produced during the silk reeling process, They come in lots of different colours, including variegated, which I also use in my art and workshops. They contain the natural gum which makes them quite rigid, but they can be split down into thinner layers which are more pliable. Put the piece of natural silk carrier rod into water to soak.
Choose appropriate threads. As a minimum use a green for the land and a whitish one for the sky. I love to use embroidery threads, especially variegated ones.
When you reach the side, turn around and come back, incorporating more pieces as you move down the picture.
You can stitch by hand or by machine.
In my textile art, one section became part of a rock pool inspired piece. Another a bubbling stream, another a stone wall.


Another textile art material I love to use is silk carrier rods.
This will be used for clouds later.


Layer different textile pieces to create a landscape.


Audition pieces until you are happy with the effect.
Sew along one of the layered fabric pieces, to join it to the calico base. I usually start on the horizon.


Trim the sides You can use the offcut to add depth in the foreground as shown


Take the silk carrier rod from the water and gently tease it out to create wispy pieces that can be used for clouds.

I also use some sheep wool that I collect from barbed wire when out on walks. Arrange these and stitch down.

Add some details, such as trees, using small scraps of fabric and stitching. Variegated thread and different kinds of stitch can produce good details.


When your design is finished, apply double-sided tape or glue to the back and attach to the front of the card. Don’t forget to initial your design!


I sell kits to make landscape cards which include painted Tyvek paper, silk carrier rod and lots of fabrics in my Etsy Shop

You could make a seascape as well


Other uses of Tyvek paper:
The paint, or indeed anything, can’t pass through the Tyvek, so both sides can be painted/printed/stamped, differently.
It also makes a lovely “vegan leather” book cover as the Tyvek takes the paints revealing a textured effect.
Children at one of my children’s stitch workshops, enjoyed decorating Tyvek and then using them to make durable luggage labels.


The lighter weight Tyvek, (which is used in the white crime scene investigation suits), needs careful heating as it heat distresses easily, but makes some great additions to paint and stitch pieces. The unpredictability of this medium needs to be grasped and is all part of the fun.
What do you use Tyvek for?
Helen x


Friday, 28 June 2019

Buttons & Tags


Buying buttons, and also tags for quilts, can be time-consuming and costly. But in a few minutes, you can make your own, personalising and designing at whim.
Here is a tutorial on making buttons and tags from shrink plastic.


I used the white shrink plastic, but you can also get clear, which are great if you want to see through what you sew the button or tag on to.


Shrink plastic sheet shrinks 7 times thicker than the original when heated. I prefer to place my designs on a baking sheet and place in a preheated oven (at 160 °C 320 °F Gas 3) but you can use a heat gun.

I stamped shrink plastic sheet using some stamps from my collection and Stazon solvent ink pad 


I then used permanent pens to add a little colour. You can also use coloured pencils on white shrink plastic. There is no point in lots of careful colouring as the details will be lost on shrinking.
Here is a keyring next to the heart stamp used to make it, to help give you an idea of the size change:


I made some tags using a stamp and when the ink has dried, wrote on with a pencil. I also made a hole in them to allow me to sew them to my finished textile art pieces.
Here they are ready to go into the oven.


And here they are after heating:


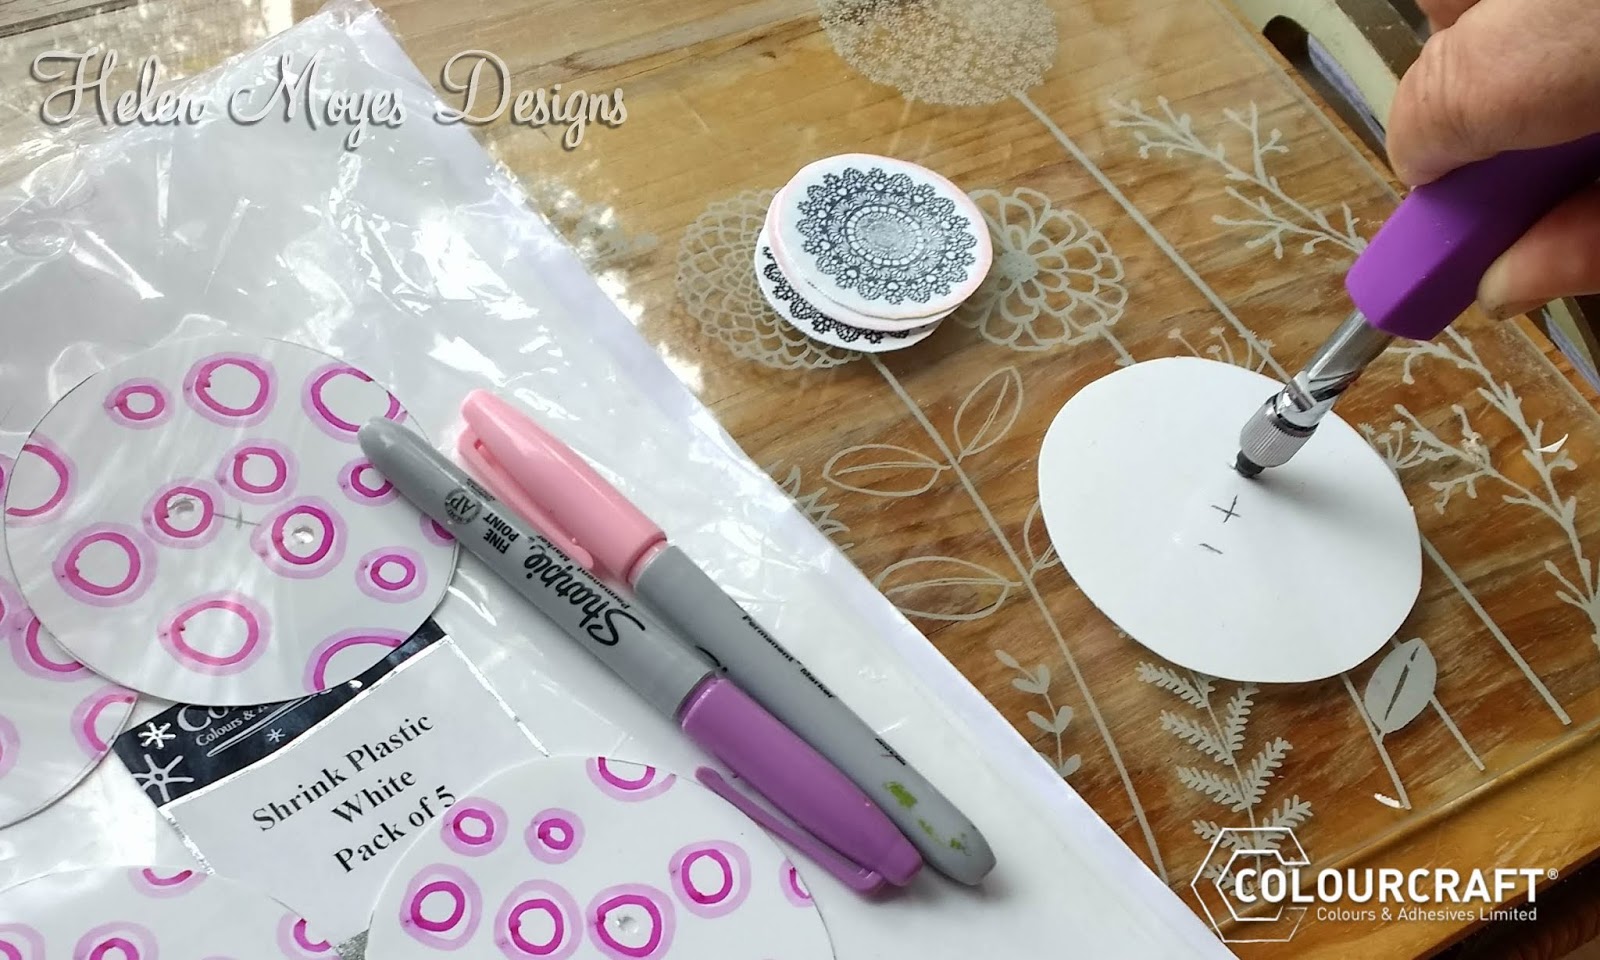
To make circular buttons, cut circles from the shrink plastic.
I drew round a lid to guide my cutting out.


Make holes to enable sewing buttons, either 2 or 4 holes. I marked the centre of my circles using a ruler and making a pencil cross. I used my craft hole punch tool to make holes, making sure I was not doing this on a surface that could be marked or damaged. I would usually use my self-healing cutting mat for this but was creating these while away.
Again, because of shrinkage, it doesn’t matter being too accurate with hole punching. Yeah, this is my kind of craft!


To give you a guide on shrinkage, my original 8.5 cm diameter circles shrank to about 3cm in 2 minutes in the oven.
Add a design to your buttons.
I did some circles with marker pens, but you can use acrylic paint.


It's important to remember that any colours will become darker and more intense as the plastic shrinks: Plan for this by keeping colours lighter than you want the finished look to be.

Place buttons on a baking sheet and into the oven for a couple of minutes. Note the buttons will twist and curl before magically straightening out into their smaller size.
Remove the tray from the oven using heatproof gloves and allow to cool.
Choose what you want to sew your buttons onto and prepare to say “why thank you, I made them myself”


I would love to hear what you have used your shrink plastic creations for, please share.

Helen x

Related Posts Plugin for WordPress, Blogger...