
Buying buttons, and also tags for quilts, can be
time-consuming and costly. But in a few minutes, you can make your
own, personalising and designing at whim.
Here is a tutorial on making buttons and tags from
shrink plastic.

I used the white shrink plastic, but you can also get clear, which are great if you want to see through what you sew the button or tag on to.
Shrink plastic sheet shrinks 7 times thicker than
the original when heated. I prefer to place my designs on a baking
sheet and place in a preheated oven (at 160 °C
320 °F Gas 3) but you
can use a heat gun.

I then used permanent pens to add a little
colour. You can also use coloured pencils on white shrink plastic.
There is no point in lots of careful colouring as the details will be
lost on shrinking.
Here is a keyring next to the heart stamp used to
make it, to help give you an idea of the size change:

I made some tags using a stamp and when the ink
has dried, wrote on with a pencil. I also made a hole in them to allow me to sew them to my finished textile art pieces.
Here they are ready to go into the oven.

And here they are after heating:

To make circular buttons, cut circles from the
shrink plastic.
I drew round a lid to guide my cutting out.
I drew round a lid to guide my cutting out.
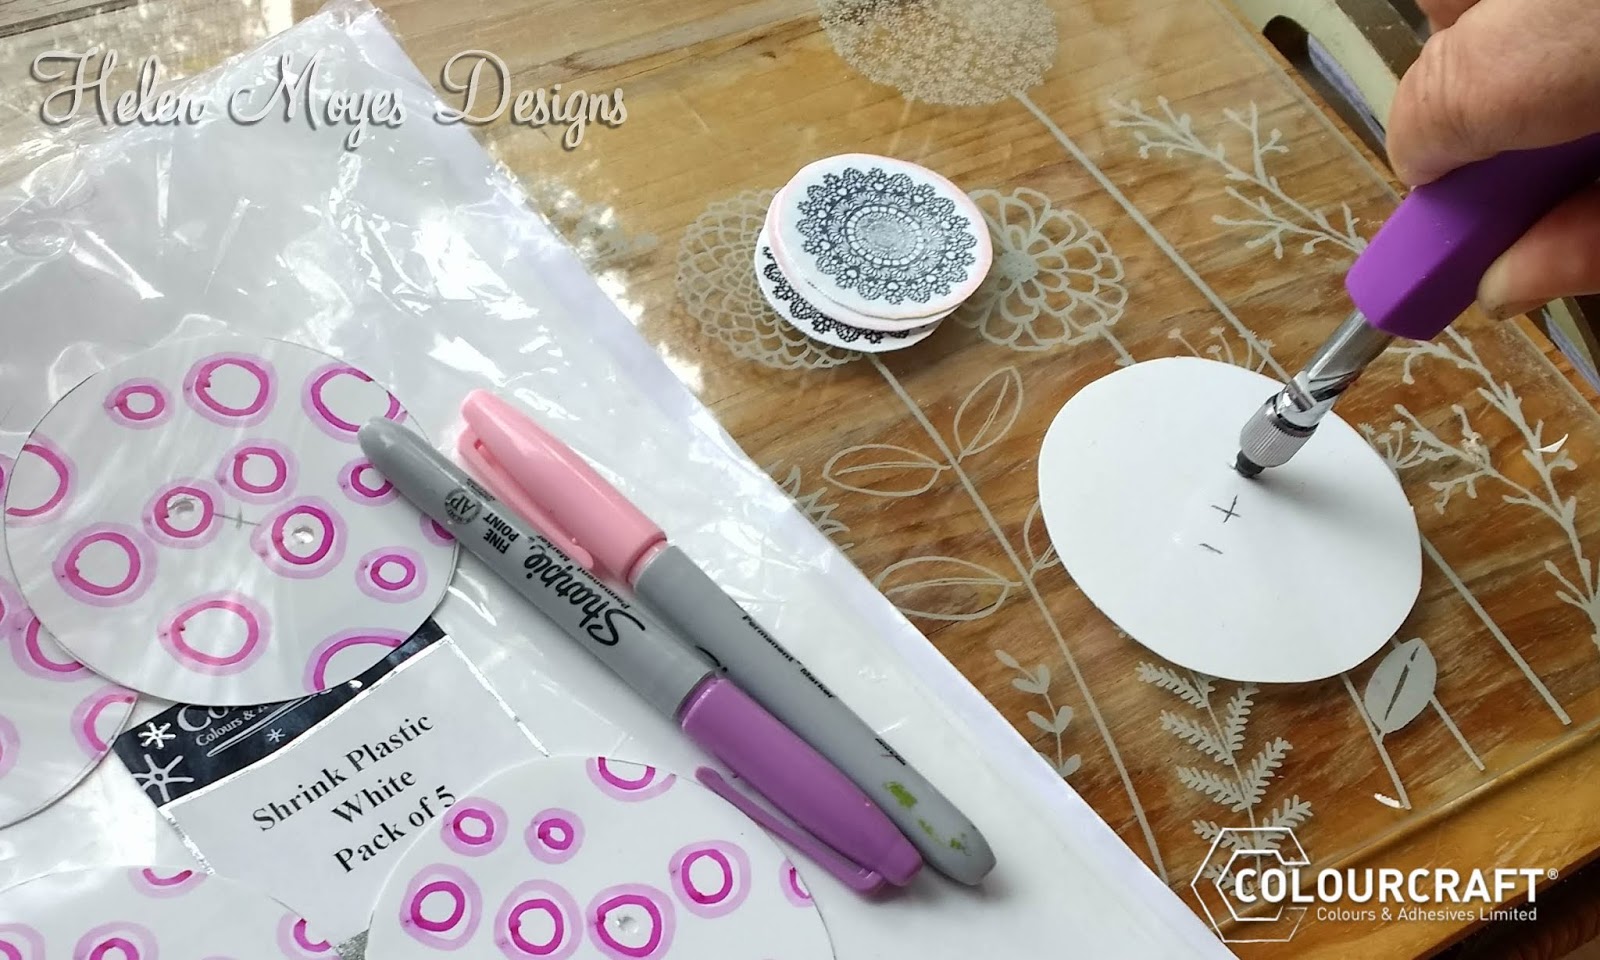
Make holes to enable sewing buttons, either 2 or 4
holes. I marked the centre of my circles using a ruler and making a
pencil cross. I used my craft hole punch tool to make holes, making
sure I was not doing this on a surface that could be marked or
damaged. I would usually use my self-healing cutting mat for this but was creating these while away.
Again, because of shrinkage, it doesn’t matter
being too accurate with hole punching. Yeah, this is my kind of
craft!
To give you a guide on shrinkage, my original 8.5
cm diameter circles shrank to about 3cm in 2 minutes in the oven.
Add a design to your buttons.
I did some circles with marker pens, but you can use acrylic paint.
I did some circles with marker pens, but you can use acrylic paint.
It's important to remember that any colours will
become darker and more intense as the plastic shrinks: Plan for this
by keeping colours lighter than you want the finished look to be.
Place buttons on a baking sheet and into the oven
for a couple of minutes. Note the buttons will twist and curl before
magically straightening out into their smaller size.
Remove the tray from the oven using heatproof
gloves and allow to cool.
Choose what you want to sew your buttons onto and
prepare to say “why thank you, I made them myself”
I would love to hear what you have used your
shrink plastic creations for, please share.
Helen x

No comments:
Post a Comment