Showing posts with label shaving cream marbling. Show all posts

Monday, 23 December 2019

Shaving Foam and Brusho's

Hello Colourcraft friends.  Gail here today.  The big day is fast approaching and I'm doing some last minute preparations.  I needed a few more tags and I found some precut christmas trees and decided to colour them using Brusho's and the shaving foam technique.


Aren't they cute!!


I gathered my supplies.  The tags, Leaf Green, Emerald Green and Sea Green Brusho powders, shaving foam and a shallow metal dish.  You can use any shallow container, or a paper plate if you like.  Just make sure it's big enough for you to place the item in you want to colour.


I added a thin layer of shaving foam, sprinkled the Brusho powders and moved the colour around with a plastic tool.  


I placed the first tree on the surface of the shaving foam and lifted it out.


Use a flat object, I used a ruler, to scrape the shaving foam off the surface of the tag and voila!!!   


My three tree dipped and ready to decorate.


I added some metal buttons from a Norwegian company called Papirdesign and some red and gold thread.  

The shaving foam technique is quick and fun.  It can be a bit messy with all that coloured shaving foam sticking to everything, but your project will look and smell nice.

Thanks for visiting.  I hope you have a wonderful Christmas and I'll see you again in the New Year.  Hugz

Saturday, 6 July 2019

MORE Shaving cream marbling!

Hello! Some months ago I did a bit of shaving cream marbling with fabric paints on fabric- I wanted to do some more experimentation with other Colourcraft products and that's what we are going to look at today! If you want some more info, check out the previous blog post here.
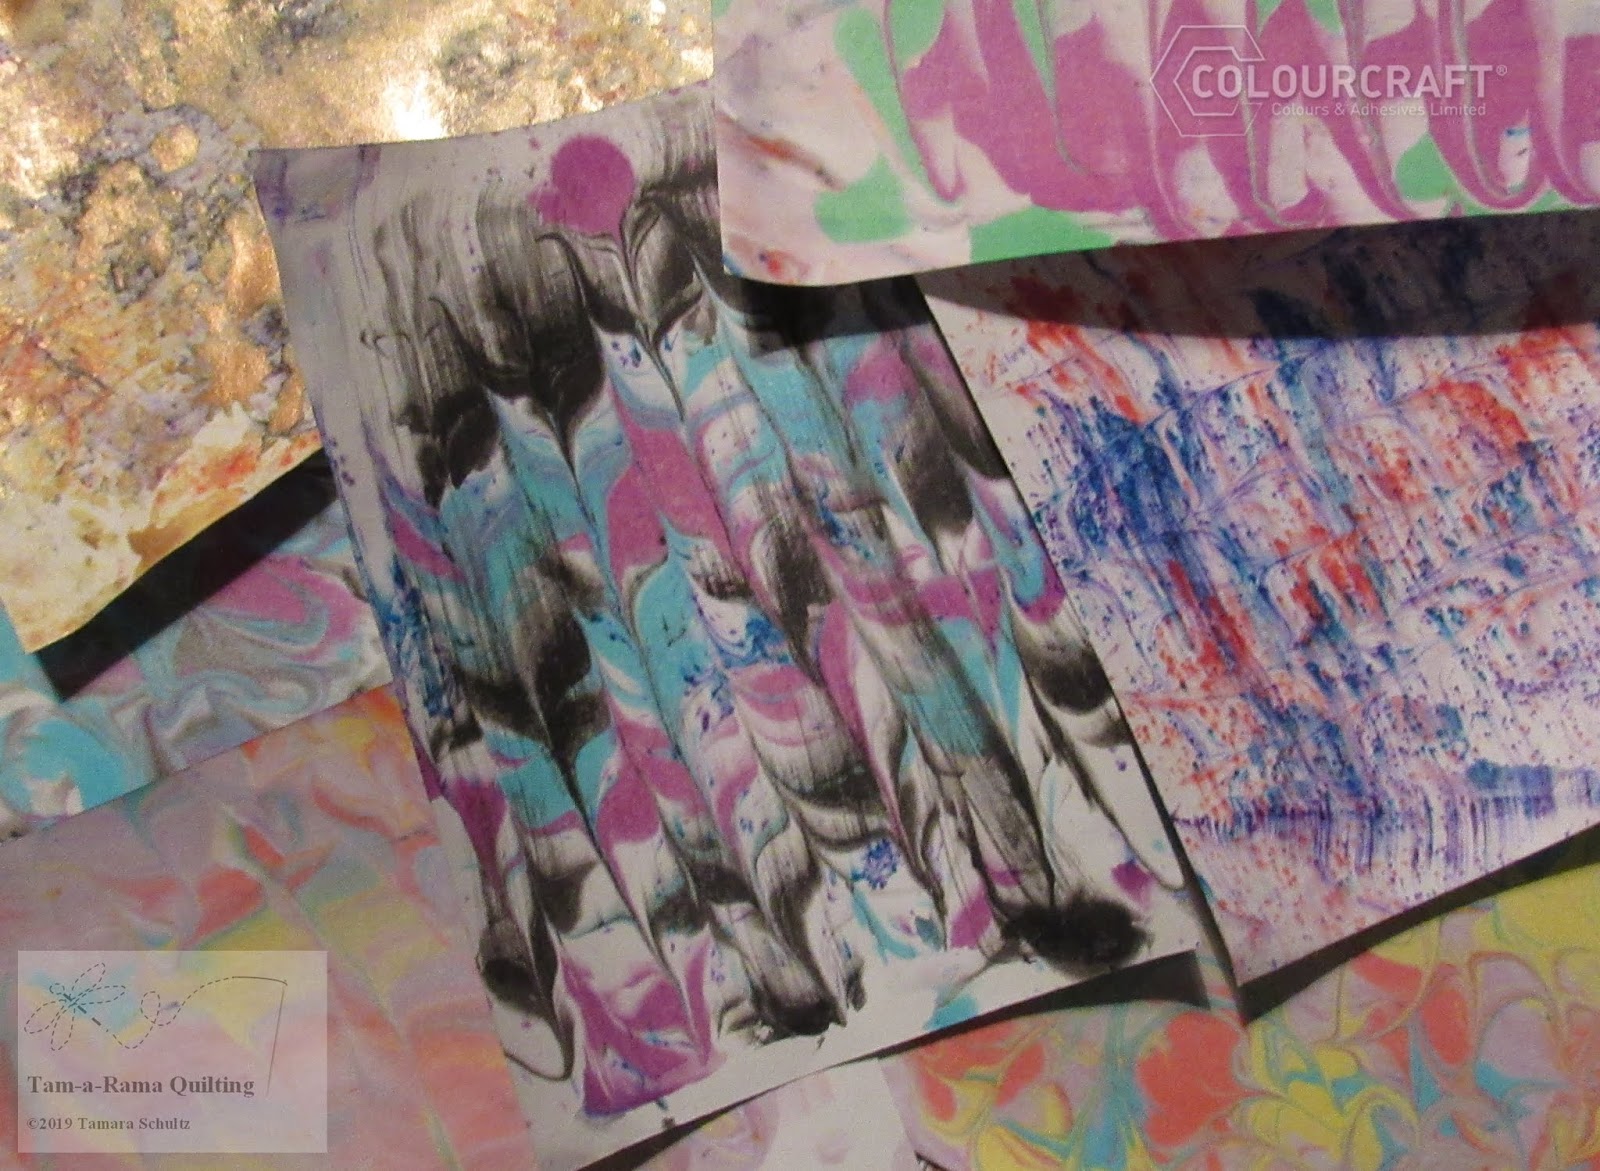
These papers were done with Brushos and Colourcraft Drawing Inks
The video showing the basic technique is:
I want to play around a bit more with Brusho's- here is a close up of one of the effects I got:
The inks gave a more traditional marbling feel:
My favorite effect was combining both techniques! 
I decided to use some of my papers as covers for small books!

I hope you enjoyed these techniques!


See you next time!


Saturday, 16 March 2019

Shaving Cream Marbling with Colourcraft Fabric Paint- Pastel Pearl


 I recently got ahold of some of Colourcraft's fabric paints in their Pastel Pearl colors! BEAUTIFUL - unfortunately a little hard to photograph because they have a lovely shimmer- but I wanted to try them out with a fun technique called:
Shaving Cream Marbling


 This is a super fun and easy technique- I was using fabric paints and doing my prints on fabric- it also works well with acrylics on paper! This technique is also kid friendly.
Here are the materials I started off with- Colourcraft Fabric paints in Pastel Pearl colors, a piece of Freezer Paper (shiny side up), some pieces of fabric- I tried both black and white, toothpicks,old credit cards and don't forget SHAVING CREAM! I used really cheap supermarket brand type. You don't want any of the fancy gels etc.

Here is how it's done!
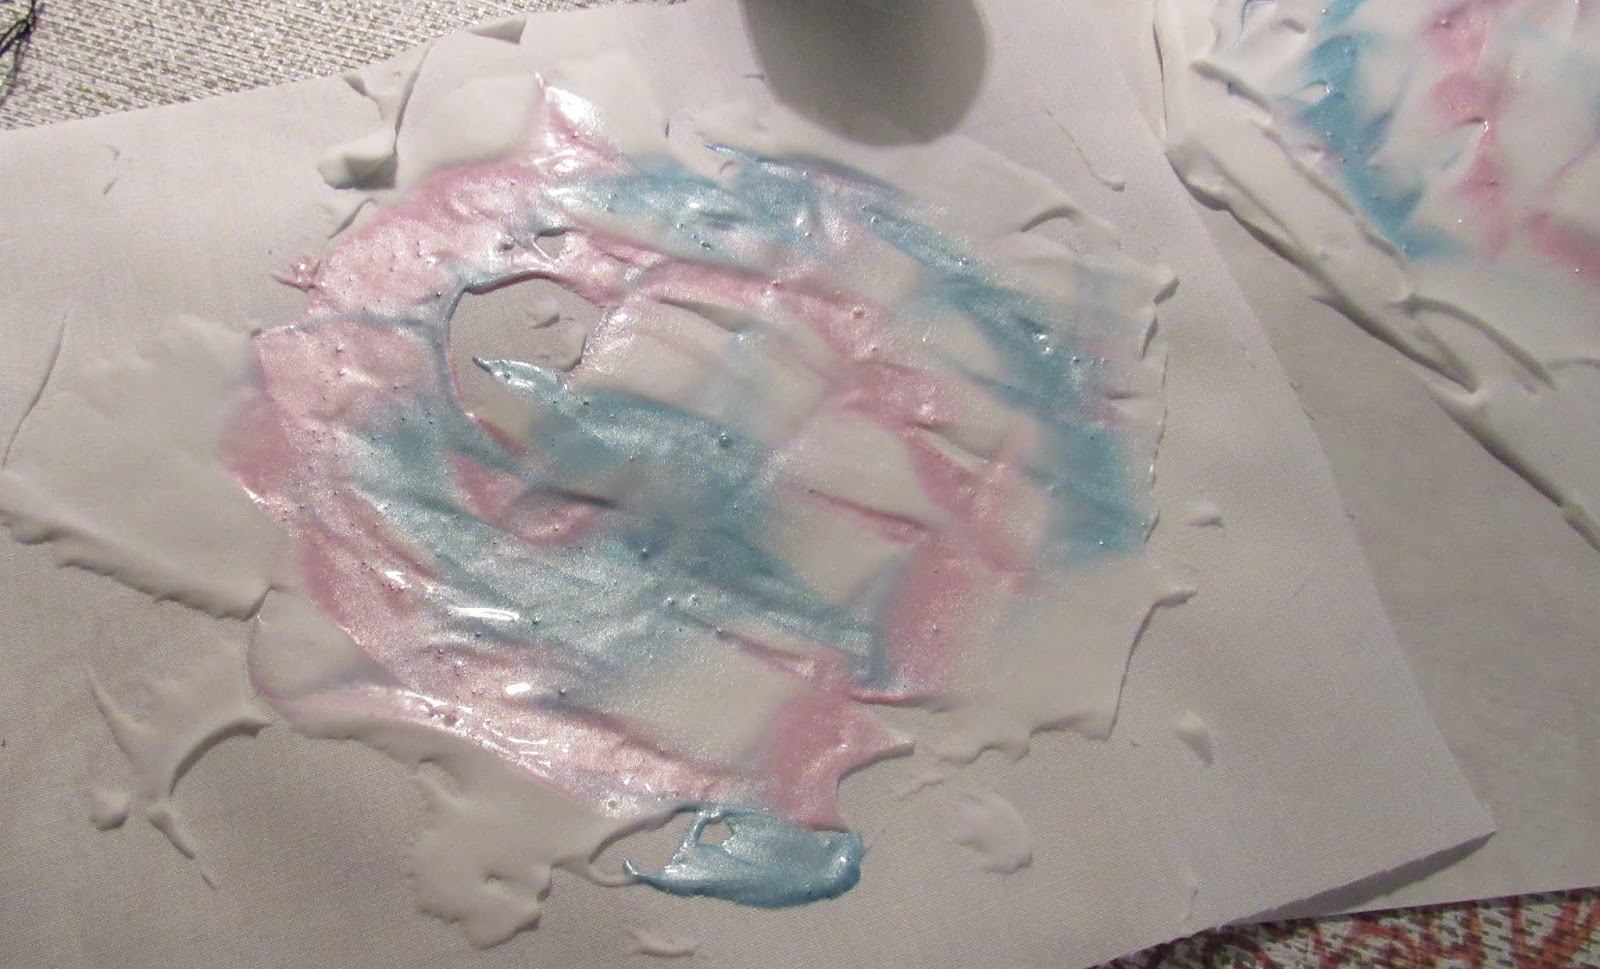
Spread out a layer of shaving cream on the shiny side of your freezer paper- ½-1 cm thick. Squirt out a color or two of your paint on top of this surface.
Swirl around with your toothpick to make a design- I like to go back and forth and simulate the designs that marblers used to do on paper.
Place a piece of fabric on top of this design and gently pat- the idea is not to smush the fabric into the shaving cream, but to allow the paint to adhere to the surface of the fabric. My fabric was quite thin, so you could see the design through it.
Now, pull off your fabric- it looks a bit of a mess, but your design will be revealed when you scrape off the shaving cream with an old credit card!

The following picture shows me scraping some shaving cream off of one of my black pieces of fabric- you can see the design transferred! 
Below is a picture of the design on the white fabric after I have scraped off all of the cream.
You can see my design- which is MUCH prettier in person- shimmery things are hard to photograph.
My supervisor approves of this activity.


Then it's just to have fun! I did some more marble effects- and also did some "flower" effects.


Anyway, I hope you enjoyed this super fun technique! There are so many possibilities of what to do with these beautiful little fabric bits- I will show some in a later blog!
See you soon!
-Tamara
Related Posts Plugin for WordPress, Blogger...