Showing posts with label paint pens. Show all posts

Saturday, 1 February 2020

Surreal images with Image Transfer and Brushos

Welcome to February! I've been seeing loads of 2020 projects and inspirations online and got inspired to host my own. My project is going to be a crazy quilt/art quilt mash up. It's called Tamarama 2020 Sew-along. The concept is to make 20 blocks each with 20 techniques/materials before the year end. My plan is to be pushing a lot of Colourcraft products to the limit to enhance my blocks.
My first challenge is the focus of each block.

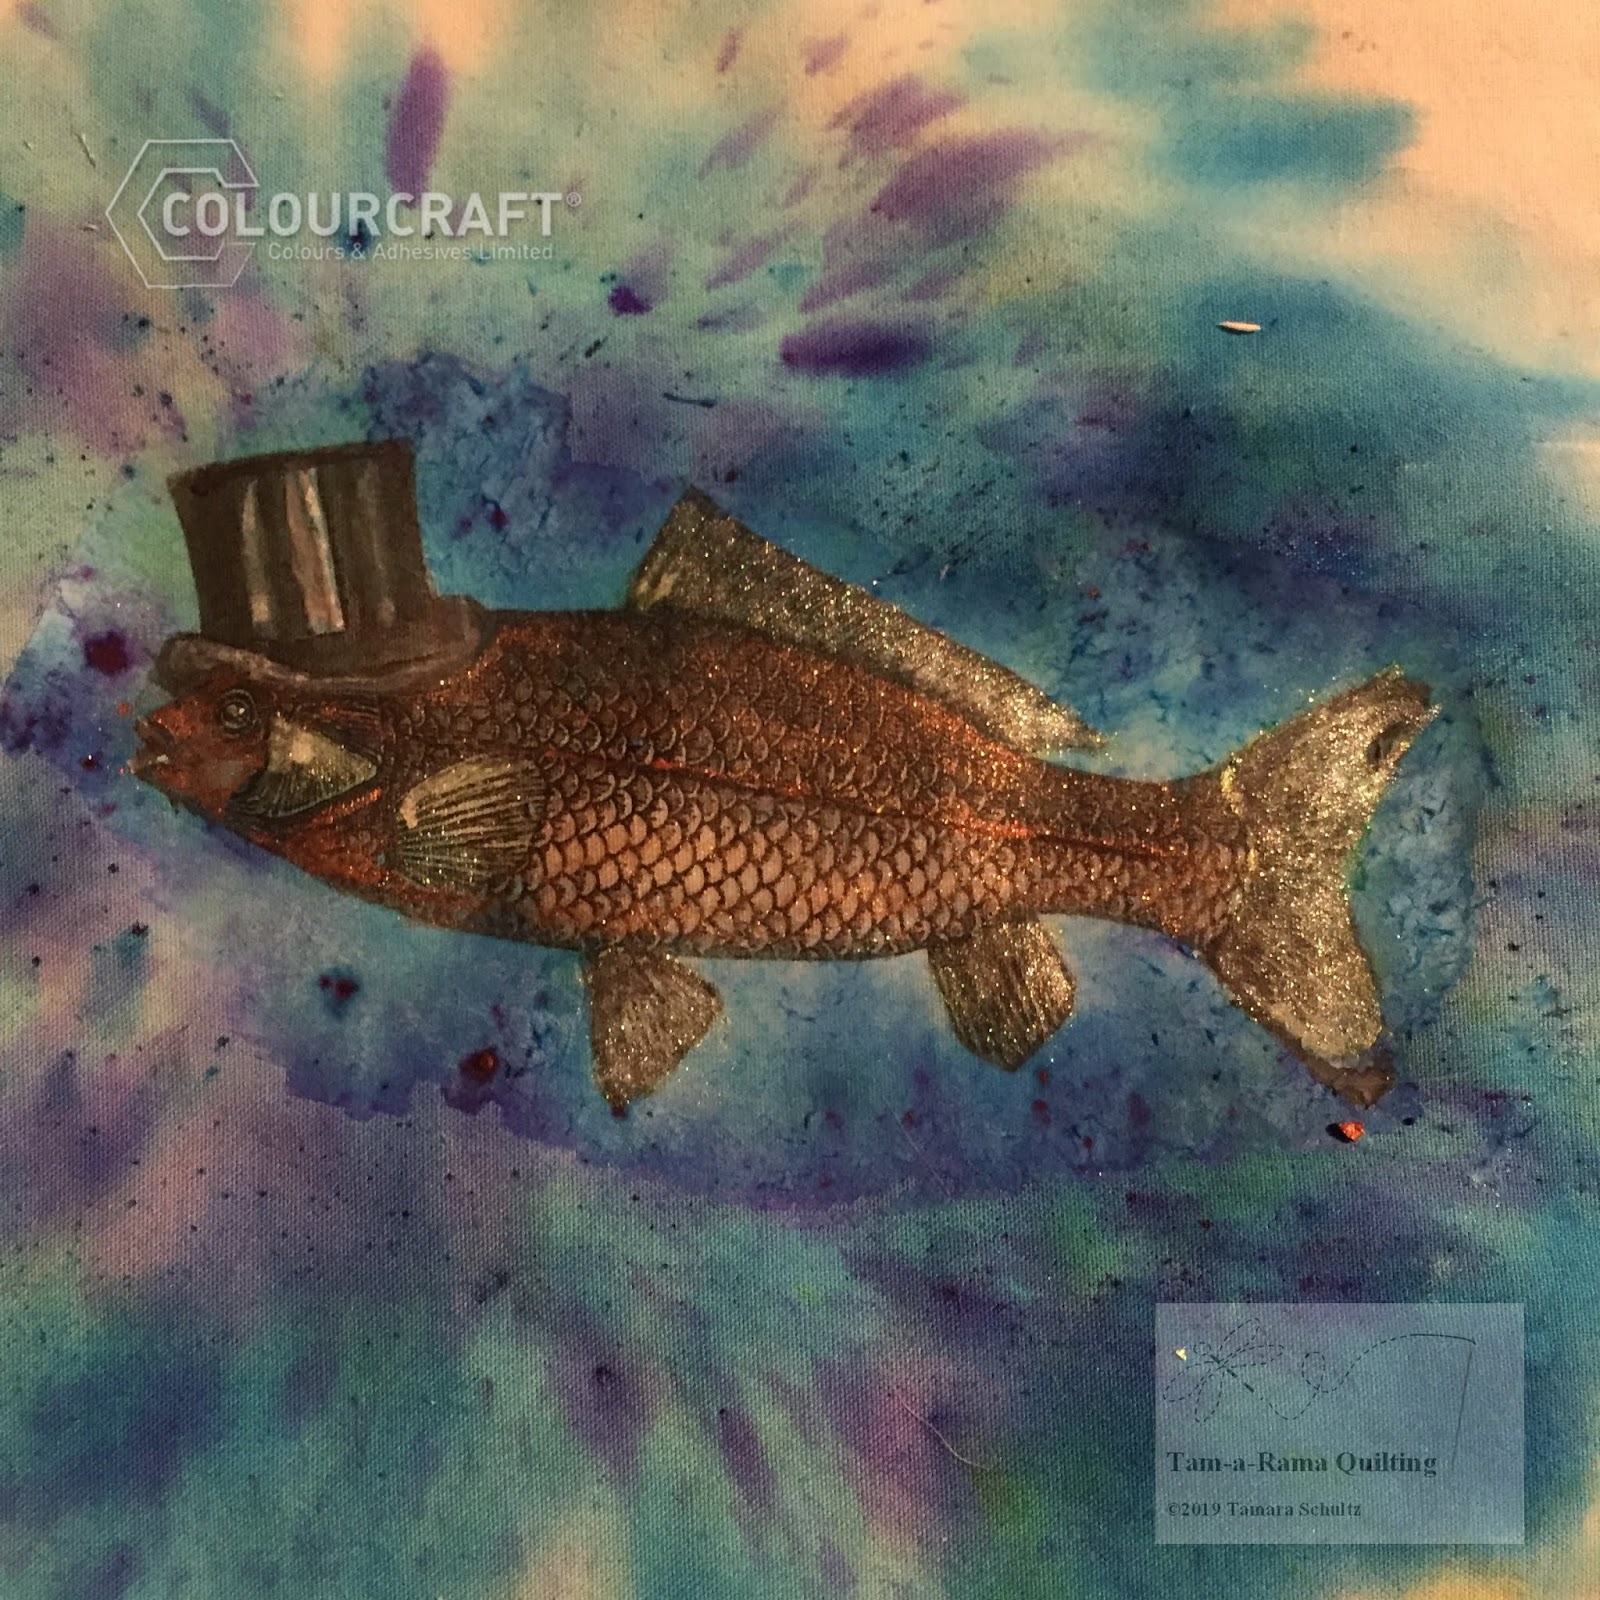
I want to have surrealistic images and I'm using a couple of methods to achieve them. With the fish images, I first made collages using copyright free images, then I copied them using a laser printer to get them ready for the transfer process.
Above is one of my printed collages. I then coated the image with Image Transfer Medium, applied it face down onto my fabric and let it dry thoroughly.
The next step is to spray the back of the paper with water and gently remove the layers until the image remains.
I then carefully painted the fish with fabric medium and let that dry. Next step was to add Brushos and spray with water.
I quite liked this, but I wanted to add more color and make the image pop more- so I painted in more details with Metallic Drawing Inks
Perfect!

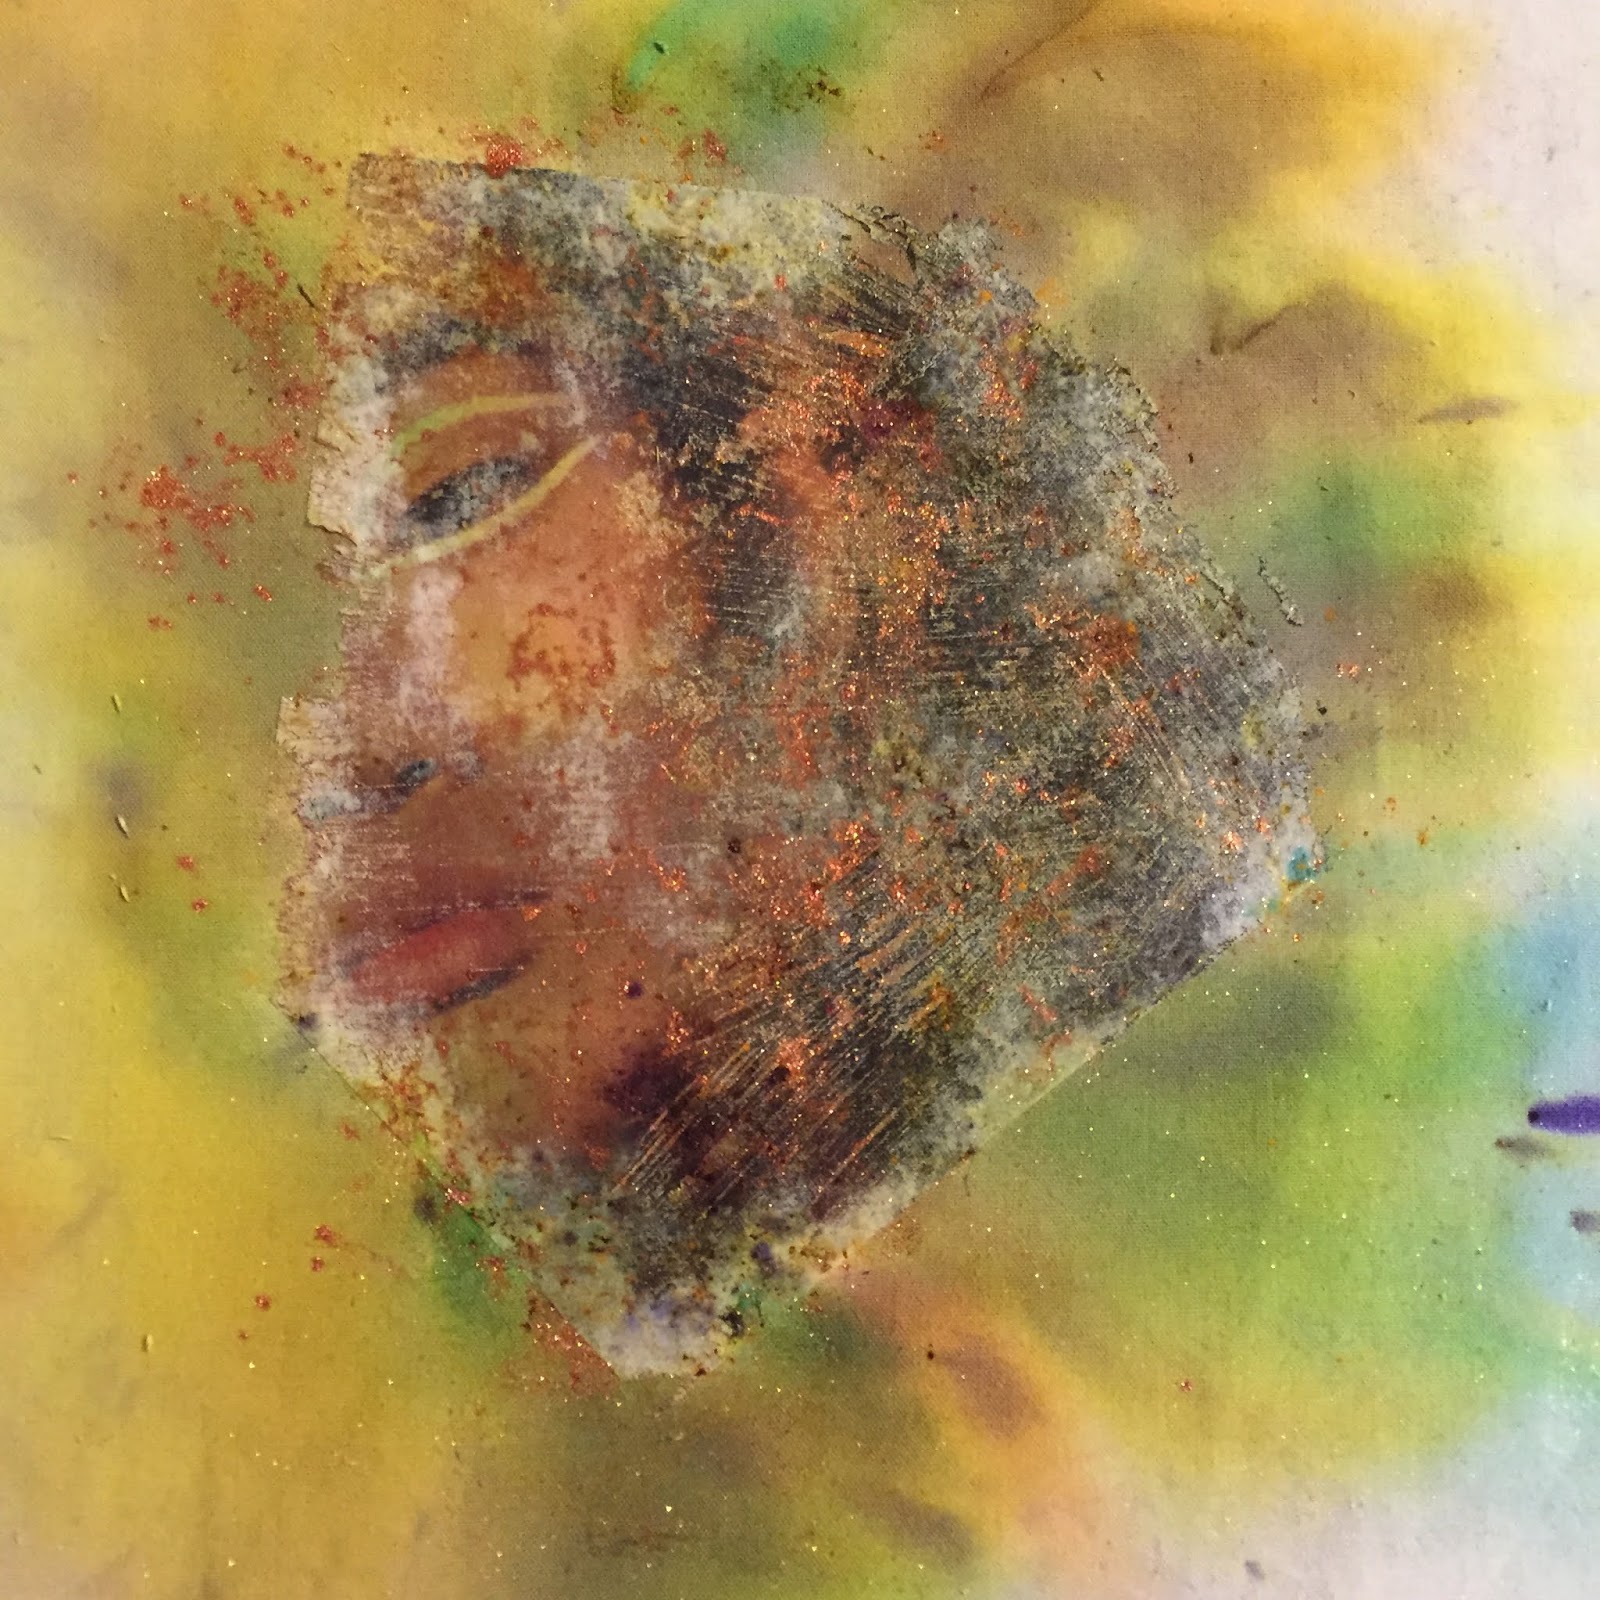
The second kind of transfers I did are using a couple of surrealist techniques. The first is how I select what to transfer and it's all about randomness- I made a template, traced it onto a magazine cover and cut out that shape from all the pages. I then go through those images that I cut out and pick the ones I like the best to transfer.
After I transferred these images I added more randomness by adding some Brusho colors and spraying them.
This image is pretty cool as it is- but last year I did some experimenting with another Surrealist technique where I rotate this image around and see what else I can see-I then enhance that with paint pens and other paints and drawing tools.
My woman gained a flamingo friend! 
I did the same thing with another image:


And I had done two collages as well:

It's a lot of fun to challenge your creative vision in these ways. 
My next plan is to sew fabrics around these images in "crazy quilt" style, while adding some more art quilt techniques along the way.

If you are interested in joining in on the Tamarama 2020 Sew Along just click on the link or enter this address into your browser, https://www.facebook.com/groups/tamarama2020sal/ or follow me @tamaramaquilting on Instagram or check out the #tamarama2020sal hashtag. 

My art quilt inspirations and techniques will be posted on this blog, but other info will be mostly in Facebook.

See you in a couple of weeks!


Saturday, 17 August 2019

Warhol Inspired Cat Prints

One of my favorite artists- certainly in the PopArt genre, is Andy Warhol! He played around a lot with icons both human and not, Marilyn Monroe and Campbell's Soup being examples- using printing techniques and exploring with color!
This month I've done my own version, using my lovely cat Leia as a model.

First I printed out a black and white photo of her in the size that I wanted to make my prints. Since she is a black and white cat, it makes it even easier for this technique. I then used a light board to trace around the main areas of color I wanted to separate out.


Then I used a clear plastic with a sticky back (freezer paper would also worked) and traced and cut out my stencils- the black parts, the white parts and her eyes and nose. I stuck these onto blank screens. I used three, but you can also use one and just switch out the stencil after you've printed one. I made sure to have an inch of uncut plastic around my image.


I then marked a registration mark on my fabric in pencil- where I will place the lower left hand corner of the plastic stencil when I'm printing.

I then laid the screen into place, mixed up some Eco Acrylic Paint with fabric medium and pulled it through my screen. I blended various colors because I didn't want to use super pure shades.

I mixed different colors and printed all the "white" portions of Leia. Let those dry and then printed the "black" portions (using the registration mark as a guide as to where to place the next screen), and finally doing the "eyes and nose".
The result looked like this:
Pretty cool! I like how they aren't perfect- but I wanted to add more detail to bring her to life. I used paint pens, but it also could have been fun to put these on some wadding and backing and quilt the details!
My prints all have their own individual character- which is something I quite like. 

I hope you enjoyed this technique and give it a try with your own photos!

See you next time!!
-Tamara
Related Posts Plugin for WordPress, Blogger...