Showing posts with label linoleum. Show all posts

Saturday, 29 February 2020

Team Building with Linocut- Into the Garden

My local quilt group is going to have an exhibition this Autumn with the theme "Garden". I have a small group of ladies that meet once or twice a month to sew assorted types of quilts with like minded people. We decided that we would do our own challenge quilts for the exhibit. Our main requirement was that we wanted to try miniature quilts- these will be 30 cm x 30 cm.
To make it a bit more fun, we also decided that we would create a linoleum block to print with, with a common theme. As you can see, we chose snails!

Some of the ladies were quite hesitant at first, but with soft cut linoleum blocks and a bit of encouragement, we got some great results.

We started by sketching our designs on small pieces of soft cut linoleum.

I like to give beginners a piece of lino bigger than the desired size of the image. This gives the artist a place to hold the block while carving.

Next, we cut the image part of the block down to size, used a foam roller and black Opaque fabric paint, and rolled on the paint.
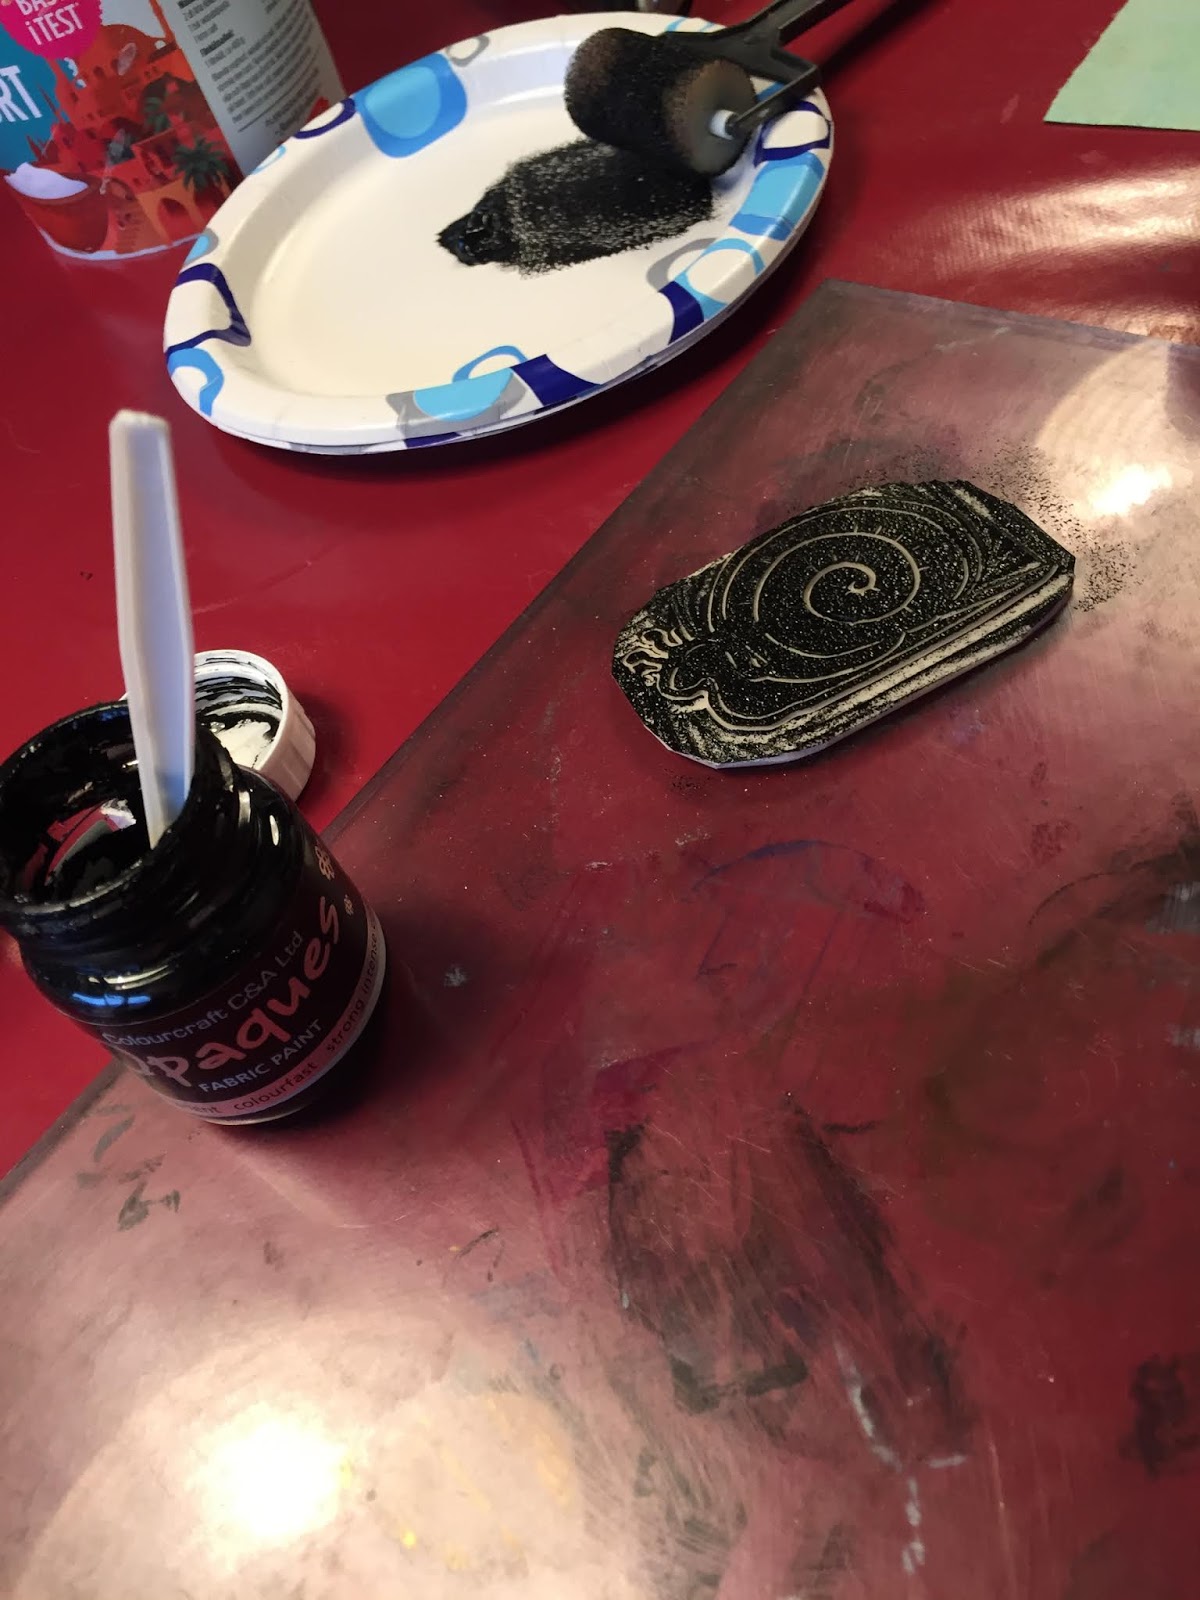
We then placed the block onto the desired fabric, rolled the backside with a clean rubber roller, and voila!
It's easy to go back into the block afterwards and clean up any extra carving you want to do. I personally thinks it adds to the handmade feel of the piece.
I thought it would be a fun idea to print everyone's blocks onto the same piece of fabric, as a record of our day together, this project, and our group as a whole.

A
Aren't they all fantastic?

I can't wait to see what their final projects are going to be- you all will get to see more of mine as I will be using some more interesting techniques throughout the process.
If you want some more info and ideas on linoleum cutting, you can check out some of my previous blog posts:


Saturday, 13 April 2019

Printing on Velvet med Colourcraft Pastel Pearl Fabric Paints

Hello everyone!
I had some bits of velvet sitting around from making Crazy Quilt kits and thought "ooooh" Colourcraft's Pearl paints would look luscious on these!" Guess what… they do!
I started off with a couple of colors of Pastel Pearls, and some screens from Thermofax Screens. The one in this picture is one of their beautiful stock images, the rest are ones I drew myself and they made into custom screens!!
First I squeezed out some paint at the top of my image, and then I drew the paint through using an old credit card, making sure that the entire image got paint.
I carefully took of the screen and VOILA! I just want to say wow! This really looks fabulous.
The paint has a lovely shimmer that suits the dark velvet, and the way it sits on the velvet gives a lovely dimension.
I had to try some of my custom designs as well. 


I was so pleased with the results, that I decided to try a linoleum block as well.

I think these worked great as well!
I think that the combination of the Pearl Paints on velvet really is a match made in heaven and something I will be exploring further.

See you next time!


Saturday, 10 November 2018

Multi- color Linoleum Block Printing


A couple of months ago I did a blog talking about Up-cycling with Linoleum printing- I thought it would be fun to show you how to advance on those techniques and do an easy multi-colored printing technique. Click on the link above for basic linoleum carving and printing techniques because I'm going to dive right in!

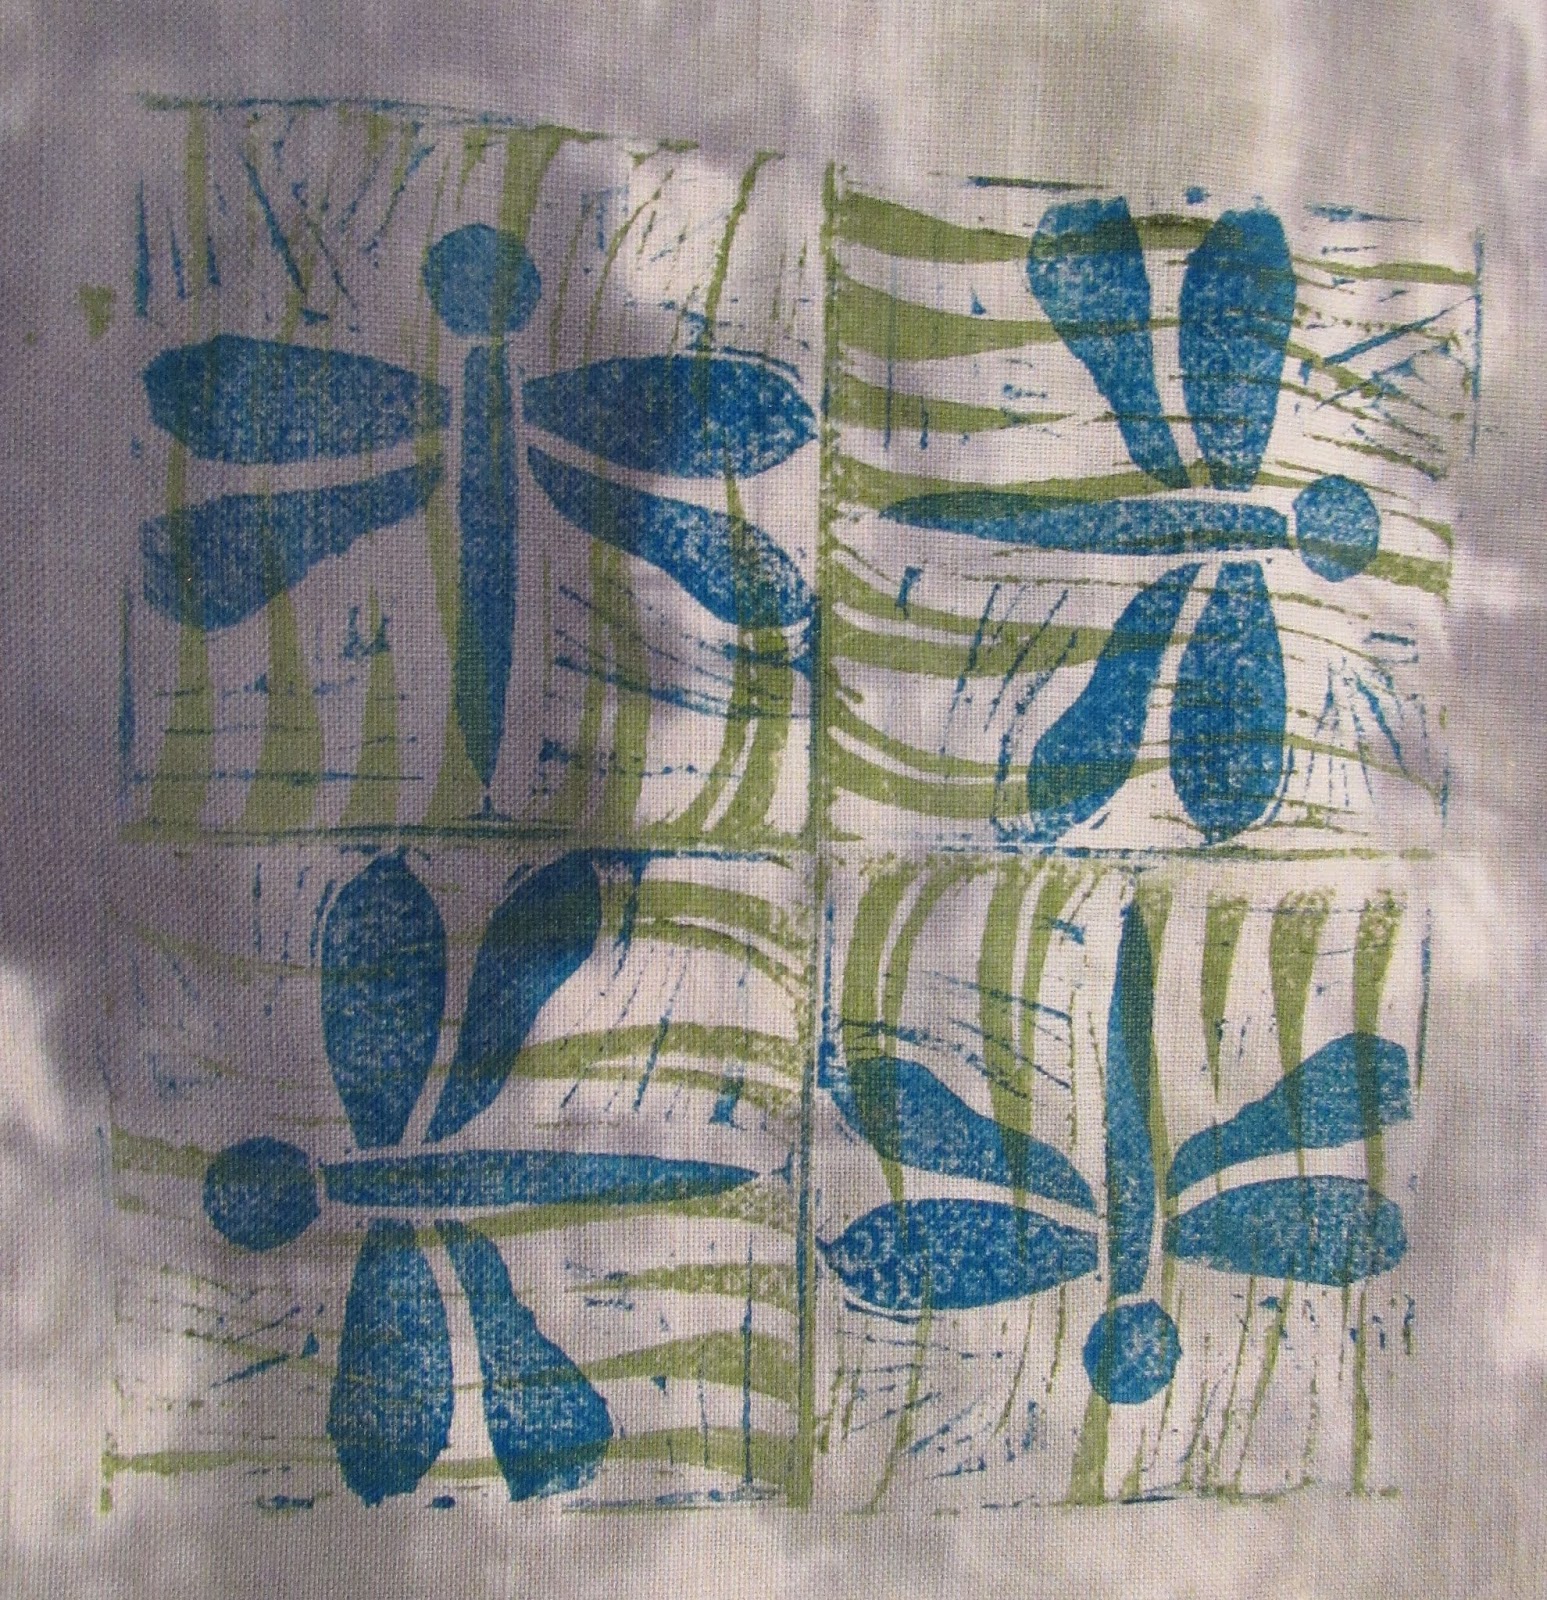
I started off by cutting out three blocks of the same size from soft cut lino. I designed a background which reminds me of grasses, and a basic body shape, and then details for on the body. One way to make sure your blocks align is to carve out, for example, the basic body shape first, print and photocopy it, and then iron it onto the next block so you see where the outlines are. Remember that your blocks will print in reverse! That ends up working out if you use the method for transfer that I describe, but if you use another method you need to take that into consideration.
Anyway, here is a photo of my three blocks that I printed in black on plain paper.


I mixed a bit of olive green and white Opaque Fabric Paint  and rolled it onto my block and printed onto some different fabrics.

After these have dried, I rolled turquoise onto my second block and printed on top. I could see where to line up the bottoms and sides of the blocks.

I could have cleaned up the lines in the background a bit more before printing but I really like the effect.
After these had dried, I rolled up a blend of navy blue and black onto my third block and printed that on top.

I really love the effect of multiple prints and colors! If you want to be more "exact" you can lightly draw registration marks in two opposite corners to make it easier to line up your blocks, but I actually really like the effect of being slightly "off" when printing. It gives it a lovely handmade feel. Don't forget to heat set your fabrics after everything is dry!
I hope you enjoyed this tutorial! Most of my fabrics were hand dyed with Procion dyes.

See you next time!


Saturday, 1 September 2018

Up-cycling fabric with Linoleum printing

Hello! In the middle of August I was at the Festival of Quilts in Birmingham UK teaching workshops. One of the workshops was using linoleum blocks to up-cycle fabric. That is, we carved small blocks which we printed on fabric to make it even more interesting!
I wanted to share my technique as well as some of the work my students did that weekend.
So here we go!


I started off with cutting a piece of soft cut linoleum into a piece 5cm x 10 cm. I marked off a 5cm x 5cm area and carved my design in there. I use the blank half to hold the block still while I carve! Makes it much easier for a small block. 
Some key things to remember!
  • The areas you leave are what is going to print
  • Always carve AWAY from your hand!
  • If you have parts of your design emerge from the corners- you can create secondary designs while printing!

I cut away the part I did not carve and got my materials ready to print.
It's a good idea to print on paper before trying on fabric. You get a feel for how much paint you need on your roller as well as how thick the layer of paint needs to be. You also can see if you need to carve deeper or carve away more. Colourcraft fabric paint is ideal for this technique as it is creamy and thick and covers nicely!
The key here is to be gentle and even. I roll the roller in the paint gently to get an even coat and then again gently over the top of the block. If your layer is too thick it can squish into the lines, if its not applied evenly, you won't get a good print. Here are some not so good prints:
Once I'm satisfied with my design, I can print onto fabric! Remember, even coats of paint, and press onto the fabric.
Depending on your block design you can create secondary designs as you print them- think tiling!
Since I've left a lot of the block, and my design tiles nicely, you can cover quite a lot of your original fabric! This way you can create a new and fabulous textile, from one that you were tired of.
Here are some pictures from my workshop in Birmingham and the super cool designs my students were doing!
I even had a mum with her two kids!
Of course, you can scale up designs by using bigger blocks etc. It's great fun as you can see! And is really versatile.
I hope you enjoyed today's blog! I shall see you again soon. 


Related Posts Plugin for WordPress, Blogger...