Showing posts with label handmade book. Show all posts

Saturday, 25 May 2019

Wax resist mini books

Hello! I recently got a bottle of Aquawax that I wanted to test out. I thought it might be fun to decorate some paper with Brushos using this and some other techniques to make some small art journals.


I decided to use a heavy duty craft paper for my experiments. This a thick brown paper that is actually normally used for protecting surfaces while painting! I started with the wax, a stencil, a wooden block, and a texture roller. I then marked my paper using these tools and the wax. Some of the wax I blended with Olive Green Brusho.

While I let the wax dry, I started decorating a second piece of paper using a wax resist stick  and started adding Brushos and spraying them.

When my first piece had dried, I added Brushos to that as well!
Very pretty effect- but I wanted more! So I took the same stencil and stamped and used them with Gesso.

Loving it! I took my other sheet and added doodles over the color changes using paint pens.
Once everything was thoroughly dry I cut the covers to size (I had some offcuts from another project
that I used as pages), stitched some funky details and sewed together my little books!
This was a SUPER fun project, and these little books make great gifts! 
See you next time!


Saturday, 9 February 2019

Spring is in the air

Hi Everyone...

Hope your weekend is off to a fabulous start!

I have a handmade book to share with you today,  the products featured in this project are Colourcraft's Acrylic Paints, Sprays and Soft Form Relief Paste.


Step 1

Take 3 pieces of mat board and glue down onto a paper of your choice, I used some patterned paper with spring green colours.


Step 2

Mitre your corners and apply a strip of double sided tape around the outside edge


Step 4

Remove the adhesive tape and stick down your edges


Step 5

Flip your book cover over and take a stencil and apply a layer of Soft Form Relief Paste over the top of the stencil, remove stencil and dry with a heat tool.. at this stage I used a paper piercer and pierced holes around the edge of the book cover at 1/4" intervals.


Step 6

Using sprays and acrylic paint, decorate the cover of the book, until you get the look you fancy, I use white acrylic paint to knock back the intense colours of the sprays.


Step 7

I stitched some plain hemp cord around the perimeter of the book, added the signatures and the project is complete.


I hope you like todays project and look forward to seeing you all in a couple of weeks time with another spring themed project.

Sarah x


Saturday, 16 June 2018

Fabric Painted Photo Album

Hi Everyone!

Sarah here with you today on the blog, and I have a fun photo album project for you today using lots of lovely Colourcraft products.

For my project I used fabric paints for the very first time and if I am being honest, I have had them for over a year and was terrified to use them :) ... however, after using them on this project, I am hooked, they are absolutely fabulous to work with and you can expect more fabric and fabric paint related projects in the coming year!


This blog post is going to be a long one with lots of pictures along the way, so grab a cuppa and enjoy ...

Step 1
I picked a cotton blend fabric and some matt board (same stuff they use to frame pictures) I like to use this when I make books, it is sturdy and great to work with.  The finished book is 5" x 5"

Step 2

Remember the Kozo paper from my last blog post, I decided to use up the piece I had left which was just the right size for the inside covers for this book.


Step 3

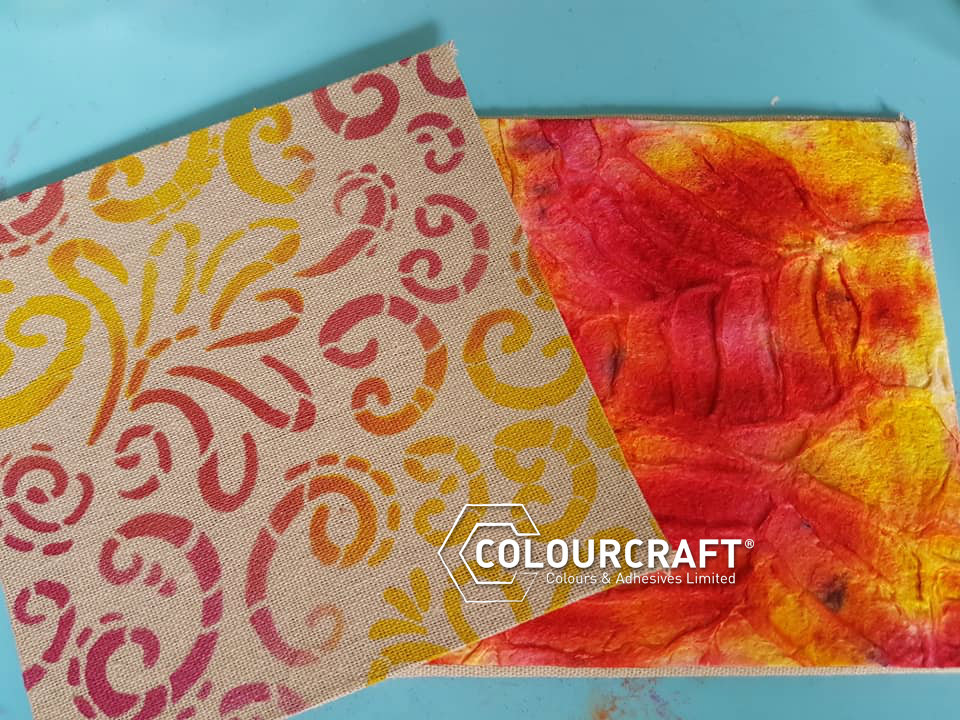
I then picked out a couple of colours of fabric paint, sponge daubers and my curliecue stencil girl stencil from the blog hop last year, I love this stencil so much it is so pretty..


Step 4

I saturated the kozo paper with water and sprinkled two colours of Brusho over the top and allowed to soak into the paper, I also spritzed with water to help spread the crystal colours


Step 5

I hung my kozo out to dry in the sun


Step 6

Time to stencil my book covers, I applied a small amount of fabric paint to my sponge dauber and pounced on my mat to work into the sponge, then gently applied through the stencil in a circular motion to build up the colour without pressing down hard, as this would cause the paint to bleed under the stencil.


Step 7

Carefully lift off the stencil and there you have a lovely fabric painted front cover! .. I allowed my fabric to dry naturally, but if you are short of time a heat tool would be just as good to dry your paint, which doesn't take long.


Step 8

Once both your book cover and kozo paper are dry it is time to assemble the book


Step 9

I applied some collal fabric glue to fix my kozo paper (inside cover) to my main book page


Step 10

I used my We R Memory Keepers Cinch binding machine to form my photo album, and I used kraft cardstock for my inside book pages these were cut to 4.75" x 4.75"


Step 12

Time to embellish the front of the book, I wanted to keep it simple so as not to detract from the lovely pattern of the stencil and the blending of the fabric paints, so picked some lovely pink buttons and attached to the edge of the book.


I hope you enjoyed todays project and have a lovely weekend.. I shall see you in a couple of weeks time with another fun project for Colourcraft :)

Sarah x


Saturday, 2 June 2018

Kozo hand stitched Journal

Hi Everyone!

Lovely to be here on the blog this lovely warm sunny Saturday...

My project today is a handmade stitched binding journal made using Kozo paper, Brusho and SprinkleIT.


Have you tried Kozo paper from Colourcraft yet?  it is fabulous to work with and the piece I am crafting with today is embossed with a leaf pattern..


I really holds colour well too, but does take a wee bit time to dry given the thickness of the paper, I spritzed it with water then tapped on brusho in the colours turquoise, sunburst lemon and ultramarine


you can spray more water over the top of the sprinkled brusho to help it blend out, until all your white bits are gone (should you wish to leave white bits that's fine too) then, tap over some sprinkleIT with a dry paintbrush before you dry with a heat tool until completely dry.


Once I was happy with how my kozo paper was looking, it was time to assemble my book, by attaching my kozo paper to my book base and assembling my signatures and stitching these together before fixing into my book cover.


These little books would be great as a photo album, address book or even as a travellers notebook.


I also added cord ties as a method of closure for my book, these were added in when the signatures were fixed into the book.

I hope you enjoyed today's project and I shall see you again in 2 weeks time :)

Have a lovely weekend

Sarah


Related Posts Plugin for WordPress, Blogger...