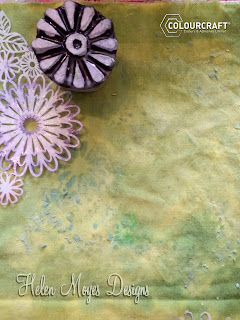
Here on the Colourcraft blog, we will be looking at surface layers throughout the month.
Today I'm sharing my batik bag. Batik is a technique of wax-resist dyeing which originated from Indonesia. Batik is made either by drawing the resist with a spouted tool called a tjanting or by printing the resist with a stamp. My bag used both these and also rubbing wax colour onto the cloth.
First, I washed the cotton bag to remove any "dressing". I ironed it and let it dry. Then I used a wooden block and Markal sticks to apply some coloured wax.
There are a wide range of individual wooden printing blocks to choose from (flowers, leaves, animals motifs, geometric shapes) or you can get a selection box. There is a wide range of Markal stick colours to choose from too.
I then put a thick piece of card inside the bag so that I could treat each side differently and the wax or dye colour wouldn't seep through both layers.
I fastened part of a stencil (gathered flowers) to one area of the bag using masking tape and applied melted batik wax over the stencil with a brush. I also dipped the wooden blocks in the wax and printed with them. All these areas will resist any dye and remain the original bag colour.
I melted the wax with a wax melting pot which has temperature control to keep the wax melted. The non-drip rim and 6 openings to allow the wax to flow back onto the cup, which is ideal for me to use at workshops. If you are just giving batik a go, you can place the wax in a washed-out food can and place that in a saucepan of water on the hob. keep a close eye on it and don't leave it unattended though! Alternatively, you can use an electric tjanting, but I've not tried one.
In the picture, you can see the wax melting pot with some tjanting. Use this to add dots, lines etc to your design.
I then painted on some batik dye using a sponge brush. I mix the powder with the fixer and water in clean jam jars. I would recommend the Batik Fabric Dye Complete Starter Pack which contains 3 x 25g Dyes 1 each: Red, Yellow, Blue, 1x 500g Fixer, Wax, Tjanting Tool, sponge brush, Gloves & Instructions for use.
I then let the dye dry before applying more wax. This will remain the first dye colour.
Finally, after removing the card, I scrunched up the bag, which cracks some of the wax to give a distinctive crackled effect, and put it in a jar of second dye colour. A good shake distributes the dye onto the bag.
After letting the bag dry the wax was removed using a dry iron and newspaper to absorb the wax. Make sure all the bag is ironed to fix the dye.
Here is the finished bag.
I got pastel shades but much deeper colours are possible using more batik dye powder and less water. Different stencils and wooden blocks would also create a very different design.
I would love to see your batik designs, please share them with me
I would love to see your batik designs, please share them with me


No comments:
Post a Comment