Showing posts with label transfer dyes. Show all posts

Saturday, 23 May 2020

Layered Garden with Transfer Colours

This week the Fabulous Clare did some tips, tricks and demos with Colourcraft's transfer paints in a live broadcast on Facebook! You can watch it HERE

Anyway, I also love playing around with Transfer paints. This week I thought I would take inspiration from my last blog post, this time doing similar techniques but on fabric!

I decided to use transfer paints and crayons- that way I could do my images on paper first and then layer them onto fabric when I transfer them with an iron.
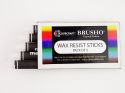
Transfer colours are paints, crayons and pencils that you draw and paint on paper with (normal copy paper is best really) and then transfer over to fabric with polyester content (or that has been treated with transfix) by using heat. I started by decorating my paper- I used an old candle and Colourcraft resist sticks to scribble on paper- even over a rubbing plate!! I painted around some hot glue stencils I made for my last blog. I used some makeup sponges to stamp through a paper stencil I made and around actual leaves I had picked. 


These are the finished papers I made:


The wax resists the paint, I also flicked some droplets onto some of my pieces. 
I then played around with using pieces I had cut out of plain paper as masks and ironing the different paintings in layers onto a glittery satin. 
Leaves laid on the fabric...

This is with the "background" painting ironed over the top.

This one is with several of the paintings ironed on top of each other. 

This one is my favorite result! The paper paintings often can be used more than one time- giving a lot of depth and texture to a piece.

Here was the one I had done on paper with Brushos:
I'm quite pleased that I managed to imitate the effect! Of course, I had done the one on fabric with mostly shades of grey, but you can see the similarities.
Here are some more links to blog posts I've done with transfer paints:

See you next time!!!


Saturday, 2 February 2019

Spring Tulips with Colourcraft Transfer Colours

The days are finally starting to get longer again, and in Sweden, that means it's time for tulips to appear in all the shops! To celebrate this, I wanted to show you a fun way to decorate fabric with transfer paint and crayons.
I began by painting some papers- thinking of tulip stems, tulip leaves and the colors that tulips are themselves. I mixed quite a lot of water into my colors. I also took some A6 sized paper and just drew funky decorations on with the transfer crayons.

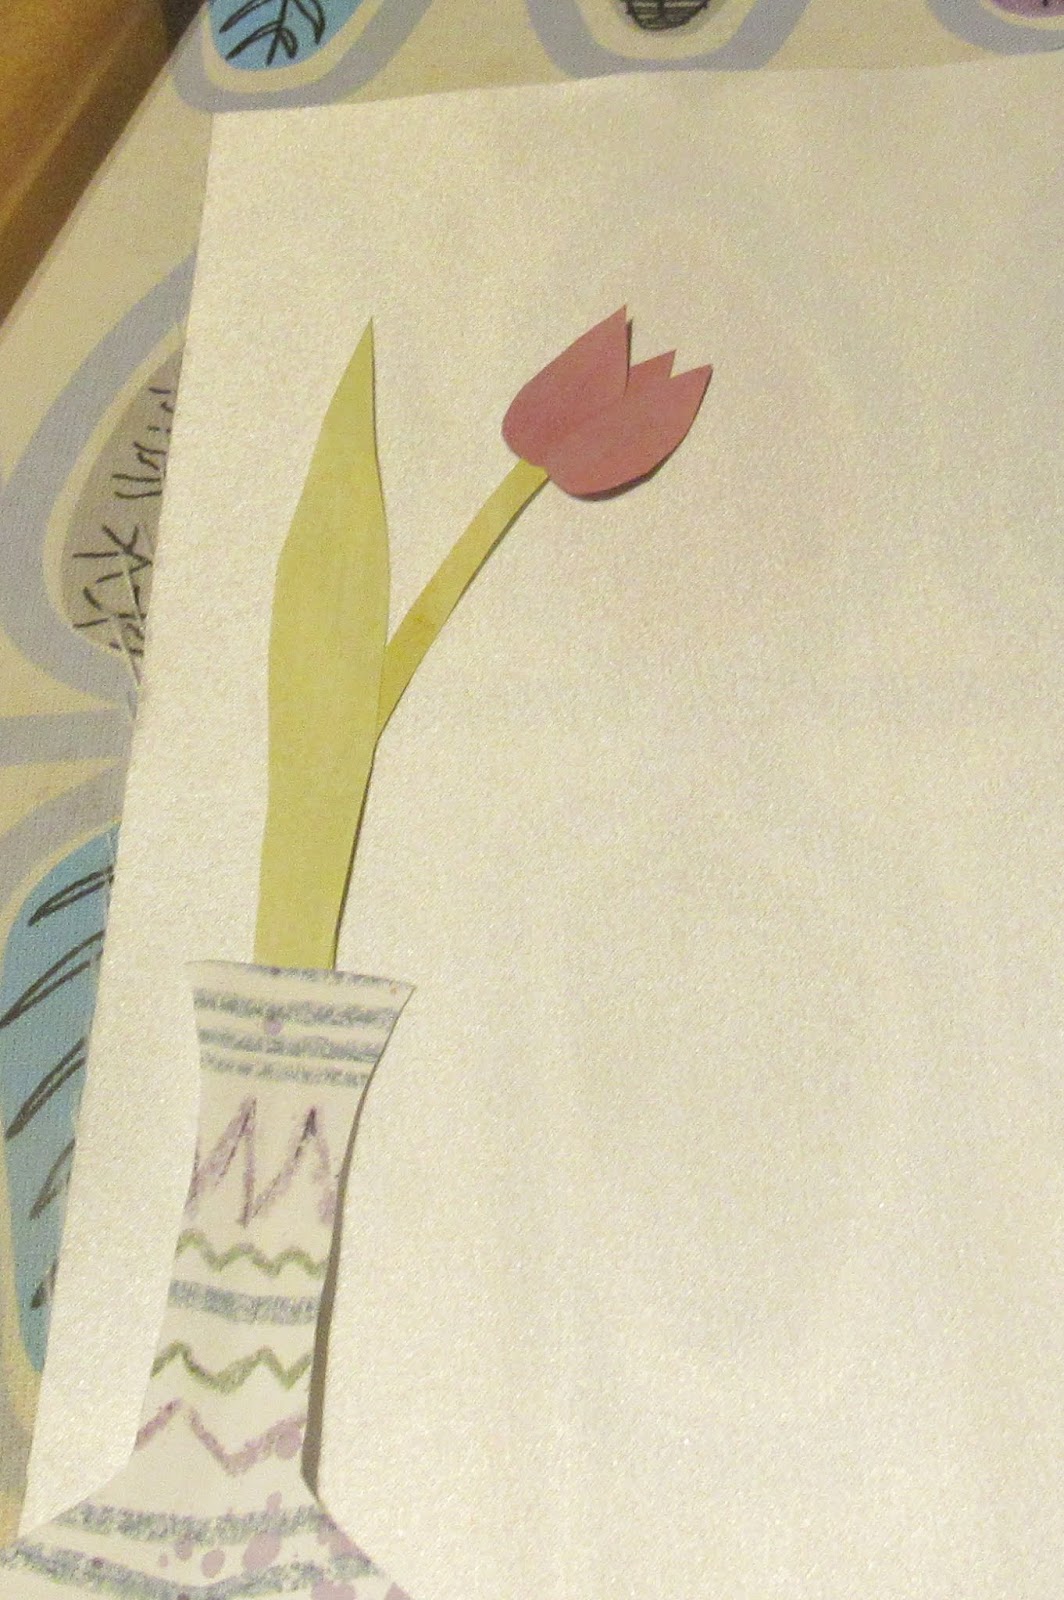
Then I folded the crayon drawn papers in half and cut out vases, and cut out leaves, stems and petals from the painted papers.

To make things easier, I used a tiny bit of glue stick to stick together the vases and flowers how I wanted them.

And now comes the time for transferring! I like using a white Duchesse fabric- it's 100% polyester (makes for better transfers) and has a lovely hand and sheen!
Here you can see how I took a vase, flipped it upside down onto the fabric, I then ironed it with a piece of baking parchment over it to protect my iron, and voila! The third picture shows the result.

Here I cut a second vase out of a painted piece of paper, which I ironed on first to the fabric, and then added the vase plus flowers on top.

Here I was adding a second vase to add an overall color to the initial vase after I had printed that.
And again! the finished results! This was a really fun project to do.
If you want some more ideas of what to do with transfer dyes, paints and crayons check out these blog posts I had done before!

See you next time!

Saturday, 7 July 2018

Printing and overprinting with Transfer Dyes and Leaves


Summer is in full swing, the garden is in full bloom with lots of possibilities for inspiration as well as materials you can use in your artworks!


In today's tutorial I wanted to show you how to do basic printing and overprinting with Colourcraft Transfer Dyes as well as using some different plant materials as masks in the printing process. I've made a series of prints which I will eventually use in Art Quilts etc.

Transfer Dyes, as well as transfer paints and transfer crayons, are colors that you can paint and draw on regular paper with and then transfer to your fabric by ironing. These materials are made to be used on fabrics with polyester content or with Transfix on natural fabrics.

First I prepared my dyes and painted onto papers using brushes, droppers, toothbrush-just trying to create different textures and color combinations, having fun! The colors change when ironed on, the uncertainty is part of the magic.
I tried to make a group of papers with the intention of being backgrounds:
and other papers with the intention of overprinting to add more texture:
Next I collected some leaves etc from my garden, as well as clipped some of the papers and I found some paper flowers as well.
Time to print!!
I laid my fabric (a 100% polyester satin) face up on my ironing board laid out some ferns and placed one of my background papers face down on top. I set the iron to the highest heat my fabric can take (be careful as a lot of polyester fabrics melt with high heat!) and pressed. I held my paper in place and pressed quite hard and long to try to get the best transfer possible.
Here you can see the first printing! (I moved my ferns out of the way so you can see how they acted as a mask):
I quite liked how this one was turning out, but the masked out areas felt a bit empty to me. So I put on one of my texture papers and ironed again:
Fun! 

I kept going, testing different plants and leaves- I found that individual, simple shaped leaves worked better. I especially liked the bamboo, ferns and palm leaves effects. You CAN use your papers to print more than one time! The prints get lighter, but they work at least 2-3 times. I also liked the effects I was getting with paper flowers and cutting out paper strips etc. 
Here are some of the results I got! 
I see lots of potential for developing these further, I hope you do too!
Have fun experimenting, I would love to see your results.
See you again soon!
Tamara


Saturday, 23 June 2018

Transfer dyeing- How to make bubbles and more!- A little fish art quilt

Memories of summer...make me think of BUBBLES! and water...
This week I wanted to show you how to make a bubble texture using Colourcraft Transfer Dyes. I had fun making this little quilt and used both the dyes and crayons for creating the patterns for the fish as well.
Transfer dyes can be used in a few different ways. I used them to create designs on paper which I then transferred to fabric by pressing with an iron. These dyes adhere only to fabrics with polyester content- the more the better, and are permanent!

The first texture I wanted to create was bubbles! I got the idea from watching a video of creating bubble patterns onto paper using ink...but how to get that onto fabric? Transfer dyes were perfect since you apply them to the paper first.
Below you can see where I have blended a thick liquid soap with a bit of water and some of the powdered dye. It's just to mix together, blow bubbles with a straw and then apply paper to get the image (more detail in my video).

If you are having troubles with this step- try some of the following:
  • No color in your bubbles? Try mixing the dye powder with a bit of water before blending into the soap.
  • Bubbles aren't staying up long enough to print? Try adding a bit of glycerin to the mix!
  • Don't be afraid to experiment with your soap type- dishwashing liquid, and even soap bubble mix should work- you might just have to experiment with ratios of water/dye powder and if you need glycerin or not.
Here are some bubble prints made with different colors and soap combinations:


I decorated more papers with the transfer dyes- mixing them with water first and dropping, painting, spraying with water, as well as doing some rubbings with transfer crayons. These I ironed onto different colors of polyester satin and then cut out my fish shapes.

Watch the video here  for more information:


My fish were sewn on, with a bit of extra batting behind them to give a slight trapunto effect. I then added batting and a backside and quilted everything together! 
I wanted to add a little extra something something...so brushed on Sprinkle IT onto the fins and bellies of the fish- and a wee bit in some of the bubbles. A little sequin and bead for each eye and there it is! "Plenty of Fish in the Sea".


Anyway I hope you enjoyed this project! I'd love to see what you make with bubbles! 


Related Posts Plugin for WordPress, Blogger...