Saturday 29 June 2019

Galaxy shoes


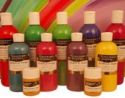
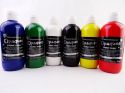
Recently I discovered the ColourCraft fabric paints! When I saw all the lovely colours (especially the rich blues!)  I knew exactly what to do! Galaxy shoes!

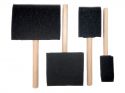
Armed with a pair of white trainers, sponges, tape and the fabulous fabric paints I set to work.  It was really enjoyable and therapeutic.


Firstly, I removed the laces and then taped the rubber strip around the base of the shoes using masking tape.  I used smaller pieces of tape around the top edge to ensure I got in as close as possible without taping the fabric of the shoe. I then used a thicker tape to cover the larger section.


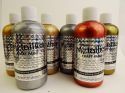
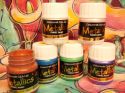
I used a combination of the metallic and opaque paints and started with two blues and two sponges.


I fully covered the shoes with patches of the dark and light blue paints. I was sure to cover the 'tongue' of the shoes as well.


Once that was done, I took the pink and purple metallic paints and, with the sponges, applied the colour in smaller patches on top of the blue paint.

I then used a fan brush and applied white splatters all over the shoes. I watered the paint down a little to ensure that I achieved nice splatters.


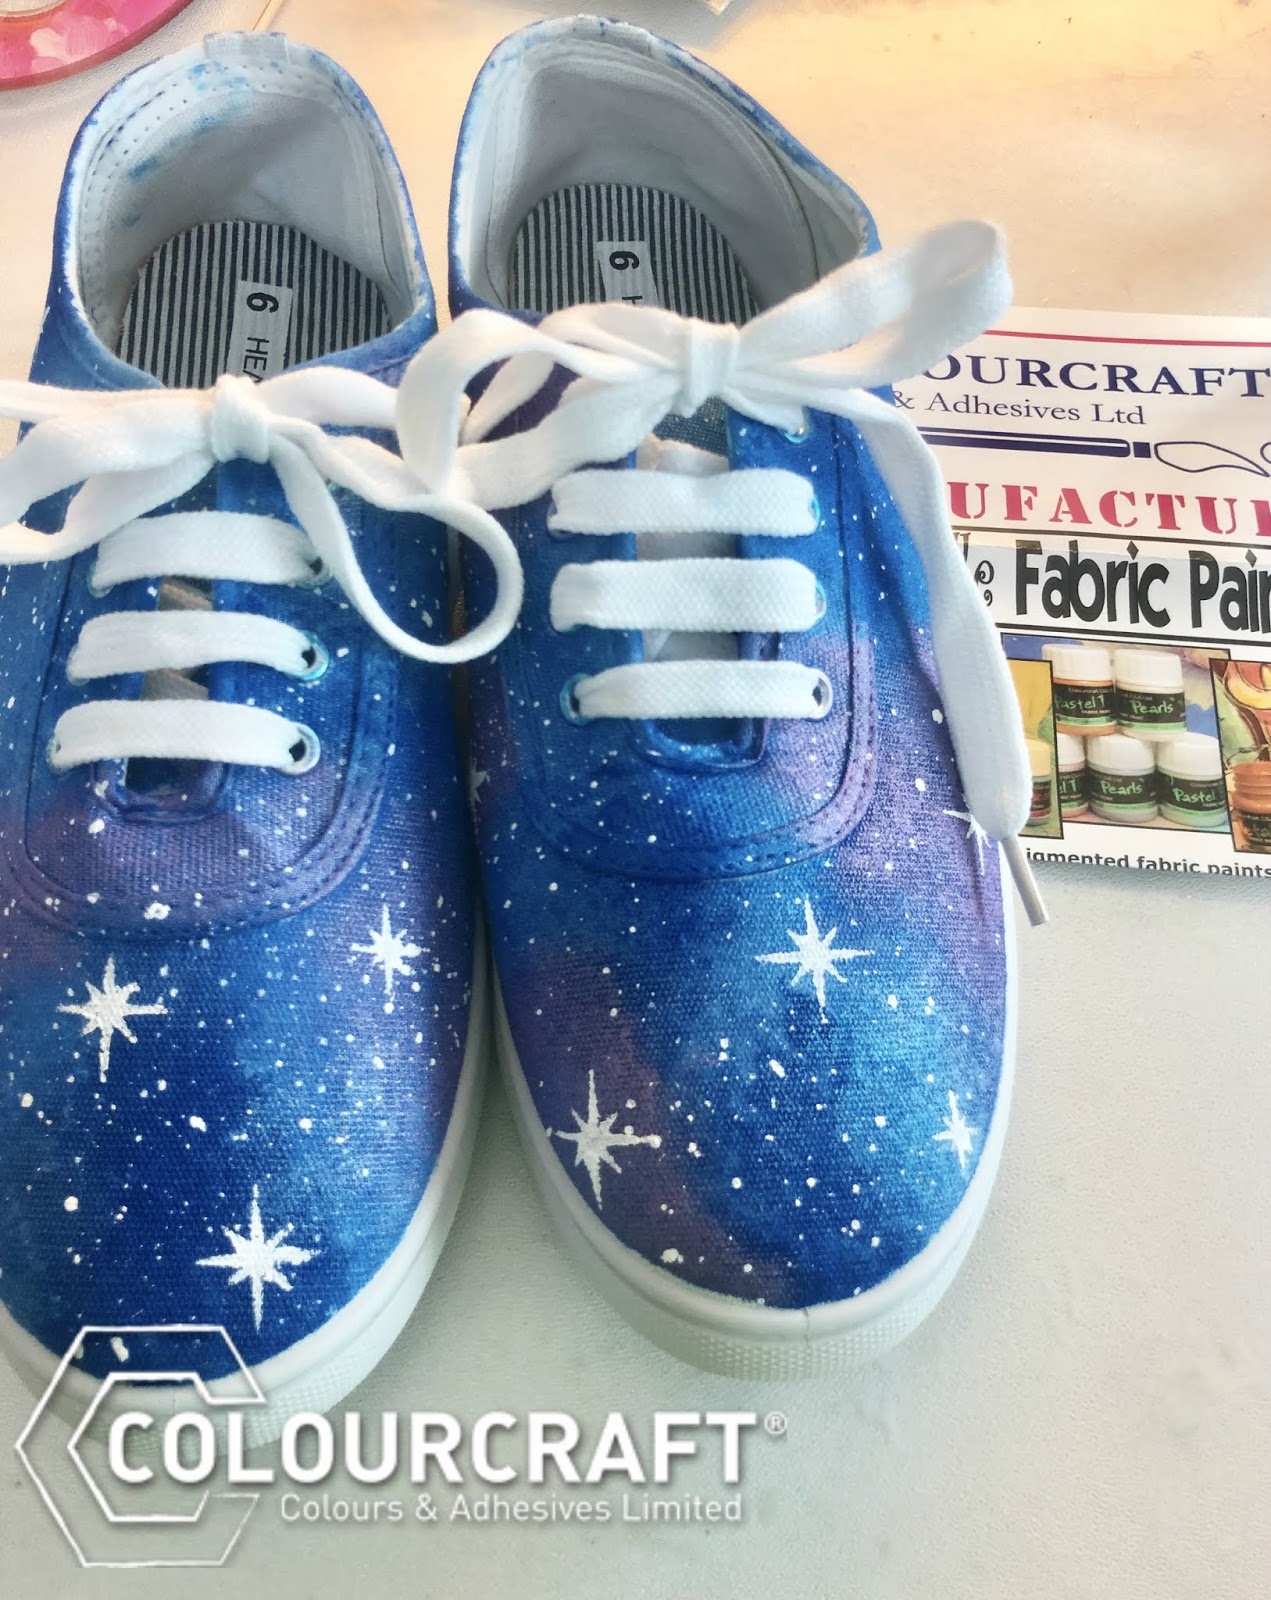
I then painted 9 stars over each shoe in different places and replaced the laces. I am so happy with my galaxy shoes.  It was so easy and so much fun! I hope you will have a go too.

Voila!


Friday 28 June 2019

Buttons & Tags


Buying buttons, and also tags for quilts, can be time-consuming and costly. But in a few minutes, you can make your own, personalising and designing at whim.
Here is a tutorial on making buttons and tags from shrink plastic.


I used the white shrink plastic, but you can also get clear, which are great if you want to see through what you sew the button or tag on to.


Shrink plastic sheet shrinks 7 times thicker than the original when heated. I prefer to place my designs on a baking sheet and place in a preheated oven (at 160 °C 320 °F Gas 3) but you can use a heat gun.

I stamped shrink plastic sheet using some stamps from my collection and Stazon solvent ink pad 


I then used permanent pens to add a little colour. You can also use coloured pencils on white shrink plastic. There is no point in lots of careful colouring as the details will be lost on shrinking.
Here is a keyring next to the heart stamp used to make it, to help give you an idea of the size change:


I made some tags using a stamp and when the ink has dried, wrote on with a pencil. I also made a hole in them to allow me to sew them to my finished textile art pieces.
Here they are ready to go into the oven.


And here they are after heating:


To make circular buttons, cut circles from the shrink plastic.
I drew round a lid to guide my cutting out.


Make holes to enable sewing buttons, either 2 or 4 holes. I marked the centre of my circles using a ruler and making a pencil cross. I used my craft hole punch tool to make holes, making sure I was not doing this on a surface that could be marked or damaged. I would usually use my self-healing cutting mat for this but was creating these while away.
Again, because of shrinkage, it doesn’t matter being too accurate with hole punching. Yeah, this is my kind of craft!


To give you a guide on shrinkage, my original 8.5 cm diameter circles shrank to about 3cm in 2 minutes in the oven.
Add a design to your buttons.
I did some circles with marker pens, but you can use acrylic paint.


It's important to remember that any colours will become darker and more intense as the plastic shrinks: Plan for this by keeping colours lighter than you want the finished look to be.

Place buttons on a baking sheet and into the oven for a couple of minutes. Note the buttons will twist and curl before magically straightening out into their smaller size.
Remove the tray from the oven using heatproof gloves and allow to cool.
Choose what you want to sew your buttons onto and prepare to say “why thank you, I made them myself”


I would love to hear what you have used your shrink plastic creations for, please share.

Helen x

Wednesday 26 June 2019

MDF Sun Plaque with Suzi

Good Day All, Today it is my pleasure to share with you my latest project featuring lots of wonderful products from the ColourCraft Range.  I've created my project using ExpandIt and Eco Acrylic Paints.

I've created a Sun Plaque;
Doesn't that texture look amazing, here's how I created it;

First of all I took a MDF Driftwood shaped plaque and drew a face and some hair shapes onto it.  I then added Eco Acrylic Paint in Yellow to the whole plaque followed by Cadmiun Yellow Hue Dark to give an indication of where my shadows where to go, along with some Titanium White for the Eyes.  Then using a spatula I added my first coat of ExpandIt.

Using a syringe I added ExpandIt for the Eyebrows, Nose and Lips before heating it all with my heat gun.

I then added a coat of Yellow Eco Acrylic Paint over the whole plaque.

I then left it overnight, whilst I decided what to do next.

I decided the hair needed some texture so I added some lines of ExpandIt with the syringe to give some definition to the sections of hair.  I also added more ExpandIt to the tip of the Nose for more dimension.  Once I'd heat set the ExpandIt and it had cooled down I started to add more colour using Eco Acrylic Paints in Yellow, Cadmium Yellow Hue Dark and Yellow Ochre.

I then added some shadows and details with Raw Umber. I also added more Yellow Ochre and Yellow in places.
At this point I decided I needed to add some shades of Orange and Vermillion, to add more warmth and improve the transition of colours.

I was much happier with the colour palette now, and added some more layers of paint where I felt it needed it.  

Then it was time to work on the details, using paint pens and Koh-I-Noor Polycolor Pencils I added details into the hair and eyes.

My plaque was almost finished now, I added a little more detail to the eyes with the Koh-I-Noor Polycolor Pencils and a White Gel Pen.


Here's some close ups of the wonderful colours and texture;


As you can see the ExpandIt gives lots of wonderful texture, and by adding a second layer to the nose I really managed to give it some dimension.

I hope you've enjoyed seeing how I created my project.  If you've not got any ExpandIt yet I really recommend you get some, it comes in Natural and Black and you can use it with so many different tools and techniques, I used a palette knife and syringe on this project, but you can also use your fingers, or a brush. It goes through stencils beautifully and works on so many surfaces. It's wonderful stuff, You'll definitely be seeing more projects from me using it.

That's all from me for today, Thank you for taking the time to visit with us.
Bye for now
Suzi
xxx

Monday 24 June 2019

Simple Cards with Brushos and Brusho Accessories

Hello Colourcraft friends. Gail here today with some simple cards I made with the help of Brushos and some Brusho Accessories.  Did you know that in addition to making the lovely Brusho powders Colourcraft also have a load of additional products to make them even more fun!!  Today I used Brusho powders, the fabulous Brusho Travel Palette, useful even when at home!, Wax Resist Sticks and the Clear Spray Bottle
Take a look at my cards.


I'd like to introduce you to the Brusho Travel Palette, just in case you haven't come across it before.  12 airtight crystal clear pots in a tray.  It's my new best friend!!!  The little pots fit snugly in their wells and now I can take my 12 most favourite Brusho's out and about, or even just in my craft room without worrying about knocking them over or spilling them everywhere.  I also love the mixing areas and brush rests.  As I said, my new best friend. 


I started off with four of my favourite Brusho colours , Sunburst Lemon,  Leaf Green, Emerald Green and Turquoise.   I sprinkled a bit in the pots and then spritzed with water from the Clear Spray Bottle.  Love this too!!  It's a perfect size at 60ml, not too big, not too small, and the spray is fine, but controlled, so you don't end up spritzing the whole table!!  There is also a lock, which means it won't leak if you take it out and about.   


To make my card I embossed a piece of white card with this dandelion embossing folder.  I used the Wax Resist Stick and rubbed it over the embossed areas.  Then I just used a brush and applied my colours from the Brusho Travel Palette pots randomly over the embossed panel.
Loved it so much I made some more!!


OK, I admit I got a bit carried away and forgot to take more step by step pictures.  Top right is the dandelion folder one.  I also used another flower folder, one with arrows and a retro circle folder.  I love how the wax resist leaves the embossed areas white.


I cut the panels with a double stitch rectangle die and mounted on blue card bases.


I love the bright colours with the white embossed areas.  Can't decide whether to leave them as they are or add sentiments.  These were really quick and fun to make.


Thanks for dropping by.  I hope you have enjoyed my cards, and also seeing some of the accessory products, and I hope you get time to be crafty today.  Hugz

Saturday 22 June 2019

3-D Card with Eco Acrylic Paste Papers

I recently got a box of super yummy Colourcraft Eco Acrylic Paints and got the urge to make more paste papers like I did with the Metallic colours a couple of weeks ago. Click Here to go to my blog entry with basic instructions about paste paper.
So I started with some of my favorite colors, as well as a 300g paper and brushes, comb and a couple of other tools.
It didn't take long to make a bunch of totally fab papers!
I let these dry overnight and then sponged some of the paints on the backs of my favorite papers. I also sponged a piece with metallic gold from the Aztec Range.
After these had dried, I chose one of my papers and folded it in half with the paste paper design on the inside.
I then marked two lines perpendicular to the folded edge, and scored a line parallell to the folded edge, between my marked lines.
I then cut on the marked lines, and folded on the scored line as well as on the original fold line so my card looked like the following picture.
In the meantime I had folded my gold sheet in half and glued those two halves together, stamped a 
dragonfly from Rubber Dance Stamps a few times onto the gold paper, and cut those out.
Then I just glued my dragonflies onto the cut out, inside of the card and VOILA!
Super fun and easy to do! 
I had a lot of fun doing these colored paste papers.
I also played around with making one layer:
Letting this dry. And then making a new layer on top!
It would be fun to see what you make with paste papers too!

Take care and see you in a couple of weeks!
-Tamara


Related Posts Plugin for WordPress, Blogger...