Wednesday 30 May 2018

Bloom and Grow Art Journal Pages with Suzi

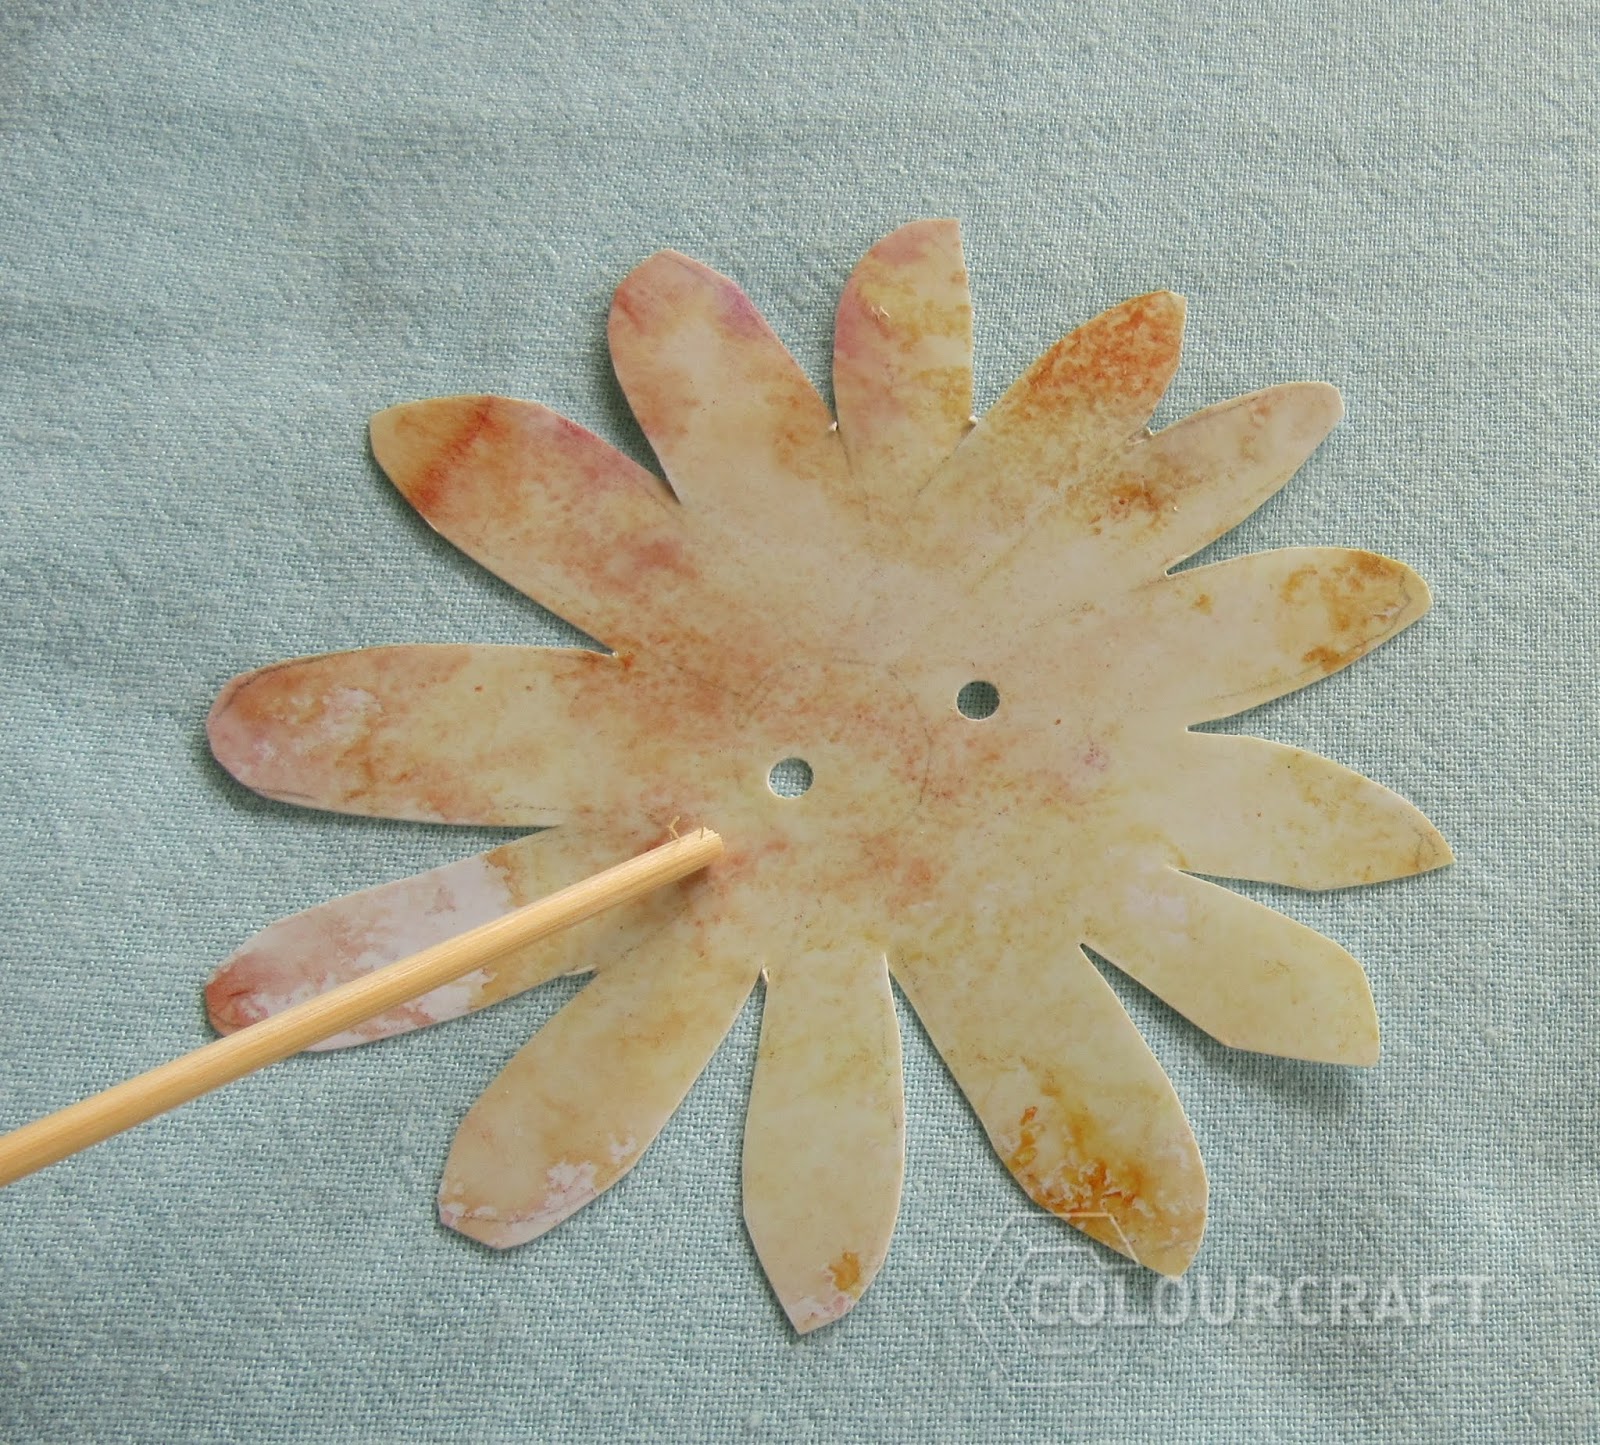
Today I'd like to share with you my latest project in my large art journal, I decided to have a go at the Pulled String Technique to create some abstract flowers on my pages.

First of all I decided to give the technique a quick test before trying it in my art journal;
I mixed up some Terracotta Brushos, Matte Medium and water in a palette, and instead of string used some cotton embroidery thread.
I soaked the thread in the mixture for a couple of minutes, before adding to a page, and pulling the thread.

After my test pull, I decided to mix up some colours for my main project.
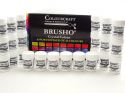
I used Brushos in Terracotta, Scarlet, Moss Green and Voilet.

I added a layer of white gesso to my pages with a sponge, then using a background stamp added some random stamping in brown archival ink, before adding and pulling the string.

I then added some outlining and shadows with brown pen before adding some white gesso in places to create some depth.  I then mixed up a stronger mixture of the Violet Brushos with Matte Medium.

I added the Violet mixture to the Violet and Scarlet Flowers.
The paint mixture is wonderful to paint with, lovely intense colour which I added to the flowers then blended out with a little water.

I then used an embossing tool to add some dots around some of the flowers. Using a Ruling Pen I doodles some words and grasses.  I used a sponge to soften the doodles grasses and then used some of the colour on the sponge to add to the top of the pages.

Here are some close ups of the finished pages;


I hope you'll give this technique a go, as its great fun, and a wonderful way to start of a page in your art journal.

Bye for now Suzi
xxx

Monday 28 May 2018

Vintage tag with Aga-video tutorial

Today is my turn for my next tutorial on how to combine fantastic Brusho powders, crystal mass and AB Studio stencils. The mass is like heavy body gel with additional bits of crystals that give a structure when dried. The crystal mass is flexible after drying and mixed together with Brusho it becomes a kind of jelly on the surface. What is important here, the powders do not lose colours when mixed with the mass.
To finish the work, I used the powder with glow to make black surface glossy.


VIDEO:


Big hugs for You :)
Aga

I used:


Saturday 26 May 2018

Brusho on Fabric and Shrinkplastic- Flower Mini Quilt by Tamara


Brusho on Fabric and Shrinkplastic- Flower Mini Quilt by Tamara


This week I got to play with Brusho on fabric. Amazing effects and great fun. They aren't permanent but if you are making an art quilt for display- that is no problem!

Background:
First I made the background. I sprinkled my fabric with Turquoise, Prussian Blue and White- masking the bottom ½ with newspaper, and spritzed with water. I then removed the newspaper and sprinkled on Sea Green, Leaf Green and Moss Green.  I added a bit more White to the sky and spread out and mixed my colors with a foam brush. Then I left that to dry.


  I then flipped over the stencil and printed the Brusho that was on top on the rest of the grass. I'm also putting up a picture where I did the same on white fabric so you can get an idea of the effect.


Shrink Plastic Flowers:
Shrink Plastic is a really fun material to work with. I like using it to make buttons and charms to put on my quilts. Again, I wanted to try it with Brusho. I used the white as it is a bit more forgiving with materials you can use on it.
This time I sprinkled my Violet, Rose Red and Orange colors very lightly. I sprayed with water and soaked up some of the excess color. It's important to remember when you use shrink plastic that the colors get richer as you shrink it. Pictures below are wet and dry.


After my shrink plastic had dried, I cut out flower shapes and punched holes to be able to sew them on- they shrink to about 30% of their original size, so bear that in mind! I use a Heat Gun to shrink my flowers, you can also use an oven. You need to hold the gun steady onto the object being heated, a few centimeters away. I hold my flower down with a bamboo skewer (so it doesn't blow away)- NOT in the hole I punched to sew it on! The flower shrinks and curls up on itself and then flattens out again - that's when it's done shrinking! If you want them flat, put a heavy book on while still warm. I like the extra dimension mine have by not being flat.


You can really see how different they look!
Then it was just a matter of making my quilt sandwich with batting and a backside, quilting it together, and sewing my flowers on! I added a couple of extra embellishments for fun.
I really hope you enjoyed this project! And I would love to see what you make using these techniques. 


Friday 25 May 2018

Alysha Sheridan - Guest Designer - Fly away Butterfly


Hi everyone, Alysha here as a guest designer this week for the fabulous ColourCraft. I was absolutely delighted and thrilled to be asked to create a project of the blog and jumped at the chance!

At the moment I am very much into butterflies and creating single layered backgrounds so decided what better project to do than this with the amazing Brusho powder pigments.

 To begin I created a simple tri-fold card base with some quality super smooth white card stock. I then cut three panels to the correct size, slightly smaller than each of the sides of the tri-fold.

I then sprinkled and spritzed the card stock using Gamboge, Red, Yellow, Orange and Sunburst Lemon Brusho.


I have then built up the stamping "layers"  with various stamps and ink pads to create a collaged effect. To finish I edged all three pieces to add depth with a black inkpad and added a butterfly and sentiment that I thought was appropriate to the images used. You could easily change this to a happy birthday and change up the colours to make it male or female orientated, after-all who does not love a butterfly?


I hope you have enjoyed my project as much as I have enjoyed creating it and I hope to be asked back to create for ColourCraft again some time in the future!

Please feel free to visit me at Simply Angelic Crafts
Have a wonderful day, hugs Aly xx

Wednesday 23 May 2018

Scrapbooking with Brusho Crystal Colours by Karen

I often create my own backgrounds on my scrapbook pages or albums using Brusho powders, building up the strength of colour where I want it and to match or contrast with my photos. This page also gives me the opportunity to explain a bit more of how I use embossing ink to hold the colour from the powder in patterns on the paper.

In my last post <here> I used a stamp and transparent embossing ink to hold the Lemon Brusho in a striped pattern: On this page I sponged embossing ink through a stencil, roughly in the centre of my 12" x 12" watercolour paper. I hope you can see that in the photo below:

Then I sprinkled Leaf Green Brusho over the ink and other parts of the page and pounced the powder on to the ink with a paintbrush. The humidity of the ink immediately starts to activate the colour:

When I then misted the page with water, the colour remained strongest in the pattern I had stenciled. I love this technique for adding texture and pattern to papers.

I laid out the other elements I was thinking of using on my page and, roughly following the colours in my photos, decided to add Brushos to colour some of these. I livened up the plain grey postage tag with some tone-on-tone Grey Brusho: I misted the tag with water, sprinkled some colour and created a border by dragging a paintbrush round the edges spreading out some of the colour there.

I also used 3 different tones - Gamboge, Light Brown and Dark Brown - to colour my die cut bird and branch. Again misting water and sprinkling colour and this time using a paintbrush in a circular motion to make sure all the paper was covered without making the colours too uniform. I worked over another piece of paper that I used to die cut the word 'ensemble' (together) from.

I coloured a further piece of paper with Leaf Green Brusho and die cut leaves to transform my bare branch in to something better resembling springtime. A few additions of scrapbook paper and a stamped and written label and my page is ready for the album!
Thanks for passing today. I'll leave you with a few detail shots:


Monday 21 May 2018

Simple square vase with Ewelina

You know when you decorate a room and the colours you've chosen make it almost impossible to find decor that will match? Well... that's exactly what I've done to my kitchen... 
With Prussian Blue accent walls and magenta splashbacks... the struggle is real!!!


There was no other option but to put my arty skills into action and make things happen!
You might remember the abstract canvas I made some time ago - they match the kitchen's colour scheme perfectly. 
Now, it was time to use a White Square Vase I got from Country Baskets - I need something to put flowers in!!!


I started by using stencils (my own design) and Archival Inks to create background for the colour.
I overlaid two stencils making sure that the patterns flows around the vase.


The second step was adding the watercolour effect - I did that one side at a time.
Randomly, sprinkle just a little bit of Brusho in Alizarin Crimson and SprinkleIT Iridescent Flash on the side; from far, mist the side with water allowing for the pigment to create watercolour effect but not flow all over the vase. Make sure you dry each side thoroughly before moving to the next one - otherwise, you'll end up with unexpected blotches of colour.


That's it! Quick and easy and... pretty!!! But most of all, it actually matches my kitchen!!! Yay!


Saturday 19 May 2018

SprinkleIT by Sarah Allan

Hello Everyone!

Sarah here on the blog with you all today on this special Royal Wedding Day!

I have been experimenting with SprinkleIT all this week, seeing what it can do and the different effects I can create with it, I love this product and I have a nice and easy trio of cards to start with and they really easy to do.


Step One.
Take 3 pieces of black cardstock cut to 4" x 4" and 3 card bases 5 1/2" x 5 1/2"


Step Two.
I chose a silhouette stamp by Imagination Crafts of a summer meadow and inked it up well with a versamark ink pad and stamp it directly onto the black cardstock and press down well.


Step Three.
Take a pot of SprinkleIT, I chose the colours Pearl, Copper and Gold for my cards today.    Dip a fluffy brush into the SprinkleIT and then gently pounce onto the image you have just stamped and gently work in with the brush.


Step Four
Tap off the excess and take a soft cloth and gently wipe the surface to remove the excess and clean up the edges.


Step Five
Time to assemble the cards, apply double sided tape the the reverse side of your stamped and spinkleit black cardstock, and attach to the white card base, I finished off the card with some Tim Holtz chit chat stickers and we are all done!


I also had a go at using a fine detailed stamp with lots of tiny text to see how that looked along with a sentiment stamp and it also works really well :)

I hope you enjoyed this method and give SprinkleIT a try, it is a fun product to work with :)


Thank you for visiting the blog today

Sarah x

p.s. The link for SprinkleIT products can be found {{Here}} I had trouble linking it in a thumbnail


Related Posts Plugin for WordPress, Blogger...