Friday 29 September 2017

natures stencils with Brusho Mist spray

Good day to you.
Hope you are feeling creative today.

I've been playing around with Brusho Acrylic mist sprays and I have to say I am absolutely in love with them. They are so versatile as they can be used for both paper and fabric art work and so simple to use.

I would like to share a quick easy way to create a unique design using shapes from nature. I enjoy walking out in nature, whether it be in the forest or along the coast and I am always picking up little mementos. Sometimes I like to incorporate these in my artwork and in sketchbooks as a way of documenting my little travels.

This is also great for documenting the seasons with kids, going on a hunt outdoors for fallen leaves or shells or feathers then using them as a stencil to capture a wonderful design.


I went for a short walk in the lovely grounds that surround my studio at Winnington Hall and gathered any items that took my fancy. A good balance of larger and smaller things usually looks best in a design.

Once you are happy with your selection you can spend a few minutes arranging them on your chosen surface. I decided to go for both a paper design and a canvas tote bag.


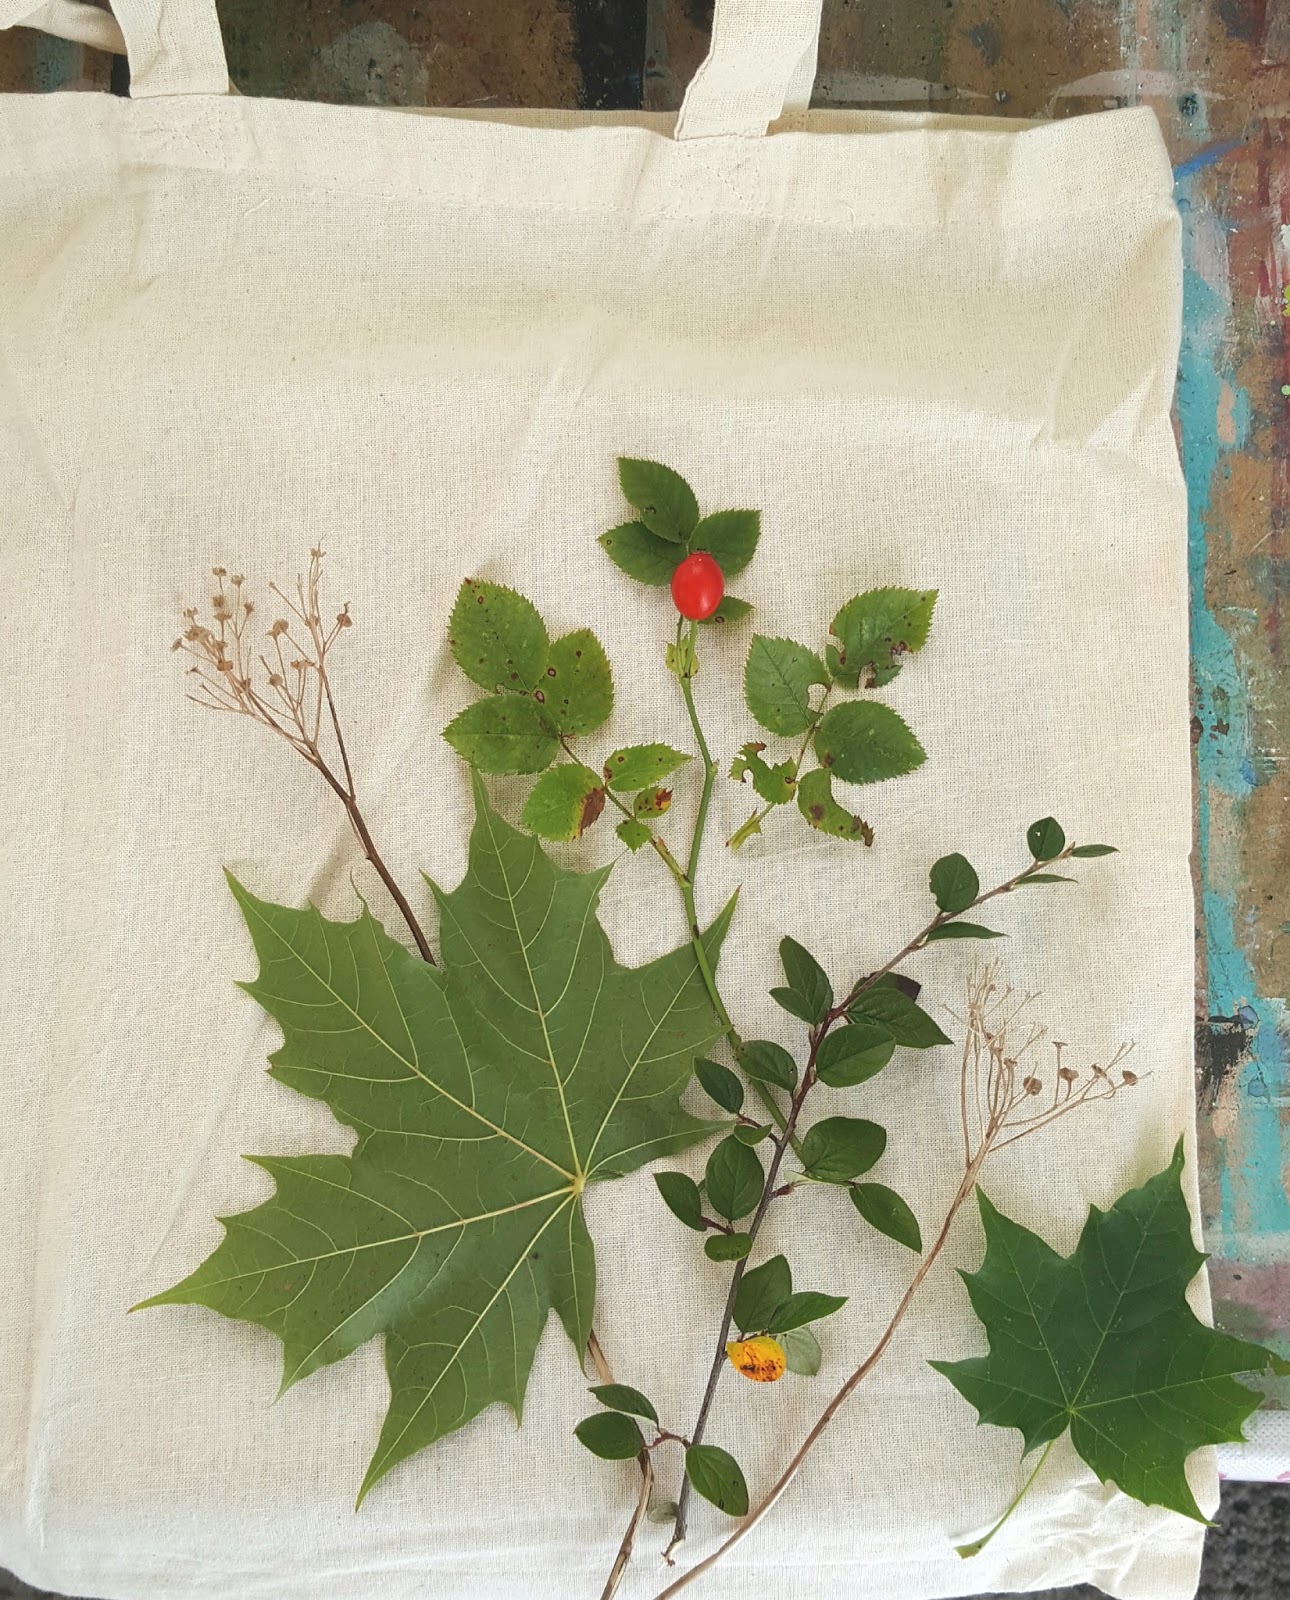
some items may need to be stuck down with a bit of double sided tape, this helps to get a crisper line edge around your items. Or if you don't mind a hazy finish you can leave them to sit as they are.

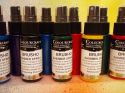
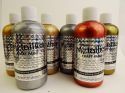
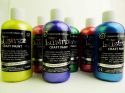
I opted for a cool colour palette and decided on the Violet, Turquoise and Charcoal mist colours as well as the silver shimmer spray. Start with the lightest colour first then build up to the darkest.
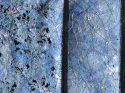
Spray from a range of heights so that you achieve bigger and smaller droplets of colour and decide if you want to cover all of the surface or just spray around your items leaving an interesting edge as I have.


Allow to dry naturally. Carefully remove the stencils to reveal your design.


I particularly like how the spray creates a diffused light effect, making the pieces feel more natural and delicate.
This is just the beginning.
There are so many further options to complete your creation. Perhaps drawing into the shapes with a pen, stitching, using fabric paints to colourise certain elements or paint in small details like the images below.


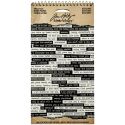
Using other items as stencils like this gift tag which would make a great Christmas card. (you can never start too early!)

Do let us know what you think and share any of your own creations, we really do love to see them.

Have a great day.

I'll be back with another post 13th October :-)


Wednesday 27 September 2017

Christmas gift boxes by Kate

Hi, 

it is almost end of September and it is great time to start your Christmas projects. For today I prepared easy decorated gift boxes. I used white and cream paper boxes, different plastic flowers and leaves. These boxes are 16x16x3cm. They are mainly for giving cards but you can give in them some small gifts too.

For my boxes to make them even more luxury I used Brusho acrylic shimmer spray - silver and gold. These sprays are awesome and very universal you can spray many different surfaces with them. When I finished decorating I sprayed over whole main side box. I sprayed from distance to have light layer of shimmer. That gave my boxes really luxury look. Taking photo of shimmery objects are very hard so sorry for background of my terrace but I took each box outside and I took photo from specific angle to show you that amazing shimmery look.


Have a nice day
Kate Dachovska


Monday 25 September 2017

Christmas Softies with Ewelina

Hello! Hope you've had a great two weeks since we crafted together last.

Today, I have a Christmassy project idea for you...


I am not much of a seamstress but I wanted to make Christmas-themed soft toys and had a strip of natural canvas in my drawer... so I sat down to my craft table and started playing.


I hand-drew a simple gingerbread man silhouette and a simple Christmas tree, coloured them with Metallic Fabric paints and embellished with ExpandIT. Then sewn together, filled with some cushion stuffing and ... that's it!


I'll let you in on a secret... an 8year old I know thinks they're awesome... guess they'd make a pretty good stocking filler after all!


Hope you found a little inspiration in my amateur-sewing project!

Take care!


Saturday 23 September 2017

Lutradur Lace Effect Cards by Sarah Allan

Hi Everyone!

I hope you are all having a great start to your weekend and for those of you visiting the Yarndale event this weekend I hope you manage to pop along to the Colourcraft Stand and say hi to everyone :)

My project today is the Lutradur Lace effect,and I have to admit that I am having a lot of fun experimenting and learning new techniques with all these lovely products that we have been given in our design team package to play with and to create lovely new projects for you here on the blog


I have a step by step guide for you on how I created this effect and even as I am typing up this blog post I am already thinking of the different ways I can use this product in the future

Step 1
Take a piece of Lutradur (i used 70) which is the medium weight and cut a piece off to the size you wish to work with.. and spritz with water

Step 2
Apply colour.. I found that ifyou use brusho acrylic mist sprays they work best for an all over lace effect, if you wish you can use fabric paint, but the lutradur will not lace as much where the paint has been applied.. so if you wish to have solid areas on your piece, apply fabic paint :)


Step 3 

Dab off the excess spray with a paper towel and apply heat with your heat gun to your sprayed lutradur

Step 4
Move your head gun around your Lutradur until the lacing effect starts to happen and continue until you have the desired look you fancy


Step 5

add a touch of shimmer to your lutradur by applying Colourcraft aztec metallic paints to the perimeter of your piece and also to the lacey arear inside


Here are a few close up pictures of the lace effect on the other pieces I made


you can always further embelish your lace pieces by sewing on beads or adding small sequins


now here are the cards that I created using the lace panels, you could also die cut flowers out of your finished lace and layer to create skeleton flowers, which would look great on many projects, even a flower embelishment for a hat..


I hope you enjoyed todays step by step tutorial, donlt forget to let us know what you think and show us your projects using this effect :)


I hope you see you soon, thank you for joining me today here on the Colourcraft Blog, enjoy your weekend!

Sarah x


Related Posts Plugin for WordPress, Blogger...