Showing posts with label Gelli Plate. Show all posts

Saturday, 25 January 2020


Gelli Print flowers with Love


I have made this little card with some gel plate pages and die cuts.

Firstly, I  placed a few blobs of magenta eco-acrylic onto the gelli plate brayered it over the whole plate to ensure and even coverage.  I then laid a stencil over it.  I chose a stencil with an overall pattern with hearts and flowers on it.

I used a piece of copy paper to pull my print.  I used copy paper instead of my usual thicker card because I didn't want the final flowers to be delicate.


I repeated the process several times with varying shades of magenta and white (which I mixed together) until I had a selection of prints.  For some prints, I used the 'negative' and for others I used the 'positive' part of the print.


I then selected a fabulous flower die and die cut several 'layers' of petals from the different prints.


I layered them on top of each other and poked a hole through the middle and secured the flowers with a brad.  For one of the flowers, I used glue and sprinkled a number of beads in the centre.


I created a double frame for mounting using co-ordinating coloured card.


Finally, I added a Happy Birthday sentiment stamp onto one of the pieces of gelli printed paper.  Simple, feminine and an easy card.


Saturday, 11 January 2020

A Love-ly Little Notebook


A 'love-'ly little notebook 

This is the perfect notebook for recording special memories, special times with a loved one or as a journal for precious photos. I created this using a gel plate and some paints and stencils. What a love! Hehe


Firstly, I put a few small blobs of pink and red paint onto the gel plate and spread it evenly over the plate with a brayer.


Then I place a stencil over the paint layer.  Over the top of that, I placed an A4 sheet of card and pulled a print. Because the stencil had large circles in it the paint was removed. You will see later what a lovely effect this created.


I then removed the stencil to leave a fabulous design on the gel plate.


I then stamped hearts over the top of the stencil print onto the gel plate. I used rubber stamps directly into paint and then onto the gel plate.  NB. Always remember to clean the stamps straight after stamping them into paint. I usually use water only and then wipe them clean with a light damp cloth.


I then brayered a layer of white paint over the whole design.  I then placed a sheet of A4 card over onto the gel plate and pressed it down well all over, and pulled the print to reveal this design. 


To clean the gel plate I use hand sanitizer and a piece of kitchen towel.

I wanted to create some extra depth on the design, so I applied gold and black paint through a stencil.  I used some foam pieces to apply the paint.  The trick to successfully applying paint through a stencil is to not use too much. If you do, it tends to seep through the stencil. So it is best to build up the colour by applying small amounts at a time.

These hearts would be on the front cover of the notebook. I use low tack stencil tape so that it does not affect the card surface and can easily be removed.


I cut the print down to size and glued it to the notebook. I then glued some lace to the front cover.

I know that Valentines Day is some weeks away but I felt that 'love is in the air'  and I am ready.
  I now have this to store some precious photos and stories in. I hope your Valentines shines as bright as this lovely Colourcraft metallic paint!

Happy memories! And sending all love and good wishes!


Saturday, 14 September 2019

Monoprinting with Gelli Plates and Leaves

As you have seen from posts by other members on the design team- Autumn is in the air! Soon temperatures will drop and leaves will start to get their beautiful colors.

This week I want to show you how you can use actual leaves and a selection of acrylic paints celebrating the colors of Autumn, to make beautiful monoprints on fabric or paper!
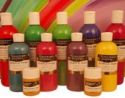
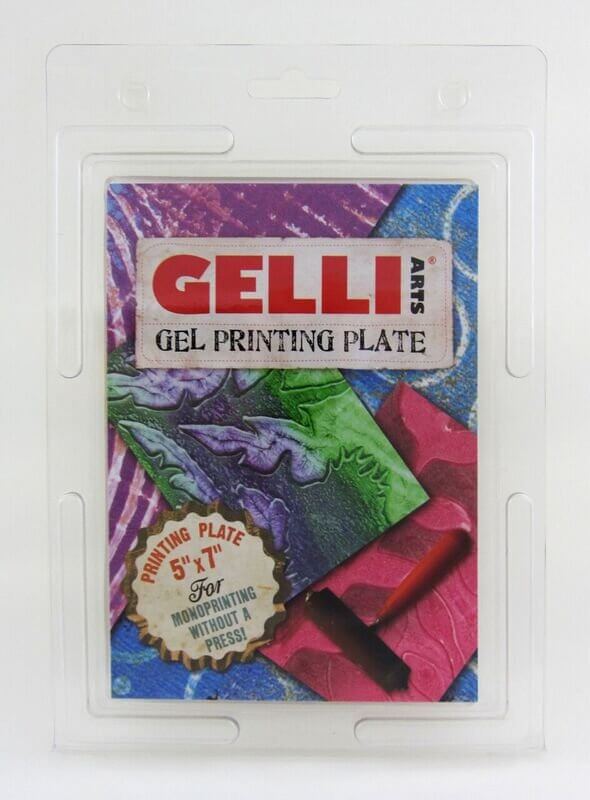
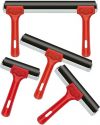
I gathered together a selection of leaves from my garden- fresh, green leaves work best! I also had a Gelli Plate, a rubber roller., and, of course, a selection of Colourcraft Eco Acrylic paints. I had also prepared several 6" squares of unbleached muslin.

I dropped a few colors onto the surface of my Gelli Plate, spreading and blending with the rubber roller. I then laid a leaf on top and rolled some color on that.
I then laid a piece of fabric on top and rubbed it- making it so the paint adhered to the fabric. then gently peeled off the fabric.
Fun! I removed the leaf from the paint, turned it over, and repositioned the leaf.
Below can you see prints from both side by side.
So I took up another leaf and played for a while- applying paint to the plate, the leaf, or both! 

I worked with this leaf for a while- adding paint to the plate, the leaf or both! And here are the results!


I hope you enjoyed this week's blog! We would love to see what you get when you give this technique a try! 


-Tamara


Friday, 16 August 2019

Gel Printed Cards by Teresa

Hello and welcome back to another painty project from me, Teresa.
Today I have made some fun, quick and easy cards using gel print backgrounds:


I began by using a brayer to apply some acrylic paint to my gelli plate


Next I added some pattern using bubble wrap and corrugated card


I took a print 


Then I brayered a different colour paint on the gelli plate and used a foam stamp to add pattern


I repeated this using different combinations of paint, and different foam stamps


Once dry, I trimmed the prints down and matted onto black card


I used paint pens to highlight some of the printed patterns


Finally I attached the prints to card blanks and added some die cut and sticker words


Thanks for stopping by today - I hope you are inspired to have a go at making your own gel printed cards. See you soon!


Related Posts Plugin for WordPress, Blogger...