Showing posts with label summer fun. Show all posts

Saturday, 13 July 2019

Butterfly banner


Summer is a great time for outdoor eating and using colourful bunting for decorations!

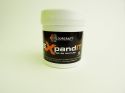
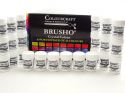
Inspired by the wildlife in my garden, I set to work to make a bunting banner using Expandit and butterflies. It is so much fun to see the way that the Expandit bubbles and puffs up as it is heated! I used my trusty brushos to give it all a splash of colour.

Firstly I stamped some butterflies on card in black archival ink.  I used 300gsm card as that it takes all the water that I spritz on it. I then sprinkled brushos onto the card and gently spritzed them to create a varying shades of blue, lemon and crimson on the butterflies.

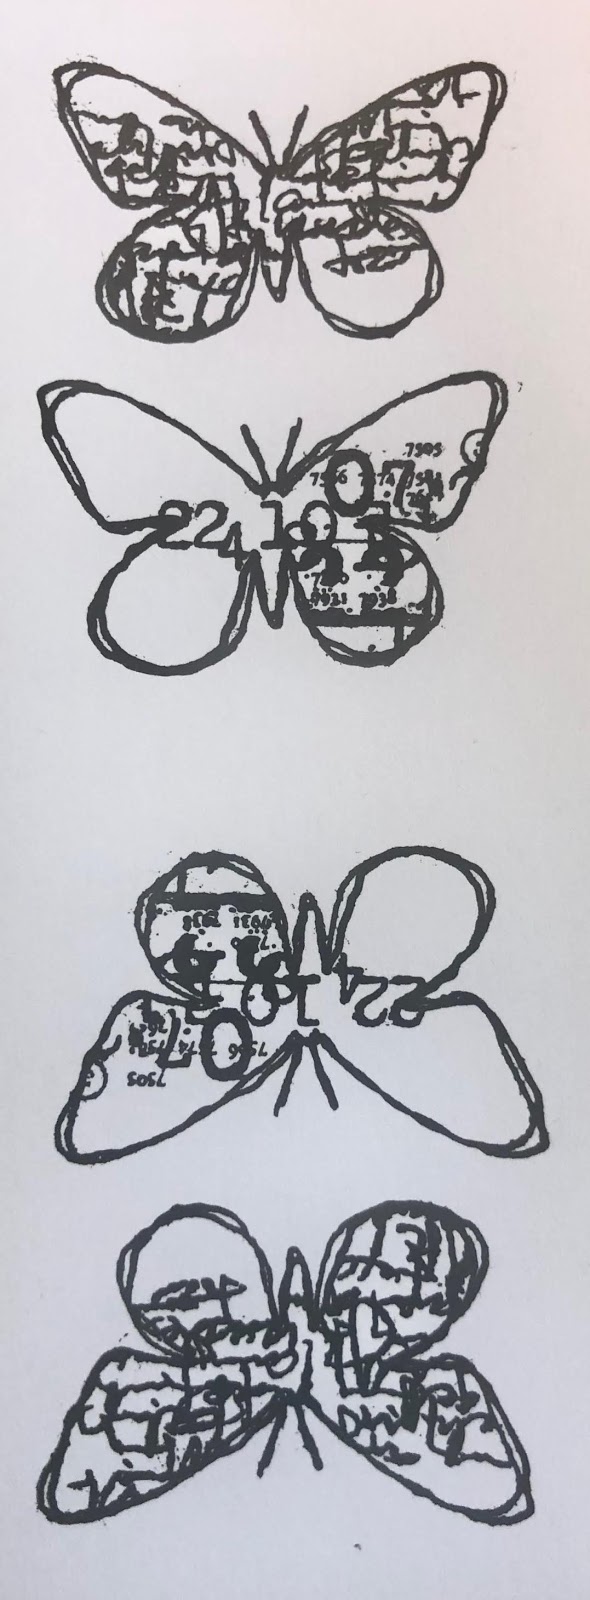
 I dried them with a heat gun and then fussy cut them all out (I know that some people don't like fussy cutting but I do, I find it most therapeutic.)

I decided to create some butterflies using Expandit for more texture and variety. I took some of the Expandit out of the pot and spread it thinly on my work surface with a paintbrush.  I lightly touched the stamp into the Expandit and then heated it using a heat gun until it puffed up. I cleaned the stamp straight away.


 I coloured the puffy butterflies in the same way as before and then cut them out.


I repeated this many times until I had made enough butterflies in all three colours.

I then turned my attention to the bunting.  I applied the Expandit through a stencil using a plastic palette knife and heated it with a heat gun.   I then coloured it using green brushos. You can see below how fluffy and puffy it got!


I then adhered the butterflies to the bunting bases using glue and overlapped them in varying colours. Happy crafting everyone!


Saturday, 23 June 2018

Transfer dyeing- How to make bubbles and more!- A little fish art quilt

Memories of summer...make me think of BUBBLES! and water...
This week I wanted to show you how to make a bubble texture using Colourcraft Transfer Dyes. I had fun making this little quilt and used both the dyes and crayons for creating the patterns for the fish as well.
Transfer dyes can be used in a few different ways. I used them to create designs on paper which I then transferred to fabric by pressing with an iron. These dyes adhere only to fabrics with polyester content- the more the better, and are permanent!

The first texture I wanted to create was bubbles! I got the idea from watching a video of creating bubble patterns onto paper using ink...but how to get that onto fabric? Transfer dyes were perfect since you apply them to the paper first.
Below you can see where I have blended a thick liquid soap with a bit of water and some of the powdered dye. It's just to mix together, blow bubbles with a straw and then apply paper to get the image (more detail in my video).

If you are having troubles with this step- try some of the following:
  • No color in your bubbles? Try mixing the dye powder with a bit of water before blending into the soap.
  • Bubbles aren't staying up long enough to print? Try adding a bit of glycerin to the mix!
  • Don't be afraid to experiment with your soap type- dishwashing liquid, and even soap bubble mix should work- you might just have to experiment with ratios of water/dye powder and if you need glycerin or not.
Here are some bubble prints made with different colors and soap combinations:


I decorated more papers with the transfer dyes- mixing them with water first and dropping, painting, spraying with water, as well as doing some rubbings with transfer crayons. These I ironed onto different colors of polyester satin and then cut out my fish shapes.

Watch the video here  for more information:


My fish were sewn on, with a bit of extra batting behind them to give a slight trapunto effect. I then added batting and a backside and quilted everything together! 
I wanted to add a little extra something something...so brushed on Sprinkle IT onto the fins and bellies of the fish- and a wee bit in some of the bubbles. A little sequin and bead for each eye and there it is! "Plenty of Fish in the Sea".


Anyway I hope you enjoyed this project! I'd love to see what you make with bubbles! 


Saturday, 9 June 2018

Cool off with ICE DYEING by Tamara

Hope you all are enjoying the summer heat!
In this blog post I want to share with you how to do ice dyeing with Colourcraft's procion dyes!
There are many different ways to dye fabric with procion dyes. This one is fun and easy and you get beautiful and unexpected results.

Check out the video with an overview of the process here:


First a little health and safety information- please read all information that comes with these chemicals. It's especially important to keep any equipment you use for dying only (do NOT reuse for food), a dust mask is really good idea when dealing with powdered chemicals, and gloves! Please use gloves.

Ok...on to the fun part!
Procion dyes are used for cellulose based fabrics. I used 100% cotton that had been prewashed (ok old sheets).
First I mixed the fixer according to the directions (I used 40g fixer and 2 liters hot water), then I soaked my fabrics for a few minutes.
I use some old crates(upside down) that are holey to hold my fabrics. Basically you need something that holds your fabric up, but lets the water run through. An old baking dish and rack can also work really well. I had mine out on the grass, but if you don't want dye on your lawn or are dyeing elsewhere, it's good to have a container to catch your dye.
I squeezed out the extra solution from my fabrics and arranged them onto the crates. You want to have as much of the surface exposed really, but having your fabric crinkled is part of what gives such interesting effects.
I then covered my fabrics with a layer of ice. I had bought a bag from the supermarket- different types of cubes and crushed ice can give different effects- snow works in the winter!
I selected my colors and sprinkled the powders over the ice. I wanted one batch to be colors that are next to each other on the color wheel to show how they can blend into other colors as they melt.


A few specks of the red violet blew over into the other fabrics, but that just makes the final result more interesting.
Now its just to wait for the ice to melt!
When the ice was melted I covered the fabrics with plastic and let them sit a few more hours to make sure the dyes really set into the fabric, then I rinsed out and washed in my washing machine.
Final results:


You can see for yourself all the beautiful effects this techniques give! I was extremely impressed with the brightness of Colourcraft's dyes as well. I will be using these in future projects. 
Hope you enjoyed today's blog, see you soon.


Related Posts Plugin for WordPress, Blogger...