
Hi all,
This is my
first blog post with Colourcraft and I am both excited and honoured to be able
to share my creative projects with you. I hope you will join me, comment, learn
and share your experiences. I would also love to see what you create using the
techniques that I show here.

Firstly, I
took a piece of 300gsm white card. I
like to use 300 gsm as it takes all the water that I need to put on it. I stamped a
set of the flowers using onyx black versafine ink and my MISTI stamping tool to
ensure a crisp image. I then die cut the flowers and leaves.


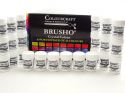
I sprinkled a small amount of lemon brusho powder onto the centre of a couple of the flowers and lightly spritzed them with water. It doesn’t matter if the colour runs into some of the petals. After all, flowers are a blend of several shades, colours and design.


I then
sprinkled a little of the Rose Red brusho crystals onto my craft mat and
spritzed them with water to create a runny wash. Taking each flower, I dipped the edges of the
petals into the red liquid. Use as much
as you like and tilt the flower in several different ways to achieve the look
you are after.


Repeat for
all the flowers. Remember no two will be the same.

Drop a
small amount of the leaf green brusho powder onto the leaves and spritz with
water.
Create a wash with the olive green brusho crystals and dip the leaves into it. This tones down the bright leaf green and creates interest and contrast. I found that if I just used the leaf green it was too bright for my liking but the olive green added a lovely depth to each leaf.
Repeat for all the leaves.

Either dry
with a heat gun or leave to dry whilst preparing the background of the card.
Using a
blending tool and distress inks I created a lattice style stenciled background
to the left hand side of the card. Using
my fan brush and black paint, I added some splatters. I then stamped a sentiment on the side as I
felt would balance out the design.

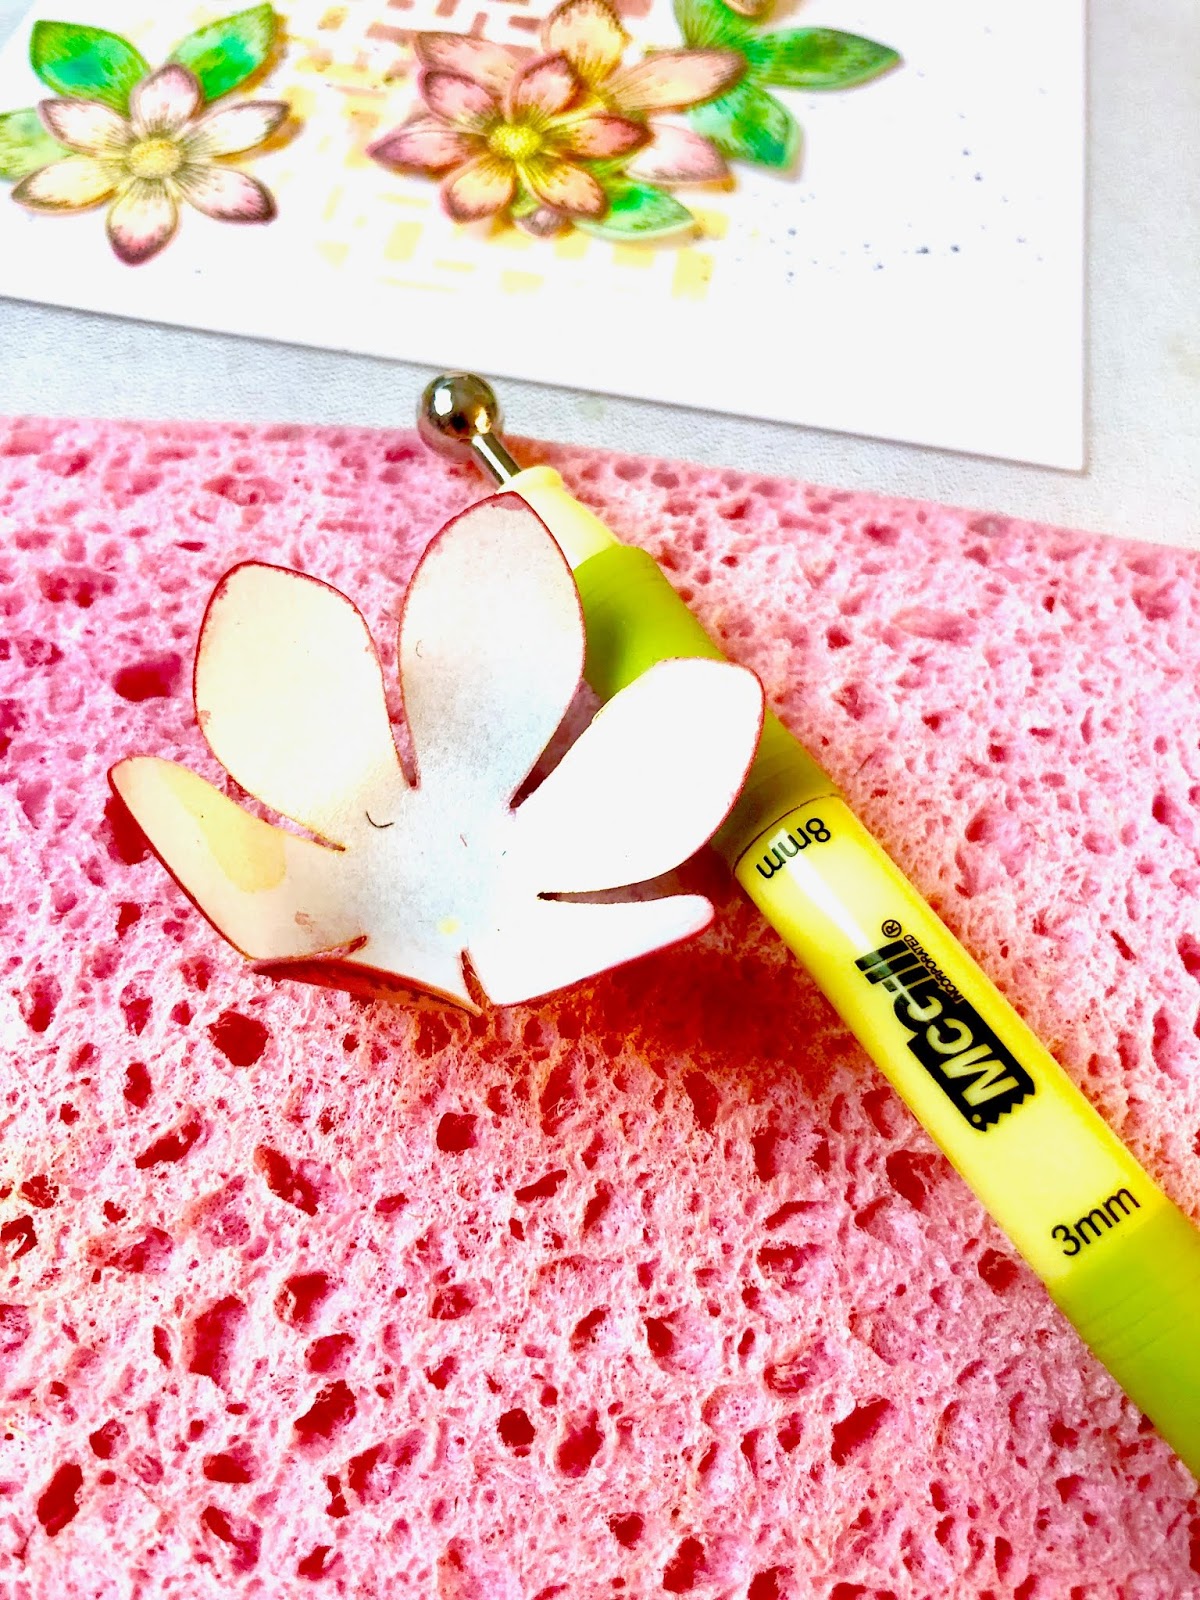
To ‘curl’
the flowers, I used a stylus tool and a sponge – first from the back, I curled
up the petals, one at a time and then turned it over. This gives depth and
shape to each petal.

I arranged
the flowers over the stenciling to create balance and layered some of the
flowers to give double sets of petals. I then
glued some beads into the centre of the flowers and mounted it onto a
contrasting background card.
I hope you
have enjoyed this and I would love to see what you create. Please tag me in
your creations 😊


 |  |  |

No comments:
Post a Comment