Showing posts with label cards. Show all posts

Monday, 25 May 2020

Tropical Fish Card with Brusho

Hello Colourcraft friends.  Gail here today with some tropical fun.


I started by cutting three 2.5" diameter pieces from white card.  I was thinking artist trading coins and I usually make them in threes cos they fit perfectly across a piece of A4 card.  I used a stitch edge die and then stamped using a fish from Rubber Dance Textured Fish set.


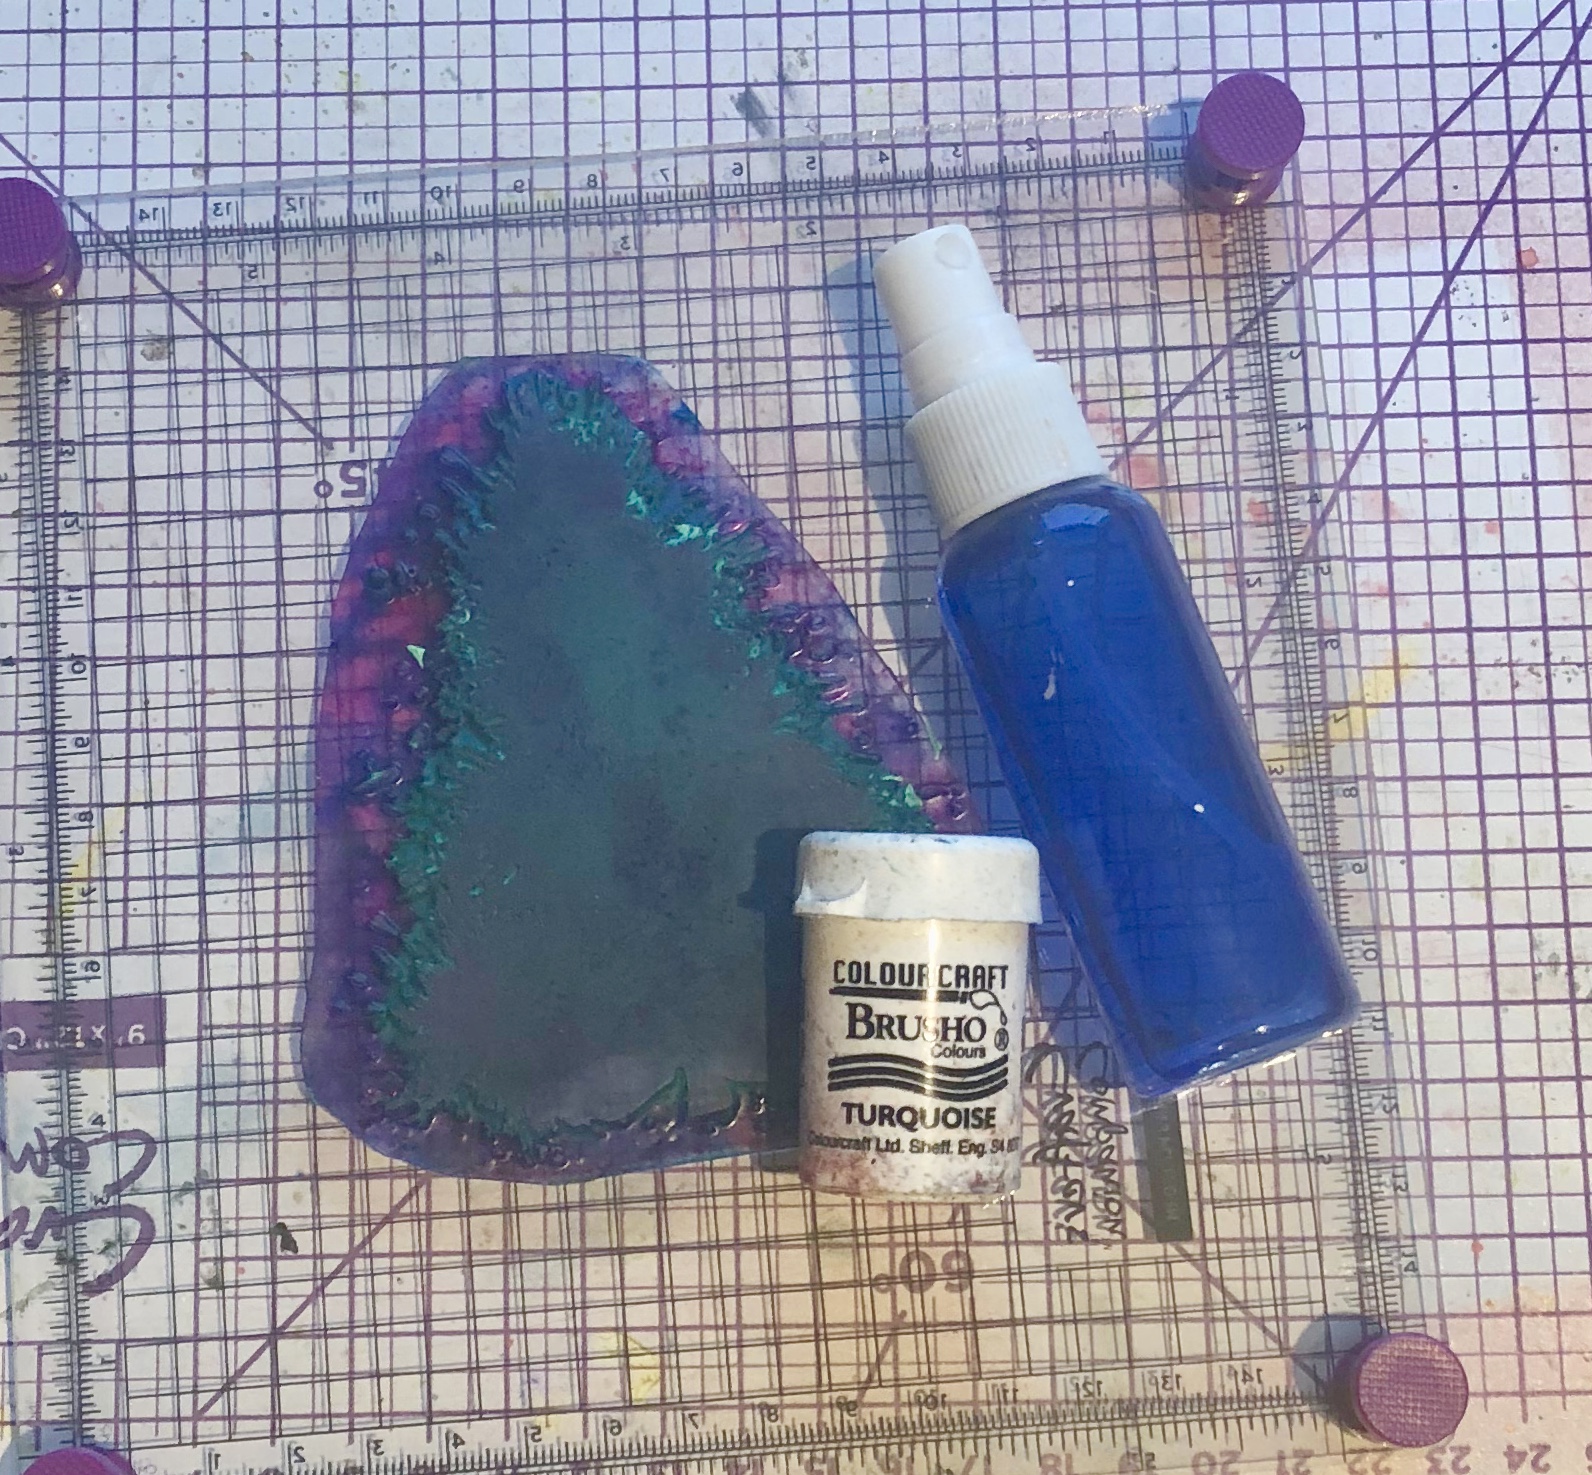
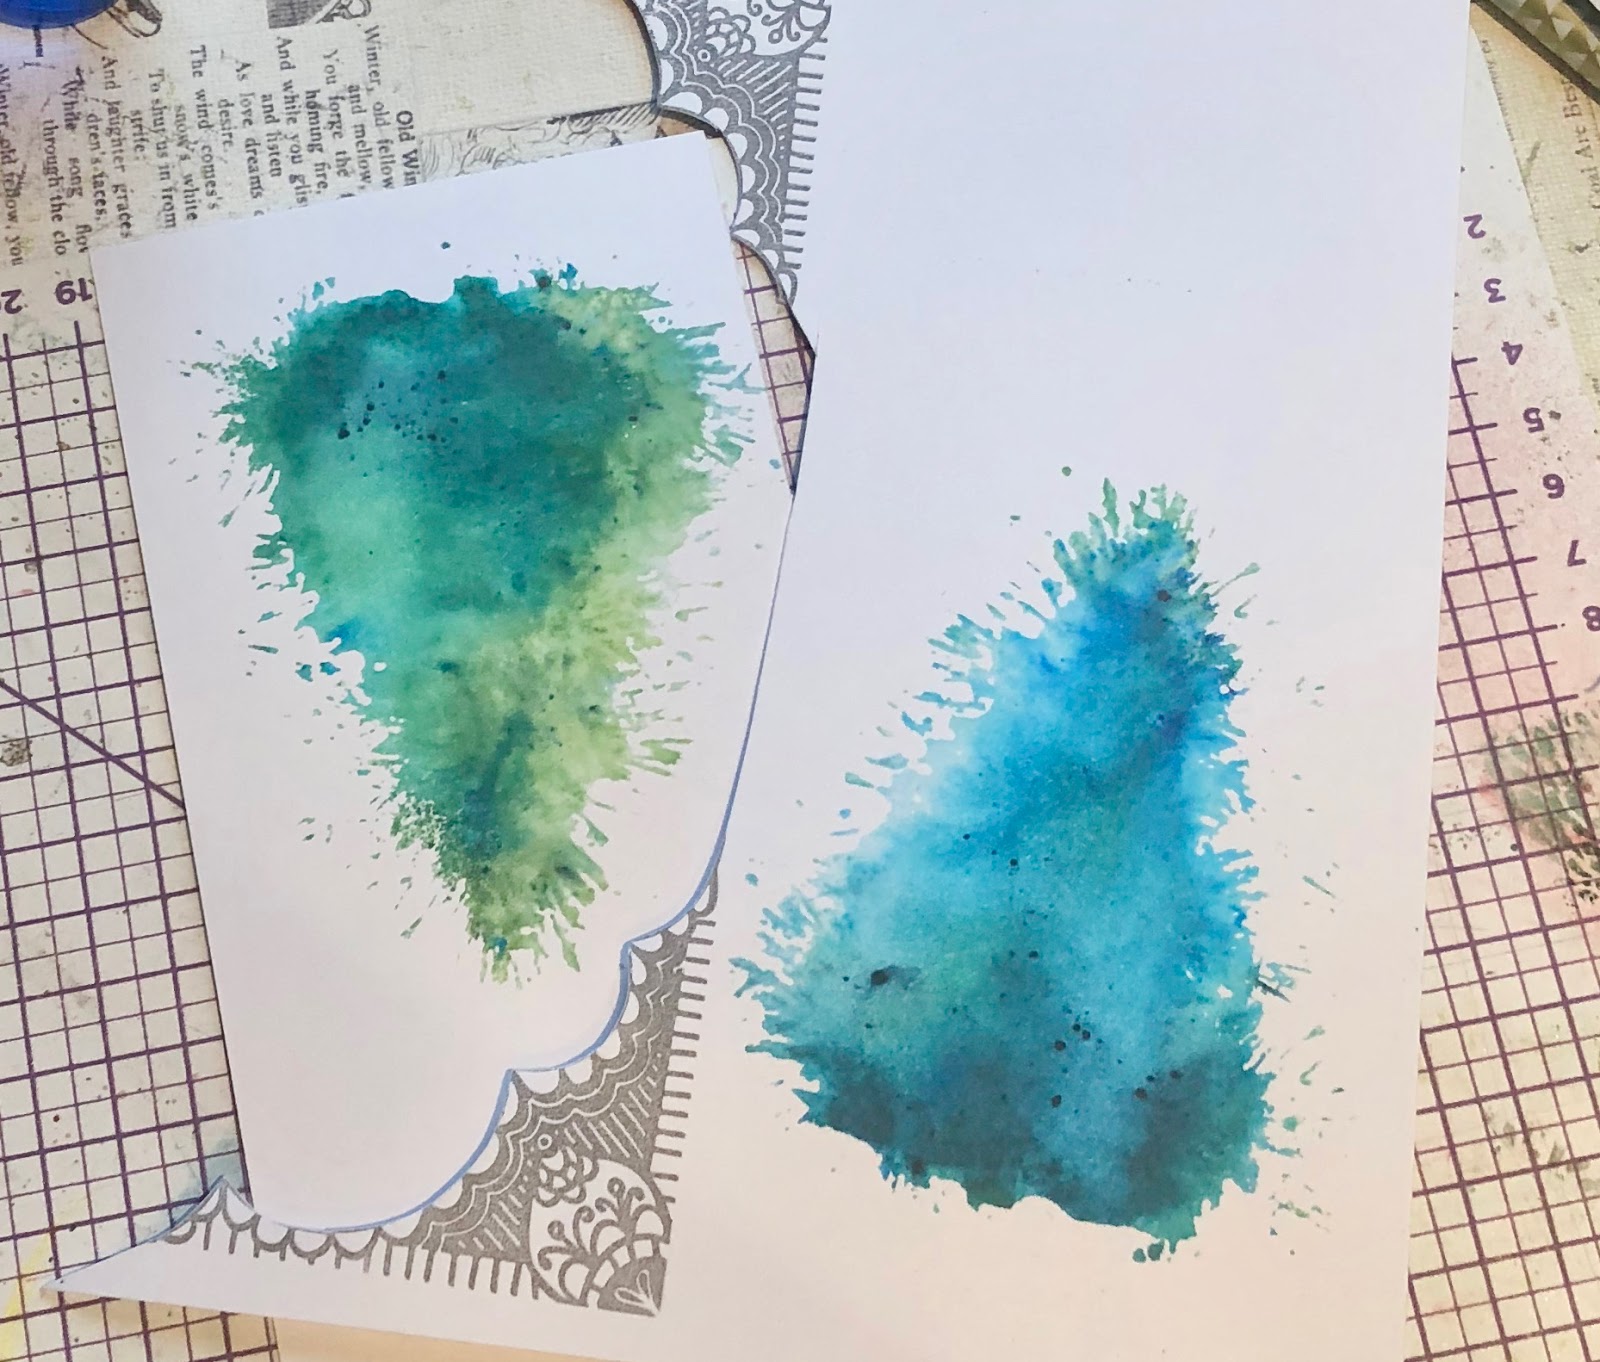
I masked the fish, stamped with Rubber Dance Grungy Sequins and sprinkled with Turquoise and Sea Green Brusho powders.  I carefully removed the masks and spritzed with water.  The water can draw some of the colour across the masked fish, but I just used a paper towel to blot it away.


I stamped with a grid stamp and a water reactive blue ink, sprinkled with the Sea Green Brusho powder and spritzed.  The water spreads the Brusho colour nicely and also softens the grid stamping.


I selected one of the fish coins, edged it with dark blue ink and added it to the card base.  I die cut the word from white card and added it in the corner.

Thanks for visiting today.  I hope you have enjoyed my project. 
Take care, stay safe, craft on!!  Hugz

Friday, 24 January 2020

Painted & Stitched Heart Cards

Well, January has seemed to fly by, and it will be February next week!
So it is time to be thinking about showing appreciation to those we care about. 

So whether you are into celebrating Galentines Day on the 13th or Valentine's Day on 14th February here is a painted and stitched idea!

I took a piece of well-washed cotton cloth (a piece of sheet to be honest) and stretched it on an old wooden frame. Three-Point pins are great for stretching the fabric to a frame, not causing tears, and come with a handy tool for removing them too, but you can use drawing pins.

I then had a play with three Markel Oil Sticks:  purple, light gold, and red. These look good on their own but will resist added paint too. They do sink into the cloth so don't rub off as you are stitching later.


I then used some batik dye powder I had mixed up in jam jars.
These are handy concentrated cold water fabric dyes and I mix up lots of different colours just from the three primary colours. You just dilute them to get pastel shades!
For an average jam jar, I dissolve 30g of table salt in a little hot water and then make it up to 250ml with cold water. You then add 5g (1 level tablespoon) of Batik Dye fixer powder and 1g (a quarter of a teaspoon) of the dye powder.

I painted these on the fabric making several hearts.


You can see here how I let the paints bleed as I was wanting a shabby-chic effect.


When the paint dries sandwich two layers of fabric with some wadding in the middle. 
You can secure this with a couple of pins but I used an embroidery hoop.


I used a couple of different embroidery thread colour and used running stitch around my painted lines.

I then trimmed the hearts and used double-sided tape to secure them to the front of cards. I'm not sure whether to leave them simple like this or whether to add a sentiment cut from the ribbon. What do you think? (Sometimes crafting on your own can seem lonely when you want another opinion, but here the online crafting community can be wonderful, so please do tell me in the comments what you think)


These heart cards also seem like a good idea for weddings and even thank you cards too!

I did make a heart-shaped padded shape too but haven't found the safe place I put my lavender to fill it with yet. I'll keep looking and will hopefully find it before February. It's nice to show yourself some love too and so I plan to put the scented heart in my wardrobe.

Monday, 30 December 2019

Back to Basics - quick Brusho card

I know that for most crafters, the period between Christmas and New Year is THE TIME OF THE YEAR when they can craft as much as they want. Well, I am not that lucky and have to go to work every single day :(


However, I am not allowing that to stop me having colourful fun!!! 
Hence the card! ;)


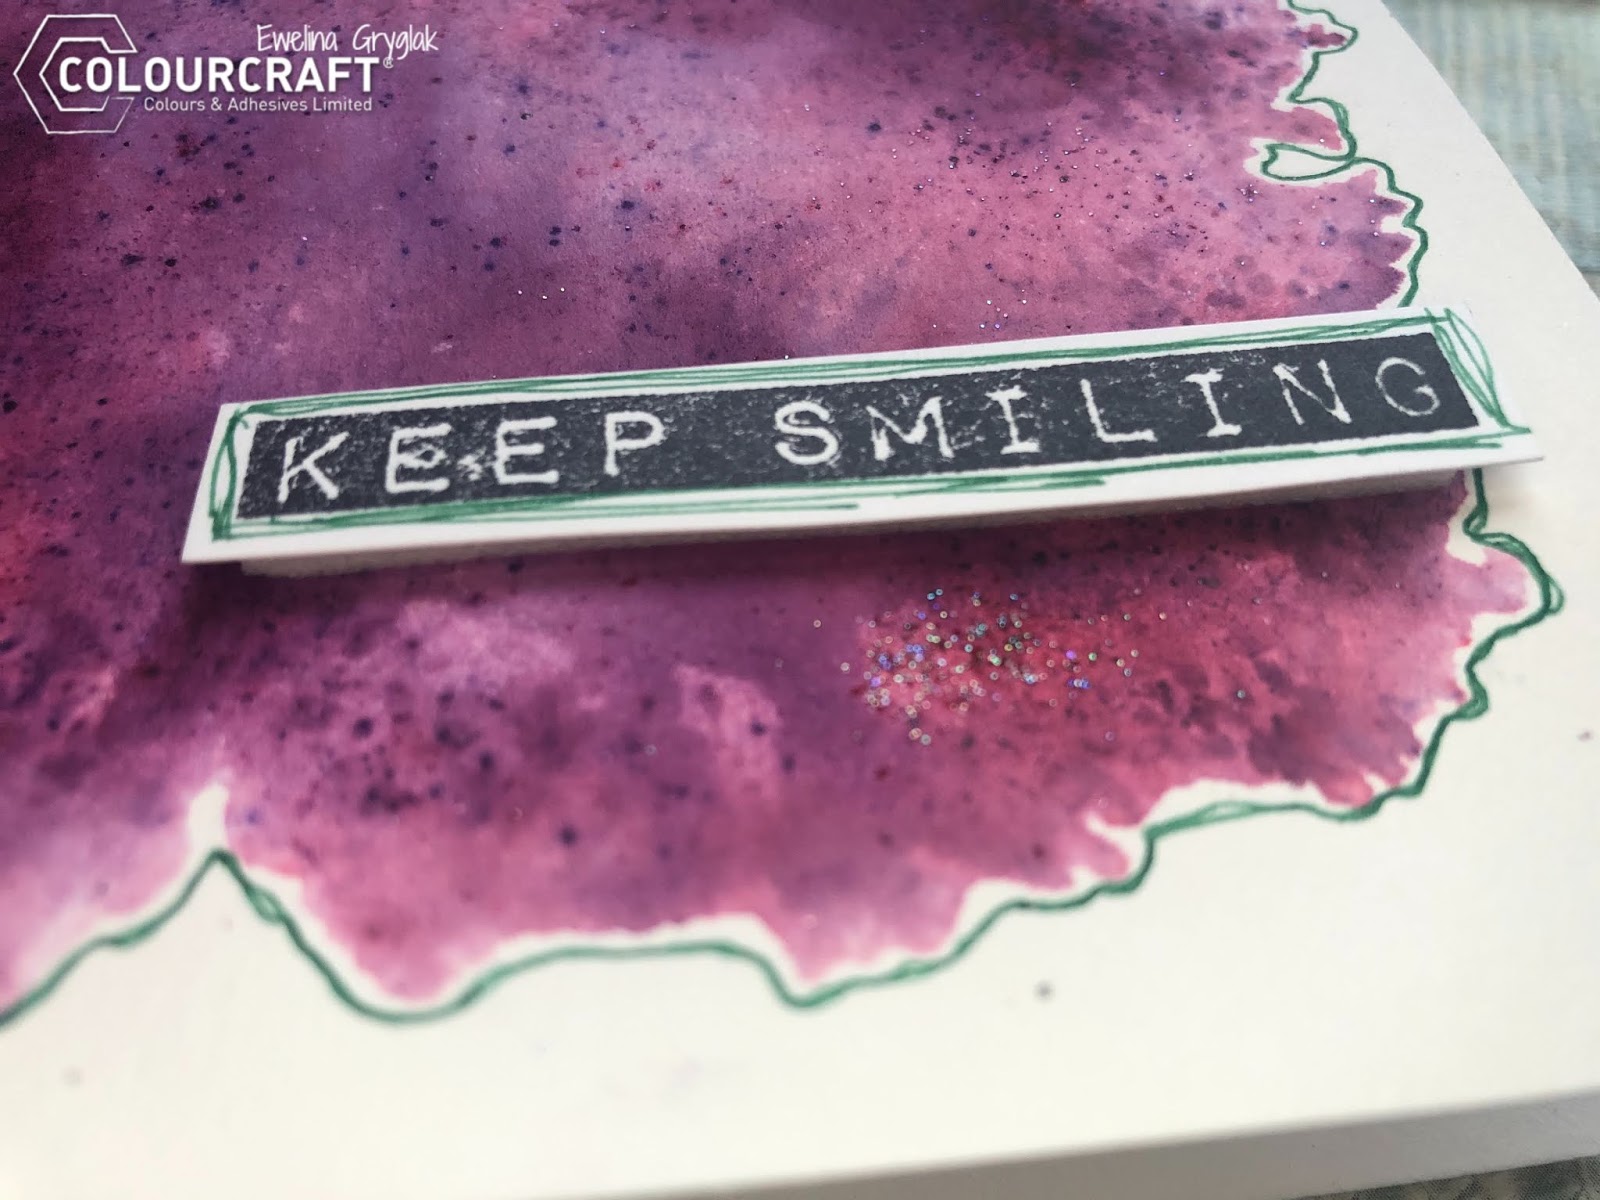
I started by sprinkling a Distressed Rectangle Polyplate with purple Brusho and iridescent SprinkleIt. Then misting it with a bit of water and... STAMP on watercolour card. 
While it was still wet, I added a little more SprinkleIt.


Once dry, I folded the A4 card and cut to shape to create a card.


As contract, I used a green gel pen to outline the shape - I have done the outline twice purely because I like my lines irregular and wonky.


I also outlined a stamped sentiment - you can see here what I mean by 'wonky lines'!


The last step was to mount the sentiment on the card.
Can you see the SprinkleIt sparkling??? I love it!


There you go - nice and easy and... preeeeeeetty!

See you next time!


Monday, 16 December 2019

Christmas Art Journal becomes an emergency Christmas Card

Hey everyone! Are you ready for Christmas? Are all your cards posted? 
I thought mine were ... until it turned out they weren't ... let me talk you through it...
It started with an art journal...


Here's how the Art Journal page came together:


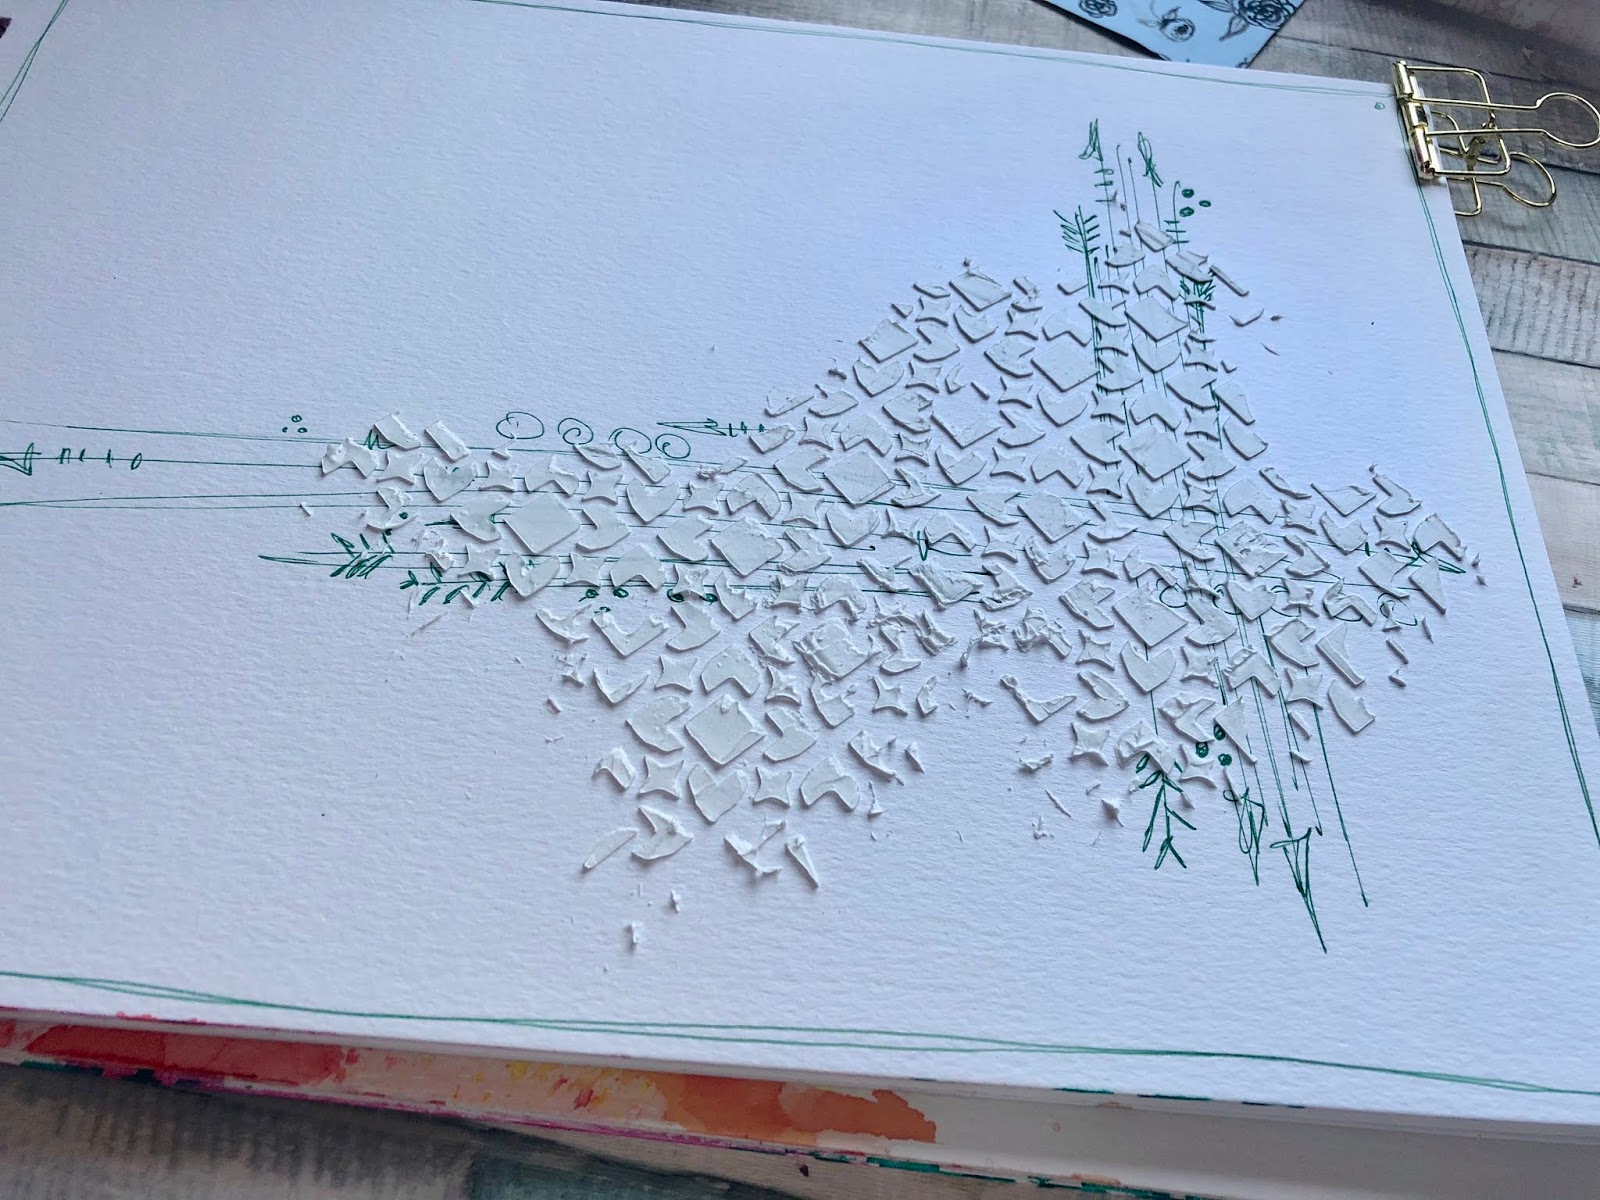
I started by scribbling a frame and some doodles with a green pen to create the first layer of background design.


Add a layer of texture paste - I like mine to be irregular and grungy.


Choose two Brusho colours you want to use and sprinkle them delicately on the textured area; then lightly spray with water avoiding making puddles. 


For additional effect, water down one of the colours and flick it off a paint brush creating splashes.


Now it's time to create a cluster to become a base of your main feature.
I used strips of various Christmas papers from ABStudio. 


I also cut out various elements from the same papers to use as embellishments which I layered in between the cluster strips.


You can stick te elements under, in between and on top of the cluster - just have fun with it!
You can add some more paint splashes now to make the elements blend nicely not the page.


Top up the finished cluster with your chosen element - I decided to use a reindeer.


TA DAH! My Christmassy Art journal page is ready!


And just as I thought that I will be able to display it nicely in my craft room, it turned out that I needed an additional Christmas card (guess counting is not my strong suit!).
In a moment of genius, I took the page out of the journal, folded in half and... the day was saved!!!


Have a great Christmas!
See you in the new year!


Monday, 23 September 2019

Xmas card with Ewelina

Is it too early to start making Christmas cards?
Well... if you have the same amount to make as me, you should have started in January!


Since I have been playing with Crafty Roo's Poly Plates, using them to make some cards was just a matter of time.


All you need to do is sprinkle a little of Brusho on the plate and then spray with just a little bit of water; not too much!


Then stamp! Et Voila!
How cool is that?!
I fussy-cut my trees to add more dimension to the card but you can stamp directly on the card - there are no rules!


The usual for majority of my cards - frame. Never a regular shape or straight line... 


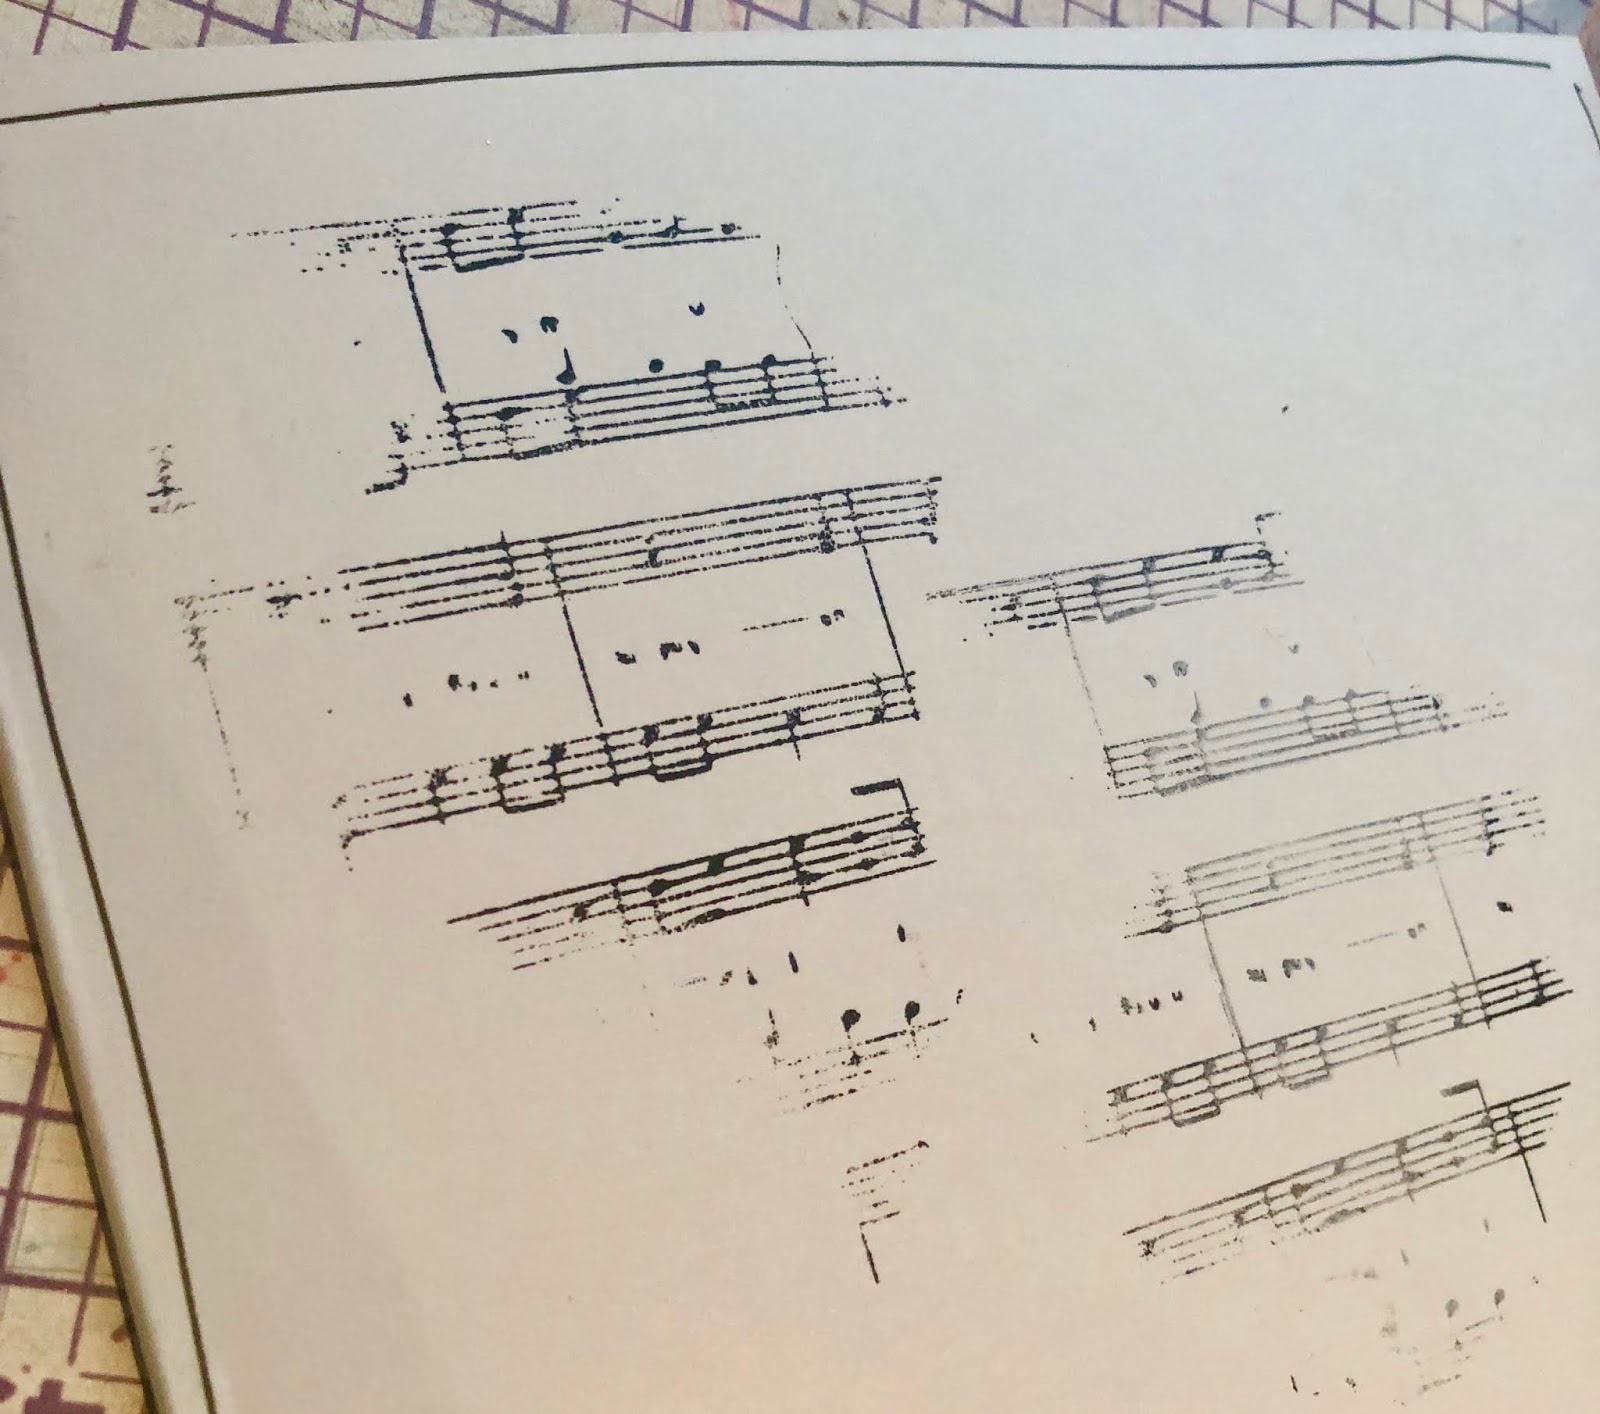
Using Crafty Roo's Music texture stamp, add some irregular stamping to the background.


Just like this.

Now mount the fussy cut trees and a sentiment and you card is ready!

See you next time!


Wednesday, 11 September 2019

Autumn birthday cards by Karen James

Well, the mornings are noticably colder and the evenings drawing in: Autumn is definitely on its way. Surely, the best thing about autumn is the fabulous colours and, while I live in a faitrly wet area where we rarely have strong leaf colours, it doesn't stop me playing with the stronger autumn hues.

 My cards started with a few sheets of watercolour paper sprayed with water and sprinkled with green Brushos: Leaf Green, Lime Green, Olive Green and a tiny bit of the darker Emerald Green. This was followed by Gold Sprinkle-It for some metallic accents and added interest on the background.

I coloured another piece but using less water around the edges and orange-red hues of Brusho Crystals: Gamboge, Sandstone and Scarlet. This was splattered with gold Aztec Metallic paint. I was aiming for a mottled effect on this paper to represent the autumn leaves.

Another piece of paper was sponged with Bronze Aztec Metallic paint.

With the green papers already dry and cut to size, I used the excess paint on the sponge to stamp on to the backgrounds.

These were also stenciled with Copper Design-It paste. Here is my workspace at this point: Red papers die cut with leaves, bronze paper die-cut with some birthday sentiments and the green papers being finished. The bronze paper was also cut slightly larger than the green layers.


Pulling this all together, I used some dark bronze coloured cards, layered the bronze painted sheet followed by the green stamped and stenciled layer and embellished this with the die cut leaves and sentiments.


I am happy to have some cards ready for family and friends in the coming autumn months! I hope they enjoy all those lovely autumn colours and warm-toned metallics as much as I do.

Thanks for reading.
Karen


Related Posts Plugin for WordPress, Blogger...