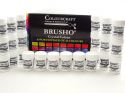
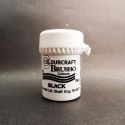
Showing posts with label colourcraft brusho. Show all posts

Monday, 1 July 2019

Painting with hands is fun! Canvas with Ewelina

Hello on this hot and sweaty Monday!!!
As you probably know from my past posts, I have been tasked by my family with making a 'series' of canvas to decorate the upstairs landing of my house. We have redecorated last year and completely changed the colour scheme from shades of green to grey/prussian blue/cherry pink, which has left me with completely unusable 8 various size canvas prints. Hence the task...


For this one, I wanted to use both Brusho and Acrylic paint to create various shades and degree of coverage.


 I started by gessoing over the original print - I needed two layers to completely get rid of the green background. Once that was dry, I used Aall&Creative stamps, Crafter's Companion black waterproof ink and black embossing powder to create the first layer of design. I embossed only some parts of the stamped designs to make it slightly more uneven and textured. By now, you probably know that I am not much of an 'all nice, neat and even' kind of crafter.


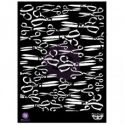
I found this scissors stencil amongst my piled up stash of stencils and used it to add Heavy Body Gel (both Finnabair) creating a textured strip across the centre of my canvas. I then made sure it was completely dry before moving on to adding colour. If you think I have used my heat gun for that... well... I would have but it died on me (a second one in 4 weeks!!!) while embossing the background so I had to use my hairdryer (AGAIN!!!) to finish the project... what a learning curve hahaha


So... colour... 
On the scissors, I sprinkled Black and Grey in the centre and Prussian Blue and White on the outside edge, sprayed with water and dried with the hairdryer - it was a bit tricky to start as it's so much more powerful than the heat gun so the paint was just going all over the canvas and not necessarily where I wanted it to go... but it worked. I kept adding the powders and water as I dried to make sure I had the colours I wanted.
Once satisfied with the centre, I moved on to working on the edges with Alizarin Crimson. I allowed the colours to flow into each other creating new shades and a bit of an ombre effect. Again, I kept on sprinkling and misting as I went until I liked the result.


Now for the fun/messy part...
With White Eco Acrylic and my hand, I blended the colour on the top half of the canvas, I kept adding it and working with my fingers creating lines and layers of shades of pink.


When finished, I smudged my almost dry hand on the scissor designs and along the edges leaving some colour here and there - you can see it in the close-ups.


 Painting with hands is so much fun!!! I know it's messy and it might be tricky to remove the paint stains after but it's definitely something I find extremely enjoyable and relaxing.


Well, that's the outcome of my messy play.

See you next time!


Saturday, 15 June 2019

3D stencilled floral card with brushos


Hi all,

This is my first blog post with Colourcraft and I am both excited and honoured to be able to share my creative projects with you. I hope you will join me, comment, learn and share your experiences. I would also love to see what you create using the techniques that I show here.


Firstly, I took a piece of 300gsm white card.  I like to use 300 gsm as it takes all the water that I need to put on it.  I stamped a set of the flowers using onyx black versafine ink and my MISTI stamping tool to ensure a crisp image. I then die cut the flowers and leaves.


I sprinkled a small amount of lemon brusho powder onto the centre of a couple of the flowers and lightly spritzed them with water. It doesn’t matter if the colour runs into some of the petals. After all, flowers are a blend of several shades, colours and design.


I then sprinkled a little of the Rose Red brusho crystals onto my craft mat and spritzed them with water to create a runny wash.  Taking each flower, I dipped the edges of the petals into the red liquid.  Use as much as you like and tilt the flower in several different ways to achieve the look you are after.


Repeat for all the flowers. Remember no two will be the same.


Drop a small amount of the leaf green brusho powder onto the leaves and spritz with water.

Create a wash with the olive green brusho crystals and dip the leaves into it.  This tones down the bright leaf green and creates interest and contrast.  I found that if I just used the leaf green it was too bright for my liking but the olive green added a lovely depth to each leaf.

Repeat for all the leaves.


Either dry with a heat gun or leave to dry whilst preparing the background of the card.

Using a blending tool and distress inks I created a lattice style stenciled background to the left hand side of the card.  Using my fan brush and black paint, I added some splatters.  I then stamped a sentiment on the side as I felt would balance out the design.


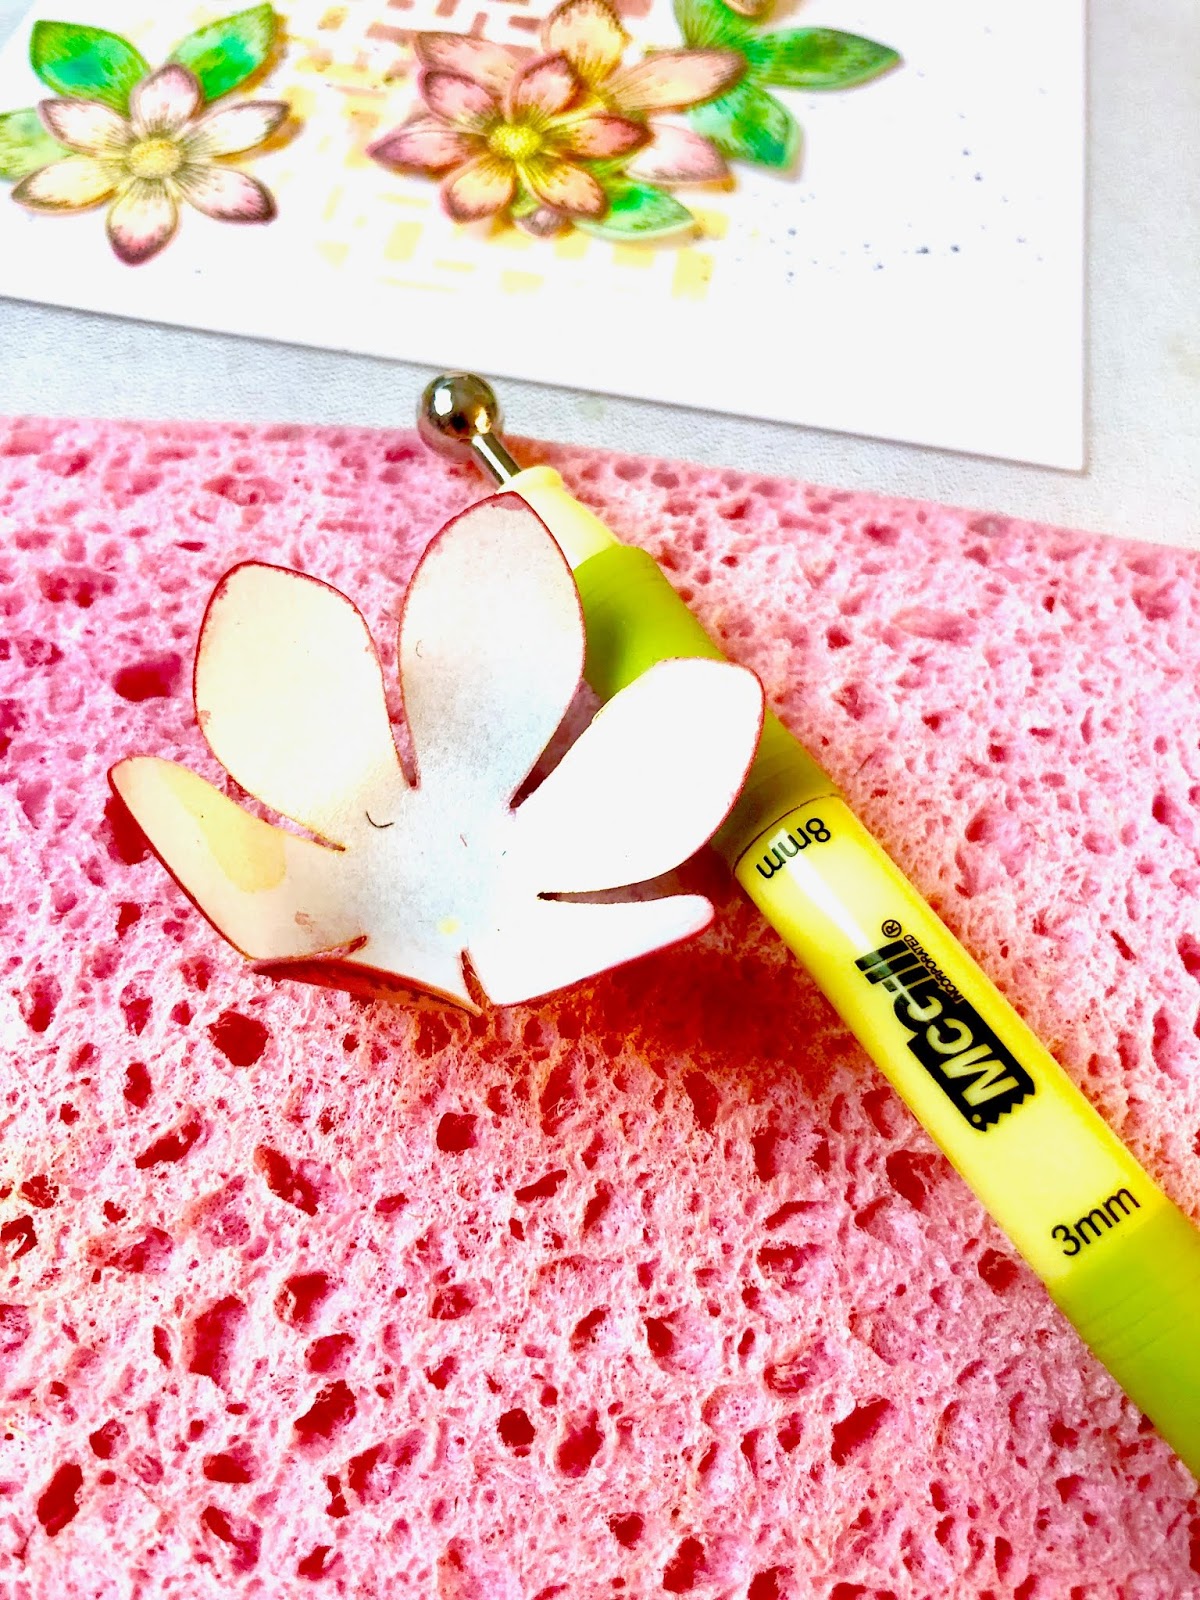
To ‘curl’ the flowers, I used a stylus tool and a sponge – first from the back, I curled up the petals, one at a time and then turned it over. This gives depth and shape to each petal.


I arranged the flowers over the stenciling to create balance and layered some of the flowers to give double sets of petals. I then glued some beads into the centre of the flowers and mounted it onto a contrasting background card.

I hope you have enjoyed this and I would love to see what you create. Please tag me in your creations 😊


Wednesday, 8 May 2019

Mixed Media Spring Tag by Karen

Spring is fully underway here and I am seeing birds nesting everywhere at the moment so that was my inspiration for today's project.

I started off with a wood support and applied transparent Design-It paste (previously Soft Form Paste) through a tree stencil. Now spot the 'deliberate' mistake! I forgot to mix in my brusho powder before applying the paste! Happy accident: Time to experiment by adding the powder on top and seeing how it would react. I helped it move a little by spraying water over the top and then left it to dry and for the paste to turn transparent. It resulted in a lovely charred bark effect which reminded me of pyrography: That could be handy for a later project.

While the paste was drying I applied Leaf Green and Light Brown Brusho Crystal Colours to one watercolour paper for the nest and mostly Cobalt Blue with a touch of Turquoise and Prussian blue to a smaller piece for the bird. I used plenty of water and tilted it back and forth to make the colour cover the paper and then left these to dry.

As I thought about the composition and decided to add some leaves in to the background, I coloured another small paper with Sea Green and Leaf Green Brusho Crystal Colours and added more Leaf Green and some Sunburst Yellow to one side of the larger paper. You can these below along with the texture and shine created by the Design-It paste.

Making sure to mix in the Light Brown Brusho Colour first, I continued the stencilling to the bottom of the tag and added paste across the reinforcer and round the edges.

I stamped and cut out my images using a text stamp for the nest. I repeated this to cut the strips of words to glue just by the edges in all directions like twigs protruding from the nest. You can see how this was done below.
After highlights were added with a white gel pen and an eye was created with a dot of dimensional enamel I think my birdie looks quite settled in her nest.

I hope you like this springtime creation. Thanks for stopping by.
Karen


Saturday, 19 January 2019

"Pouring" your heart out- a pouring medium project

February is just around the corner, which means Valentine's Day is! What better way to show someone you love them then to make them a piece of art, and why not "pour" out your feelings using Brusho Flow Medium and testing out some pouring techniques.
                                   

 This week I decided to try two different pouring methods.
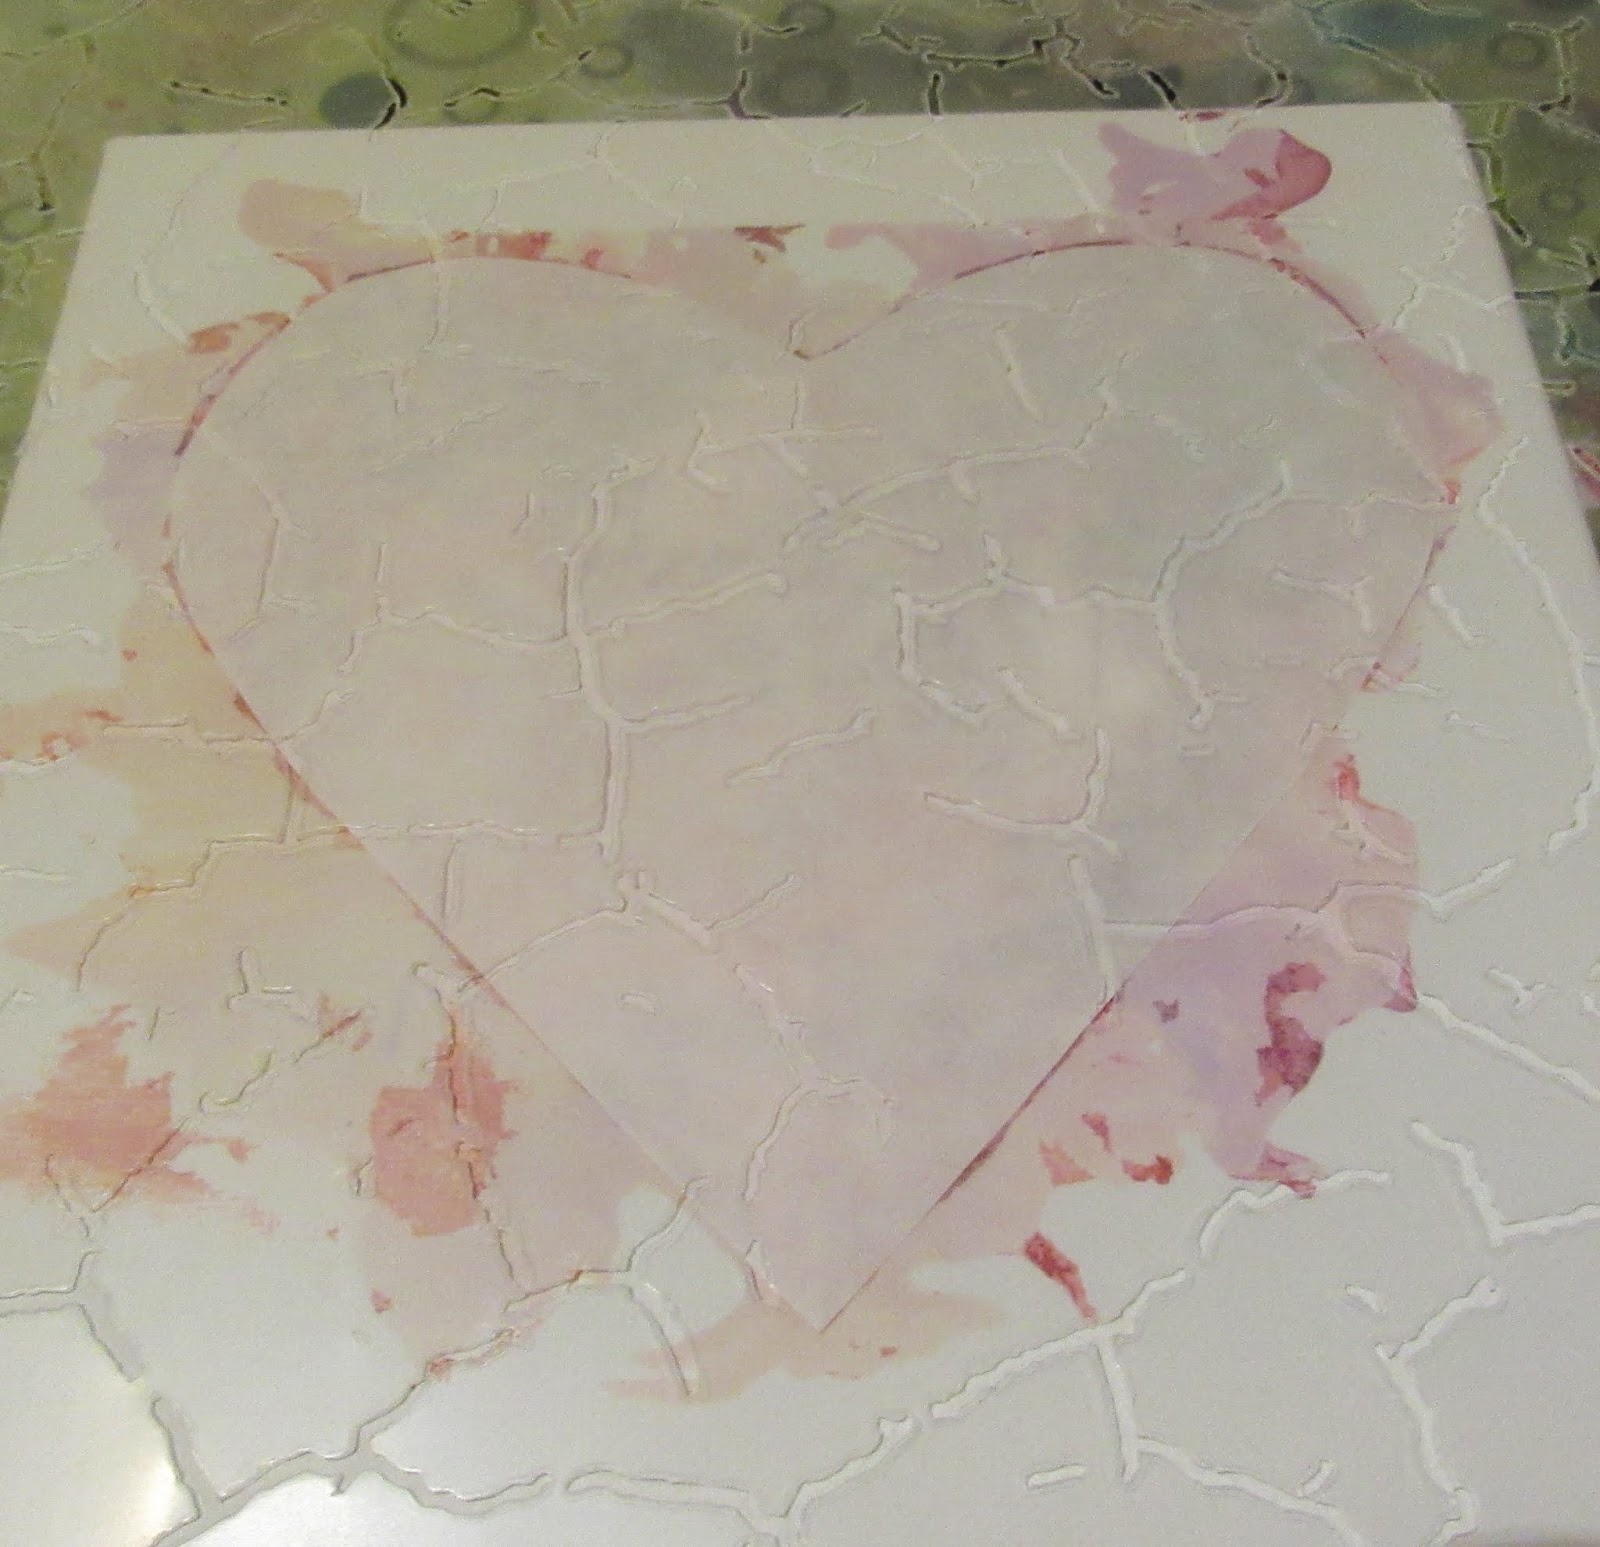
First I made a template out of freezer paper which I ironed onto my canvases. Then I mixed my colors. I mixed normal white acrylic paint with the medium in one cup, and then added Brushos in Rose Red, Sunburst Yellow and Purple in my other cups. I stirred well and then added water until I got the consistency I wanted.
My first canvas I decided to do what is called a "balloon pour". First I poured some of the white inside of my masked area and spread it out. Then I dropped and swirled the other colors.

I didn't find my balloons so I took some bubble wrap which I pushed into these areas of paint. I kept dripping paint and then pushing the bubble wrap into it. It started to look like this:
I wanted to have a bit stronger colors, so I sprinkled more of the Brushos into the colored areas and blew a bit with a straw.
 This is what it looked like when I took the freezer paper off. It had bled a little under my mask, but that was ok! I sponge painted around it in Aztec Eco Metallic Gold paint and then drew in flowers with a paint pen.
For my second heart, I decided to do a flip cup. You can read more about that technique and even see a video on my earlier blog on pouring (link later in this blog).
I did the same thing with the mask, then I made my flip cup by adding the Brusho mixed colors to what was left in my white cup. I then flipped it onto the canvas, and tilted to spread around the colors.

 After this one dried, I removed the mask, used a stencil to add some DesignIT for texture and then painted the background with a rose gold color I mixed from Aztec Eko Metallic Bronze and Silver.


 Tada! I think they both look quite cool. I have to warn you though- pouring is totally addictive. I am really pleased with the depth of color I got using the Brusho medium plus Brushos! And it didn't take much of the pigment to get a lot of color. The medium is sticker than others I have used, but just adding a bit of water makes it perfect for these techniques.
Here they are again! Give it a go!


If you want to see more pouring techniques with the Brusho medium- check out another blog post I did here.
And the link for the pouring medium again is here: Brusho Flow Medium
Related Posts Plugin for WordPress, Blogger...