Showing posts with label pastel pearl paint. Show all posts

Saturday, 11 May 2019

Mixed Media Mini Quilts

Hello!
Recently I started to participate in the #The100dayproject - I will be writing more about that at a later date, but the cool thing is that I got involved with a small group of textile artists and some of us have exchanged things and this project was inspired by a couple of them!


It all started with an exchange! I got a couple of lovely dyed fabrics by Sue from Sue Dreams in Colour and added one of my own to the mix. 
I then wove these together and stenciled it using a small mylar stencil (flower frenzy) and Pastel Pearl Fabric Paint.

While this dried, I decided to use a technique that Fran Harkes from McAnaraks had been playing with- that is melting Tyvek over rubber stamps to get interesting textures. 
First I painted my Tyvek with Aztec Eco Metallic paints.

I had recently ordered small grungy butterflies from Rubber Dance Stamps. So I inked up the plate, laid my tyvek painted side down over the stamp, laid a piece of parchment paper on top, and pressed with a warm iron. Tyvek shrinks with heat- but gets an impression of the stamp using this technique.
I carefully clipped out a couple of them and sewed them fast to my mini quilt.
There is so much interesting texture using these stamps and this technique!
I also had bought the Round in Circles stamp set- this time I pressed my tyvek on the stamp without ink. I also used the same stamp to add more texture to a new mini quilt.
Here is the result so far.

I hope you enjoyed this post! See you soon.
-Tamara


Saturday, 13 April 2019

Printing on Velvet med Colourcraft Pastel Pearl Fabric Paints

Hello everyone!
I had some bits of velvet sitting around from making Crazy Quilt kits and thought "ooooh" Colourcraft's Pearl paints would look luscious on these!" Guess what… they do!
I started off with a couple of colors of Pastel Pearls, and some screens from Thermofax Screens. The one in this picture is one of their beautiful stock images, the rest are ones I drew myself and they made into custom screens!!
First I squeezed out some paint at the top of my image, and then I drew the paint through using an old credit card, making sure that the entire image got paint.
I carefully took of the screen and VOILA! I just want to say wow! This really looks fabulous.
The paint has a lovely shimmer that suits the dark velvet, and the way it sits on the velvet gives a lovely dimension.
I had to try some of my custom designs as well. 


I was so pleased with the results, that I decided to try a linoleum block as well.

I think these worked great as well!
I think that the combination of the Pearl Paints on velvet really is a match made in heaven and something I will be exploring further.

See you next time!


Saturday, 16 March 2019

Shaving Cream Marbling with Colourcraft Fabric Paint- Pastel Pearl


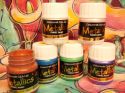
 I recently got ahold of some of Colourcraft's fabric paints in their Pastel Pearl colors! BEAUTIFUL - unfortunately a little hard to photograph because they have a lovely shimmer- but I wanted to try them out with a fun technique called:
Shaving Cream Marbling


 This is a super fun and easy technique- I was using fabric paints and doing my prints on fabric- it also works well with acrylics on paper! This technique is also kid friendly.
Here are the materials I started off with- Colourcraft Fabric paints in Pastel Pearl colors, a piece of Freezer Paper (shiny side up), some pieces of fabric- I tried both black and white, toothpicks,old credit cards and don't forget SHAVING CREAM! I used really cheap supermarket brand type. You don't want any of the fancy gels etc.

Here is how it's done!
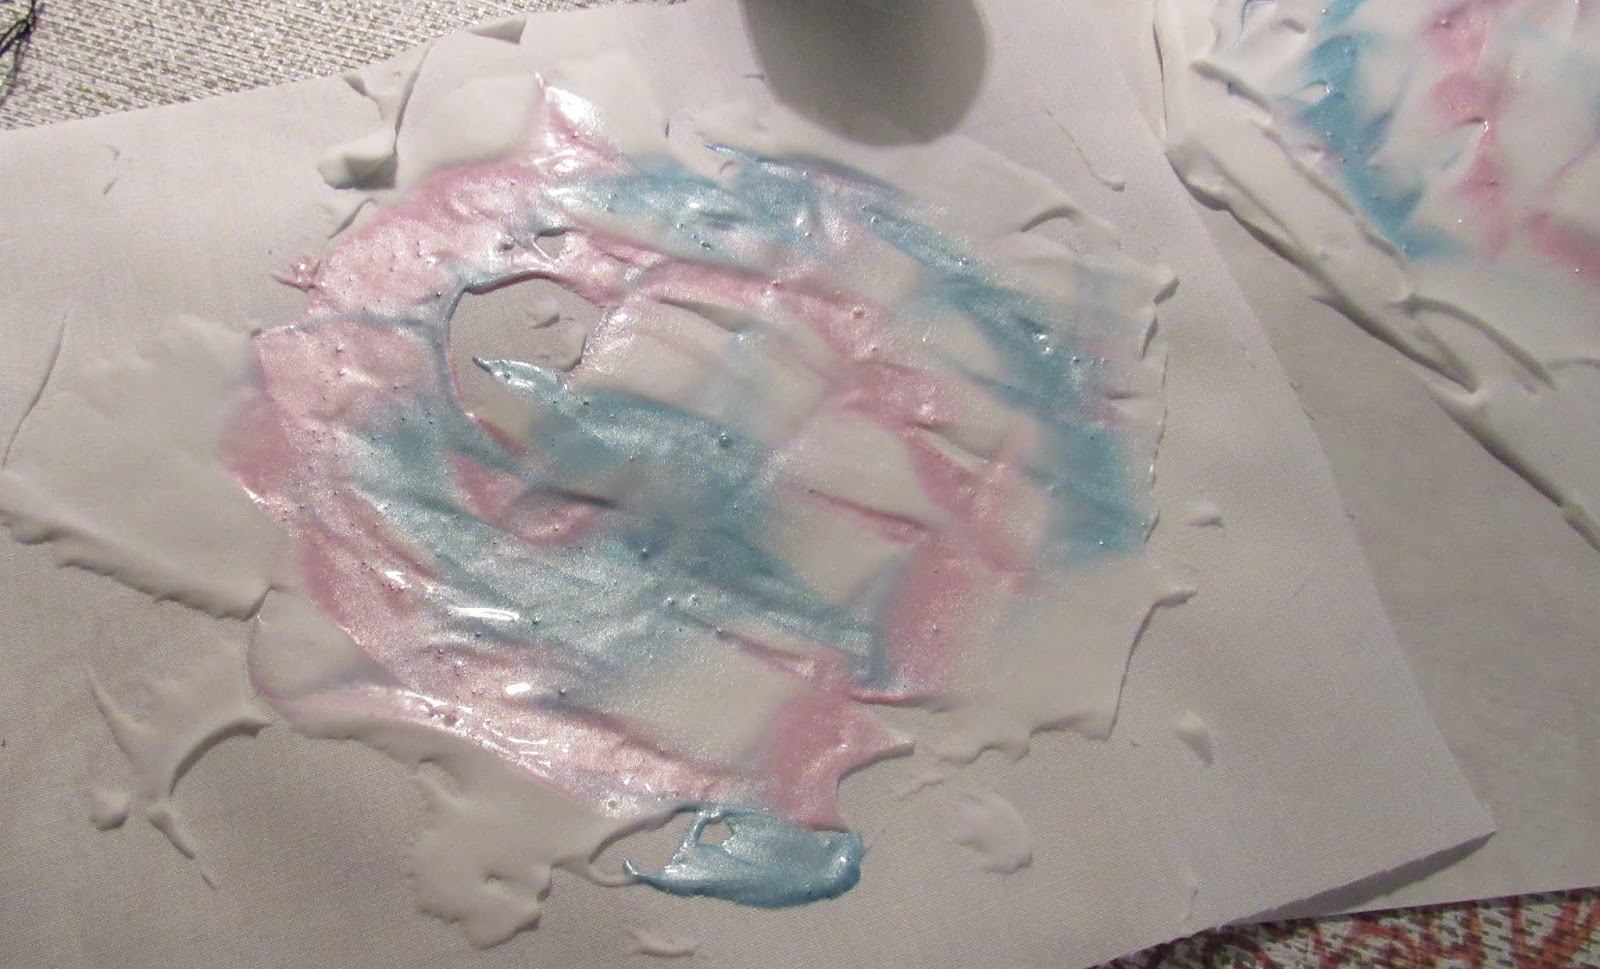
Spread out a layer of shaving cream on the shiny side of your freezer paper- ½-1 cm thick. Squirt out a color or two of your paint on top of this surface.
Swirl around with your toothpick to make a design- I like to go back and forth and simulate the designs that marblers used to do on paper.
Place a piece of fabric on top of this design and gently pat- the idea is not to smush the fabric into the shaving cream, but to allow the paint to adhere to the surface of the fabric. My fabric was quite thin, so you could see the design through it.
Now, pull off your fabric- it looks a bit of a mess, but your design will be revealed when you scrape off the shaving cream with an old credit card!

The following picture shows me scraping some shaving cream off of one of my black pieces of fabric- you can see the design transferred! 
Below is a picture of the design on the white fabric after I have scraped off all of the cream.
You can see my design- which is MUCH prettier in person- shimmery things are hard to photograph.
My supervisor approves of this activity.


Then it's just to have fun! I did some more marble effects- and also did some "flower" effects.


Anyway, I hope you enjoyed this super fun technique! There are so many possibilities of what to do with these beautiful little fabric bits- I will show some in a later blog!
See you soon!
-Tamara
Related Posts Plugin for WordPress, Blogger...