Shaving Cream Marbling
Here are the materials I started off with- Colourcraft Fabric paints in Pastel Pearl colors, a piece of Freezer Paper (shiny side up), some pieces of fabric- I tried both black and white, toothpicks,old credit cards and don't forget SHAVING CREAM! I used really cheap supermarket brand type. You don't want any of the fancy gels etc.
Here is how it's done!
Spread out a layer of shaving cream on the shiny side of your freezer paper- ½-1 cm thick. Squirt out a color or two of your paint on top of this surface.
Swirl around with your toothpick to make a design- I like to go back and forth and simulate the designs that marblers used to do on paper.
Place a piece of fabric on top of this design and gently pat- the idea is not to smush the fabric into the shaving cream, but to allow the paint to adhere to the surface of the fabric. My fabric was quite thin, so you could see the design through it.
Now, pull off your fabric- it looks a bit of a mess, but your design will be revealed when you scrape off the shaving cream with an old credit card!
The following picture shows me scraping some shaving cream off of one of my black pieces of fabric- you can see the design transferred!
Below is a picture of the design on the white fabric after I have scraped off all of the cream.
You can see my design- which is MUCH prettier in person- shimmery things are hard to photograph.
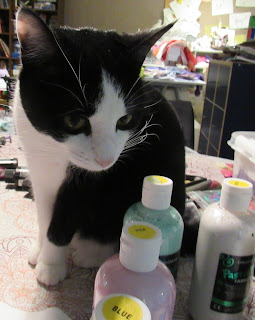
My supervisor approves of this activity.
Anyway, I hope you enjoyed this super fun technique! There are so many possibilities of what to do with these beautiful little fabric bits- I will show some in a later blog!
See you soon!
-Tamara


No comments:
Post a Comment