Sarah here with you today on the blog, and this week I have been playing with Expandit to create a fun christmas project
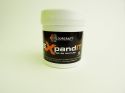
If you are wondering what is Expandit? here is a little background information on this fabulous product
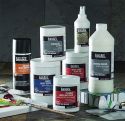
3D EXPANDING PUFF BINDER
Produces 3D effects on fabric, paper, card etc.
It can be applied straight from the container
without adding colour, heat cured and, once
expanded, gilded or painted etc. Alternatively, it
can be tinted with the Adva-Print concentrated
fabric colours, fabric paint or acrylic paint.
(Not suitable for mixing with lustre powders or
glitter)
It can be applied straight from the container
without adding colour, heat cured and, once
expanded, gilded or painted etc. Alternatively, it
can be tinted with the Adva-Print concentrated
fabric colours, fabric paint or acrylic paint.
(Not suitable for mixing with lustre powders or
glitter)
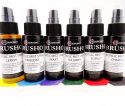
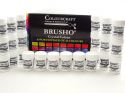
For my project, I used a paper mache gingerbread man with Colourcraft Expandit along with Brusho crystal colours to give it a biscuit like appearance

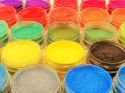
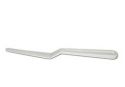
First of all I scooped out some expandit onto my craft mat with a pallet knife and picked some Brusho in a dark brown shade

then sprinkled it directly onto the Expandit

and using the pallet knife, mixed it well together

the mixture was then spread evenly over the top of my paper mache gingerbread man

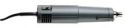
The next step is to grab your heat gun and apply heat to the expandit until it starts to expand and form bubbles as it dries.. until it looks something like this.. a couple of googley eyes and some small buttons and he looks good enough to eat :)

This was such a fun project to do, and I am looking forward to experimenting further, thank you for joining me today on the blog.. see you in a few weeks with another project :)

Sarah x
 |  |  |  |