Showing posts with label jelli plate printing. Show all posts

Saturday, 9 March 2019

Easter Bunny Cards

Hello Everyone,

I have some super quick, fun and easy Easter bunny cards to share with you today..

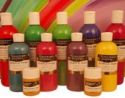
The Colourcraft products that I used today were Acrylic paints in various different colours along in conjunction with my jelli-print plate to create fun mixed media backgrounds to then use as my easter bunnies.


Step 1

Create your jelli print backgrounds using your Colourcraft Acrylic paints, jelli plate, brayer, and stencils.


Step 2

Die cut your bunnies from your newly printed papers


Step 3

I used a script stamp dipped in a thin layer of acrylic paint to add additional detail to the bunnies


Step 4

Glue a pom-pom tail onto each of your bunnies


Step 5

Cut your mats and layers for your cards, the coloured card layer was cut at 3.25" x 3.25" and the black layer is 3.5" x 3.5" and the card bases are 5" x 5" square.


Step 6

Assembly time... glue your bunnies to the coloured layer, then stick this to the black layer and then I used foam adhesive squares to give it some dimension before applying the bunny toppers to the card bases.

I hope you enjoyed todays cards, a super quick and fun easter card idea!

Thank you for popping in and I shall see you in 2 weeks with another project

Sarah x


Saturday, 26 January 2019

Valentine ATCoins

Hi Everyone,

Hope you are all having a great start to your weekend!

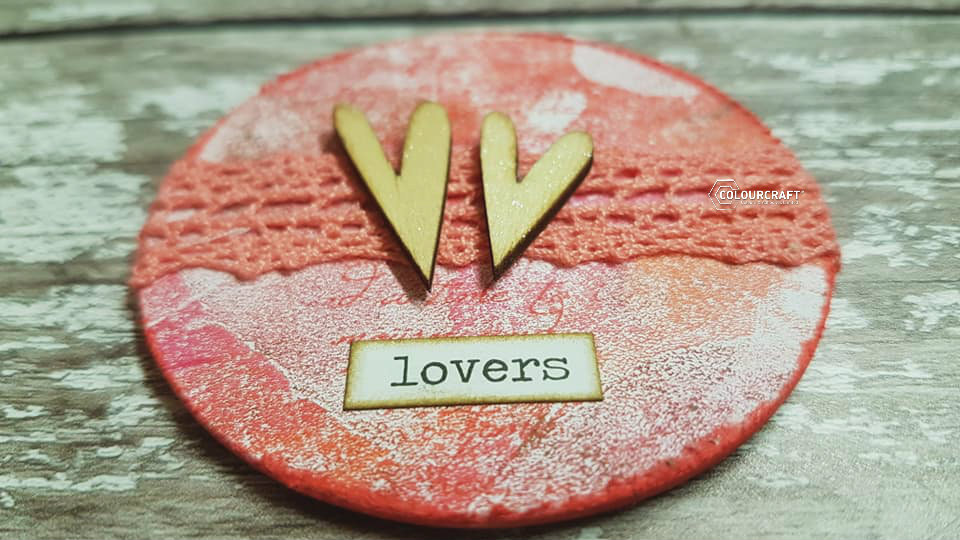
My project today is Artist Trading Coins.   I used some jelly plate background papers made using Colourcraft Acrylic ink, and I also used some lutradur and Acrylic Spray mists.


Step 1

Take a blank ATCoin and your Gelli plate printed background papers and using some tombow stick adhesive glue your disc to your paper.


Step 2

I took a script stamp and some Neon Red Hero Arts Ink Cube and stamped over the top of the Gelli printed paper.


Using the same ink cube, I ran this around the outside edge of each ATCoin.


Step 4

Take some lutradur and skim a very thin layer of expandit over the top and dry with a heat tool until it expands and dries, once dry spray with brusho acrylic spray mists, dry with your heat tool and die cut a heart shape.


Step 5

Time to embellish!.. I used some cotton ribbon, pink lace trim, wooden hearts, epoxy hearts


I hope you enjoyed todays project and make some of your own ATCoins, they are fun to make

Have a great weekend and see you all again soon

Sarah x


Saturday, 3 November 2018

Christmas Tags

Hi Everyone

Sarah here with you today on the blog and with the weather outside turning a tad colder with frosty mornings, I thought I would create some tags in preparation for Christmas..

Step 1

The backgrounds were created using a jelli plate and custom mixing white acrylic paint with Brusho to give subtle colours.. I also used various different stencils to create my backgrounds.


Step 2

I took my finished dried jelli prints and die cut a few tags using a tim holtz tag die


Step 3

Using silver glitter paper I die cut some snowflakes and attached to the tags


Using Tim holtz seasonal chit chat stickers, I used Christmas words and these were adhered to the bottom of each tag, then I tied som fibres through the tops of the tags to finish them off.


Simple and easy to make and would look great tied on Christmas parcels!


I hope you enjoyed todays project and hope this gives you some inspiration to create your own Christmas tags

Sarah x


Related Posts Plugin for WordPress, Blogger...